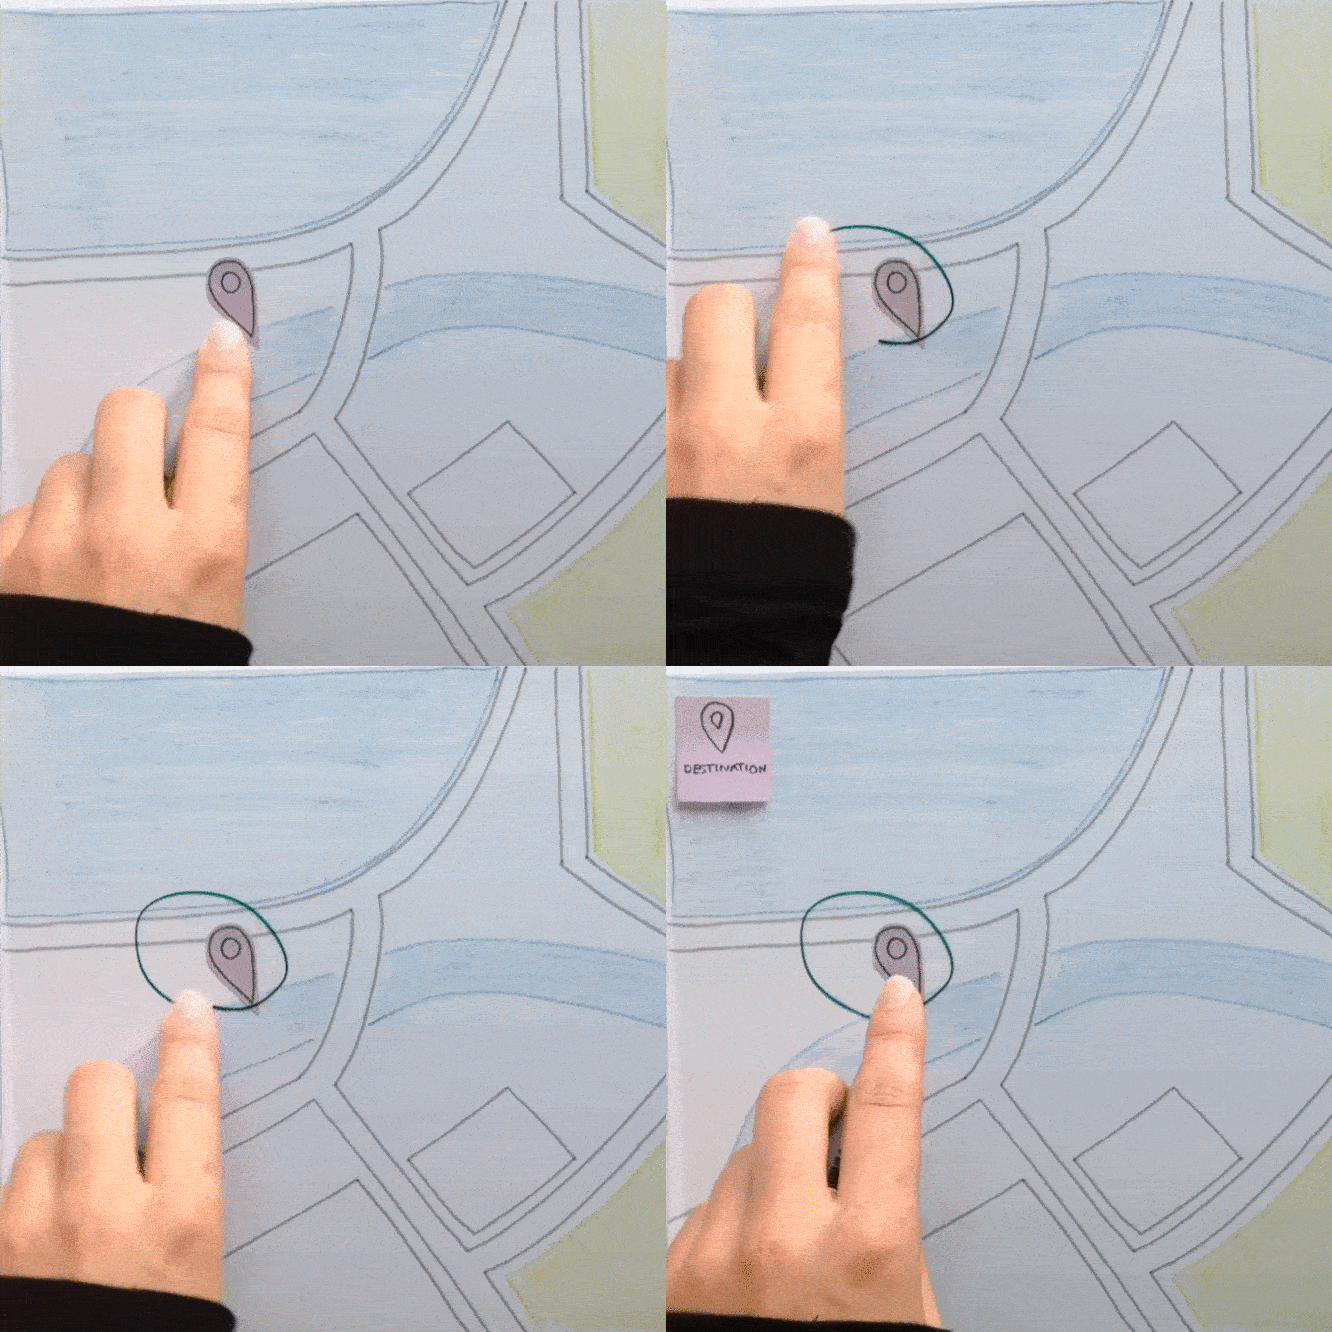
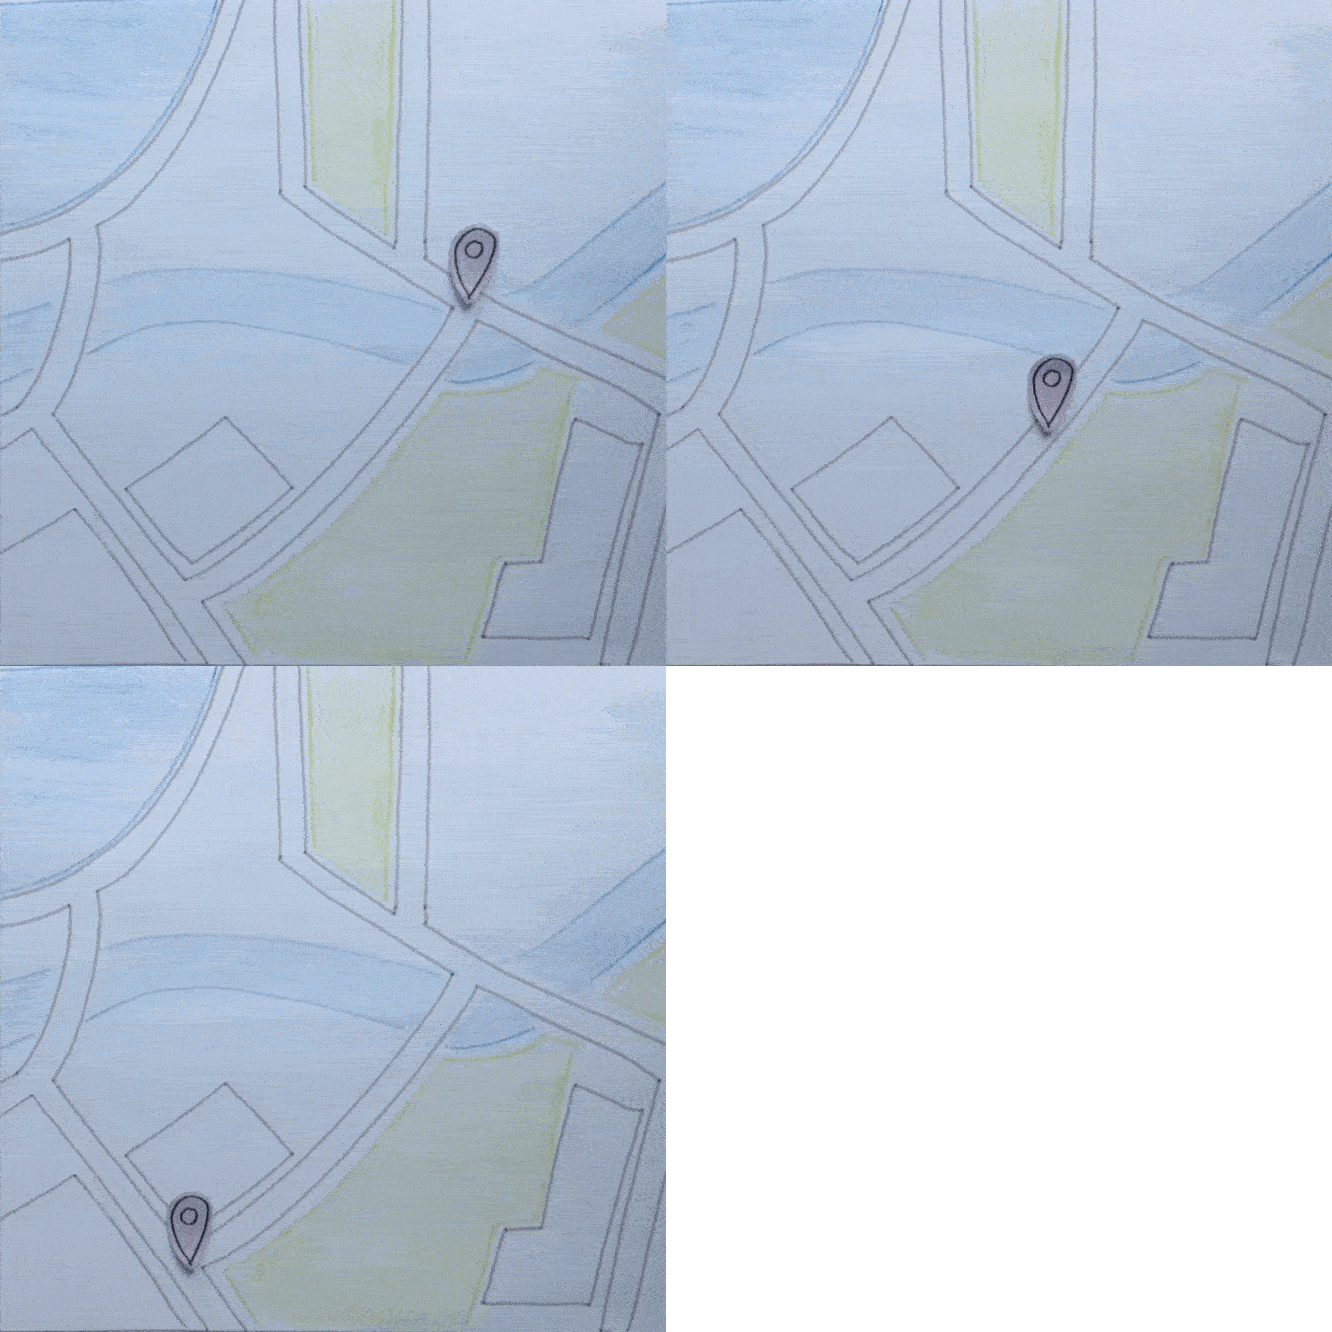
Tape Finger
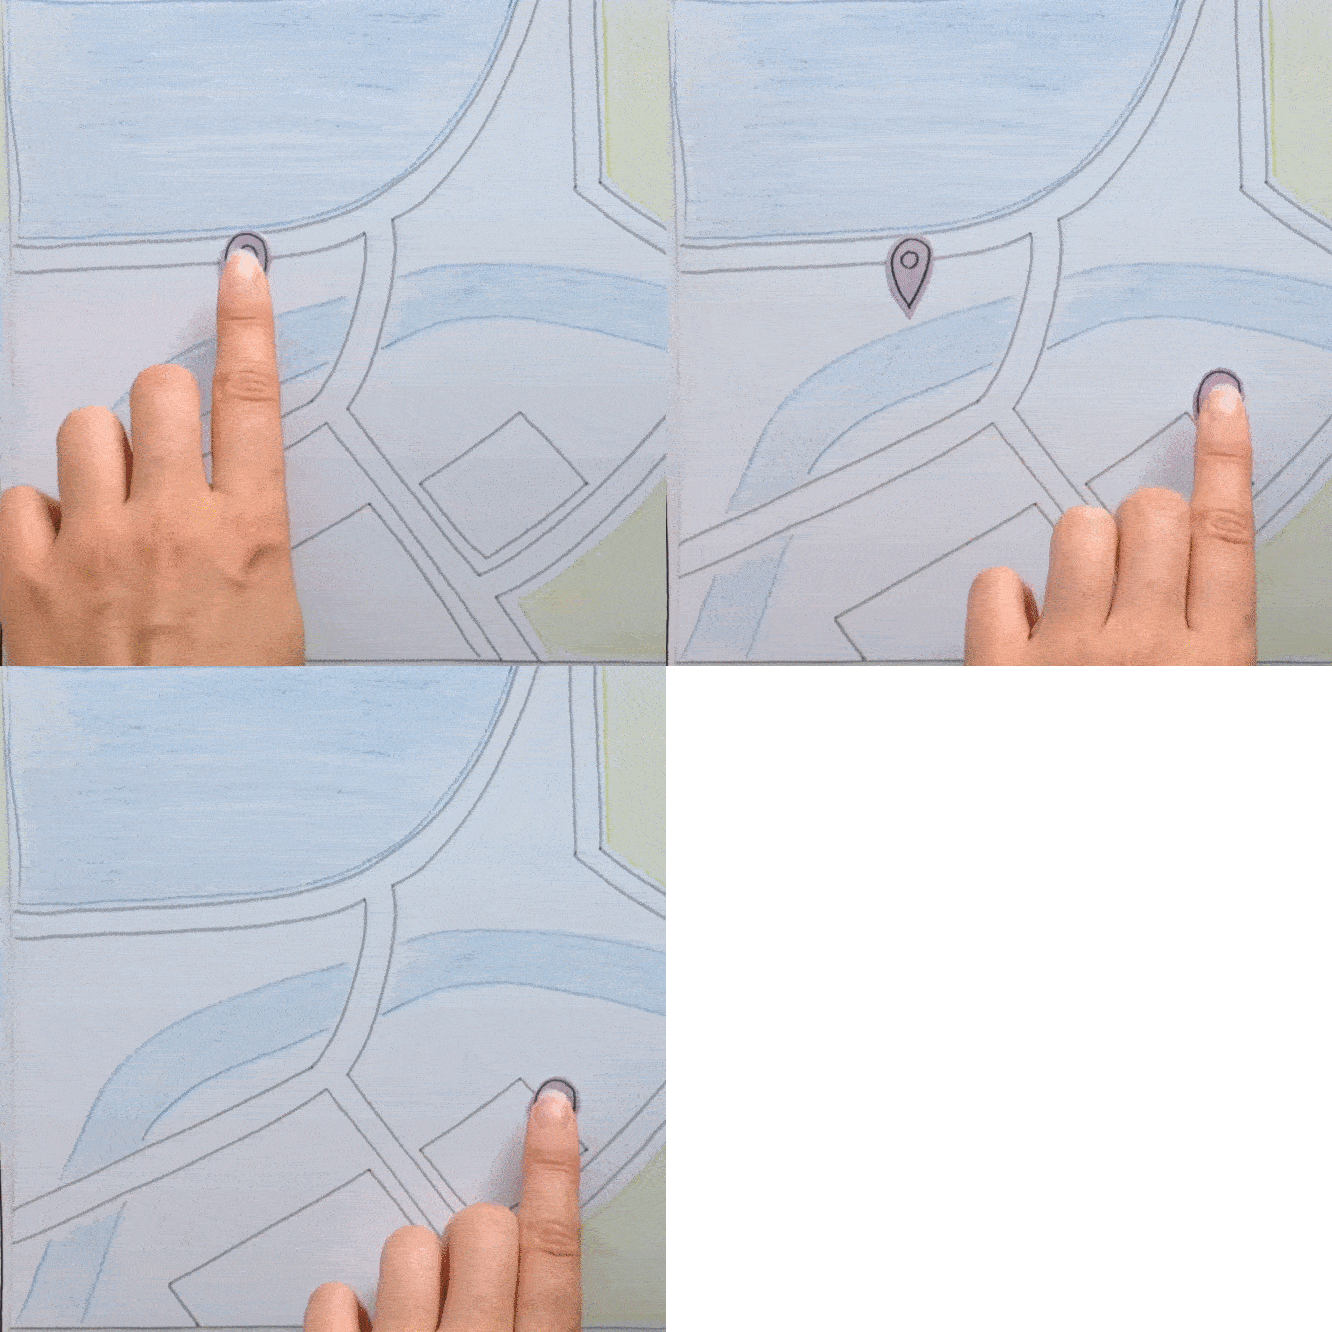
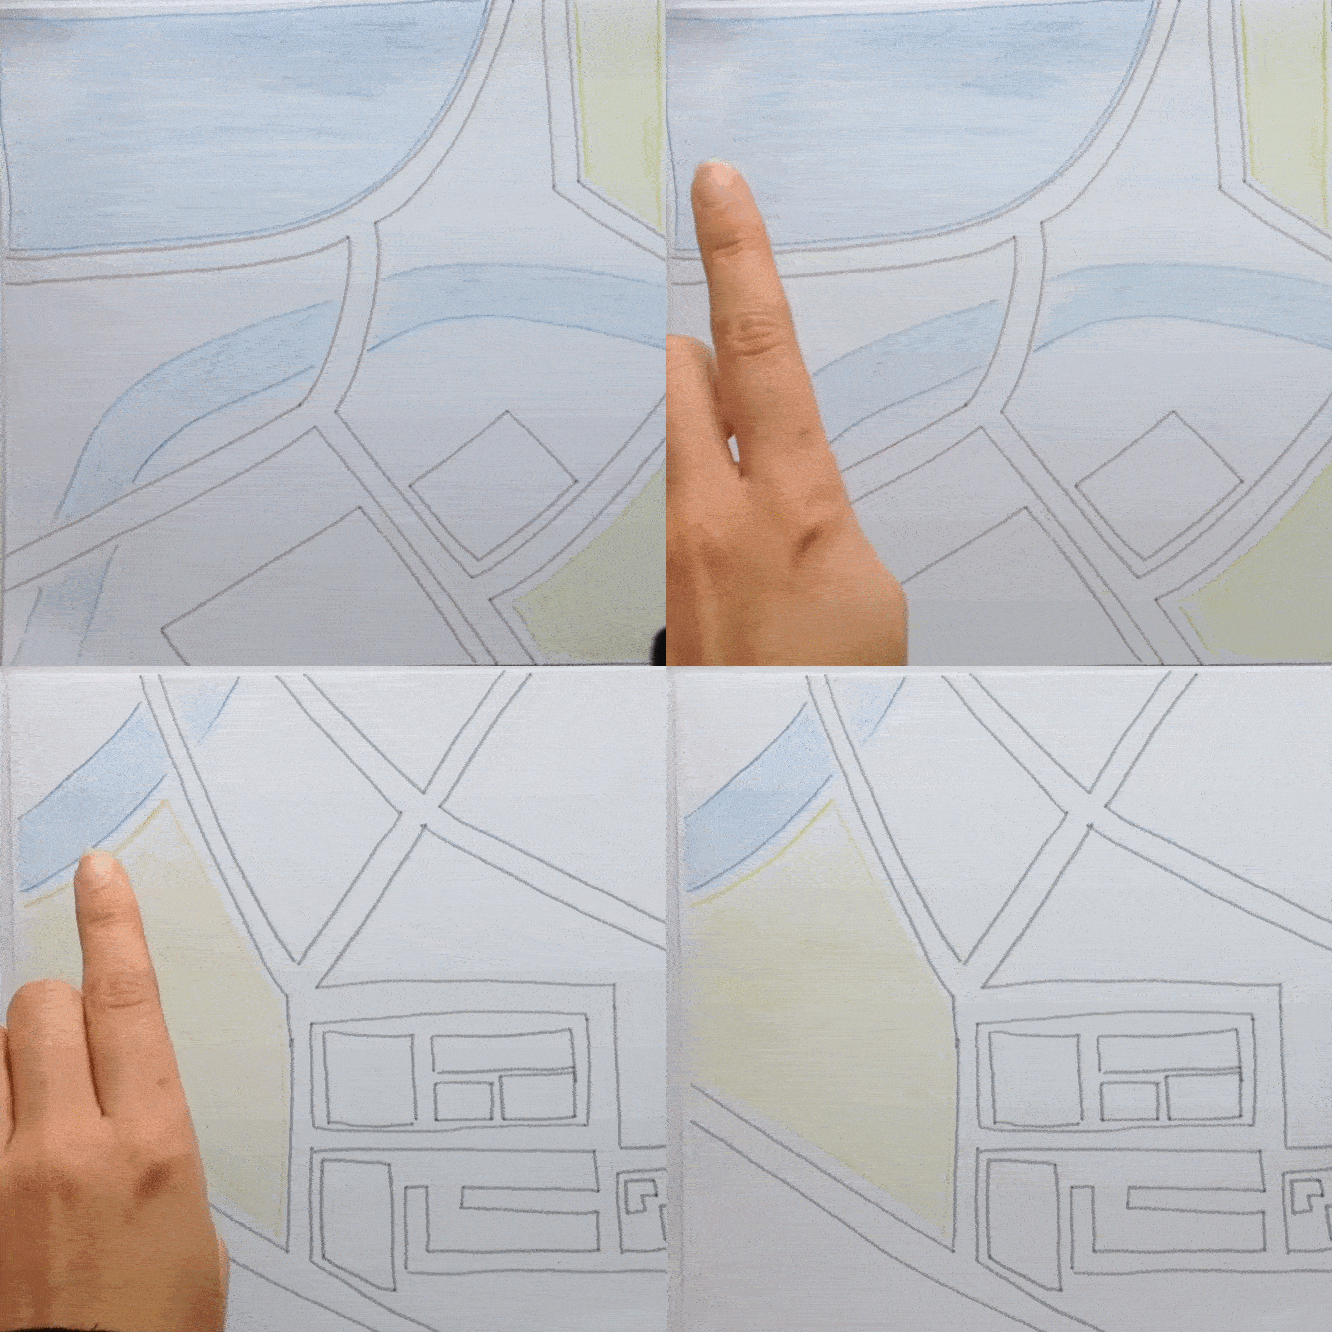
Tape Finger
moveDescription
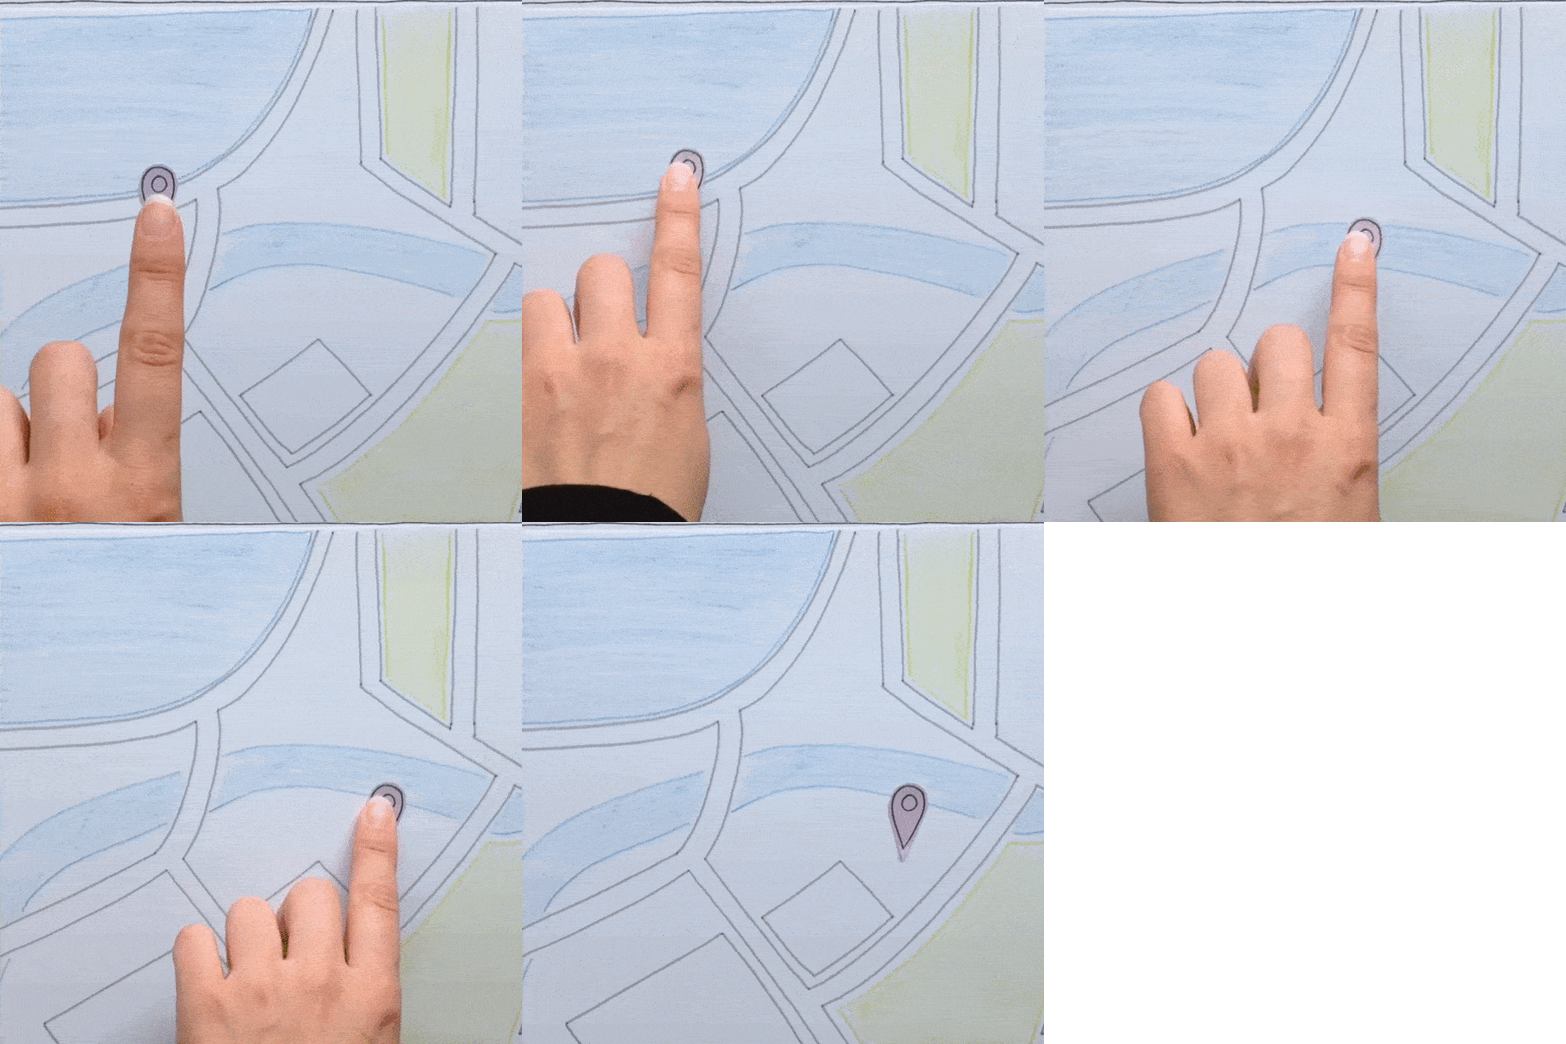
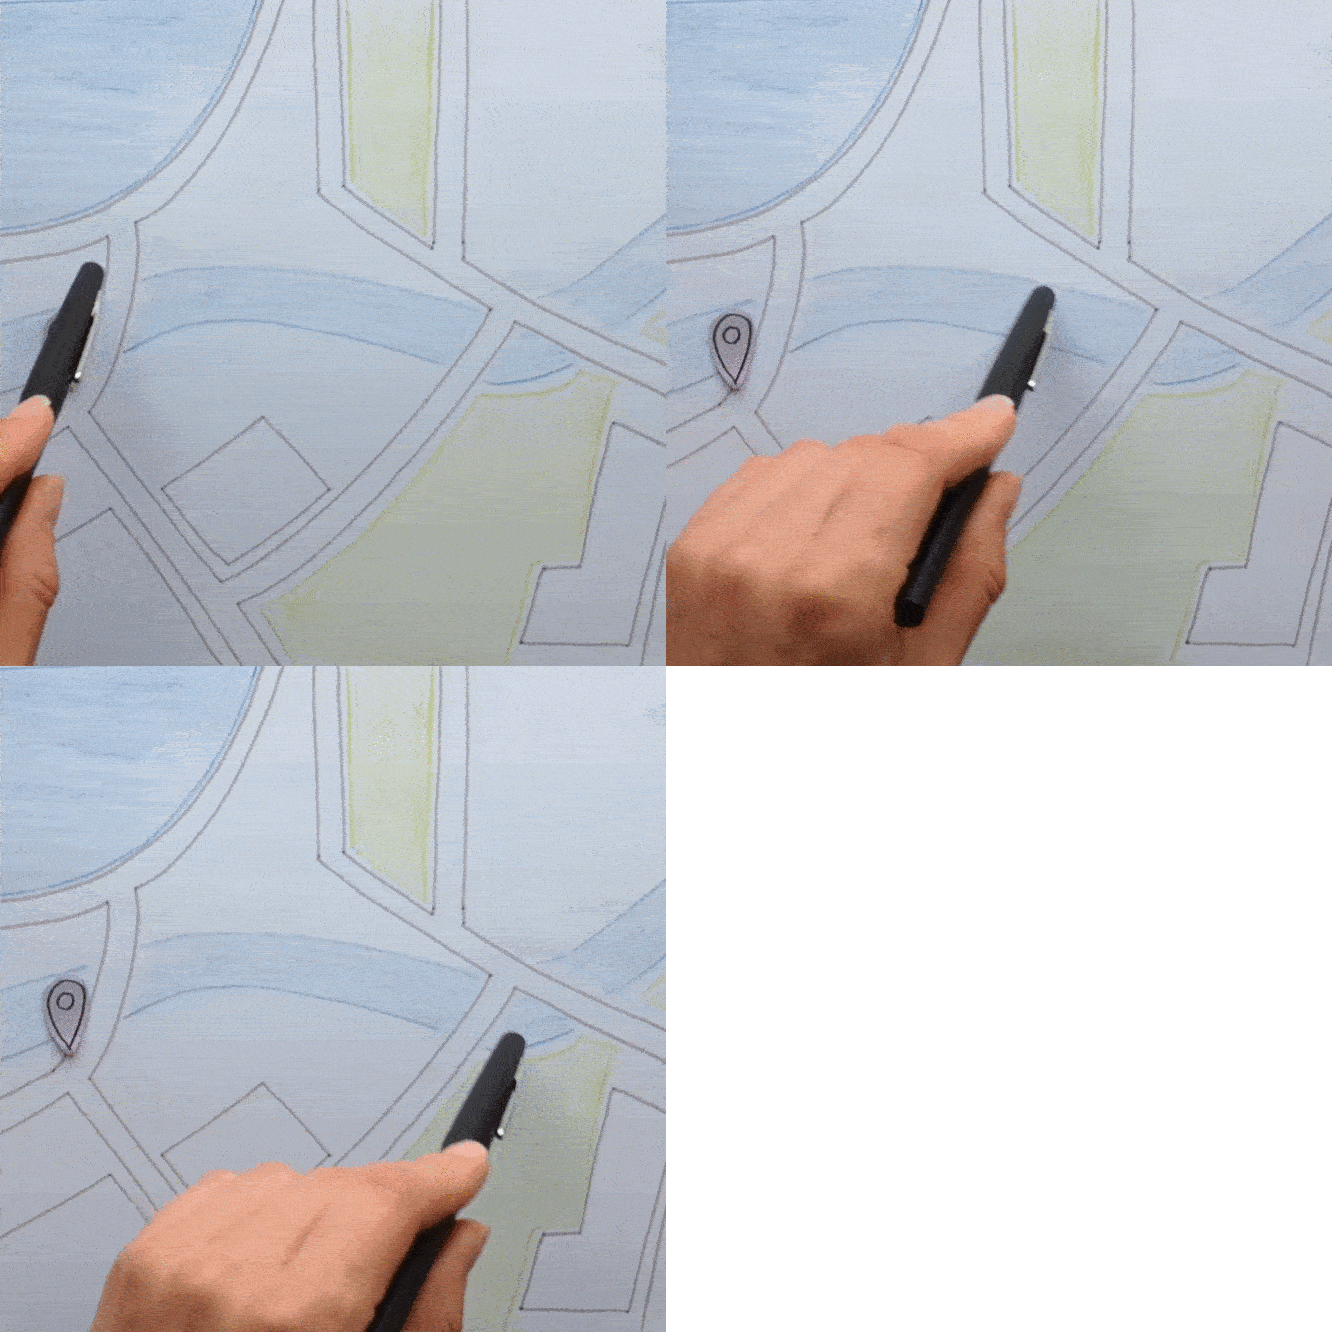
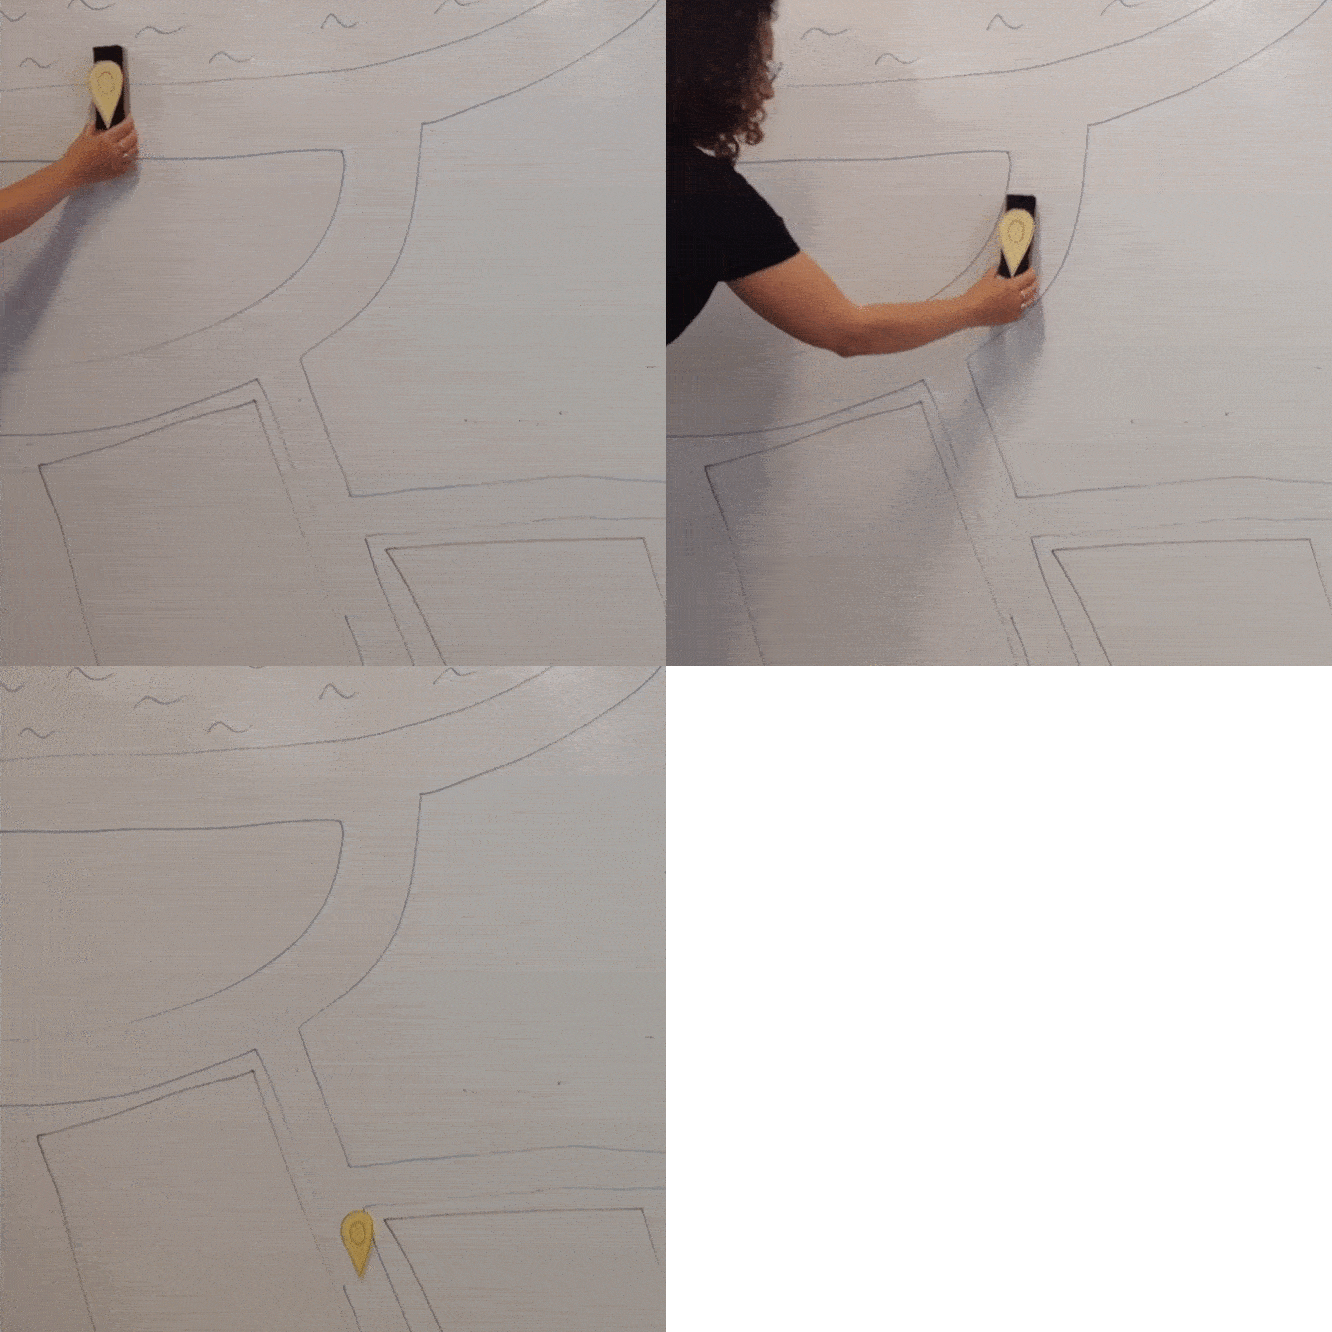
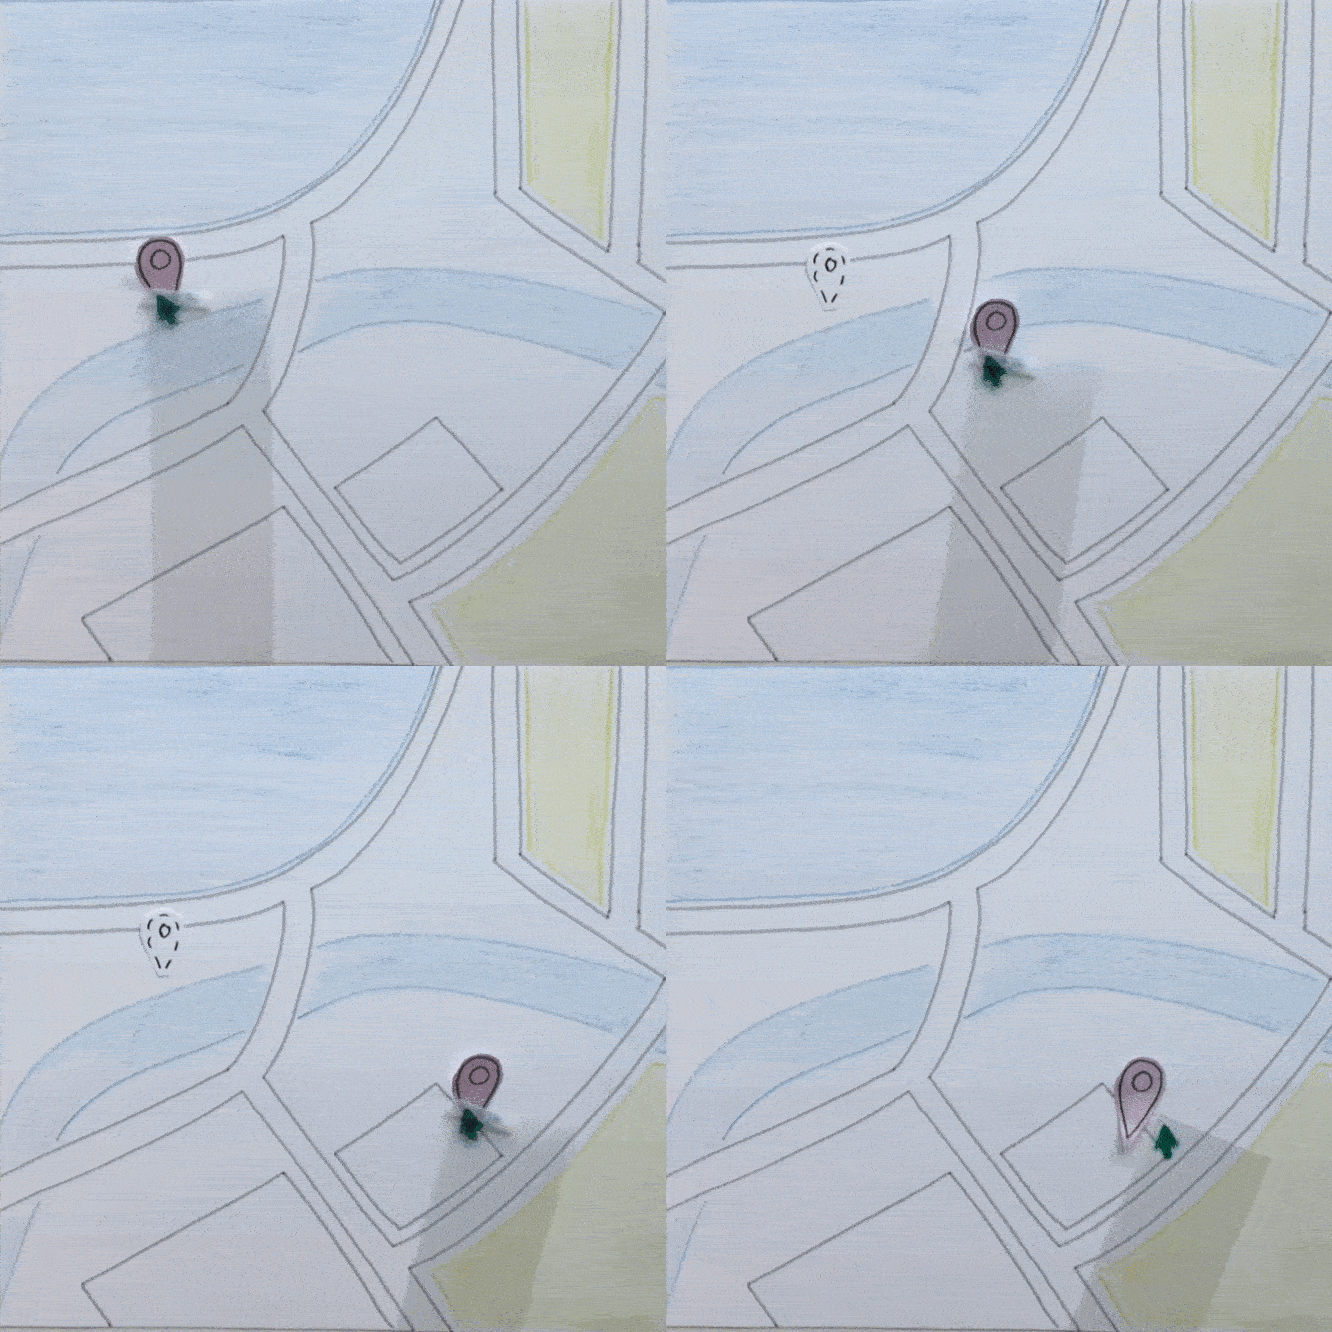
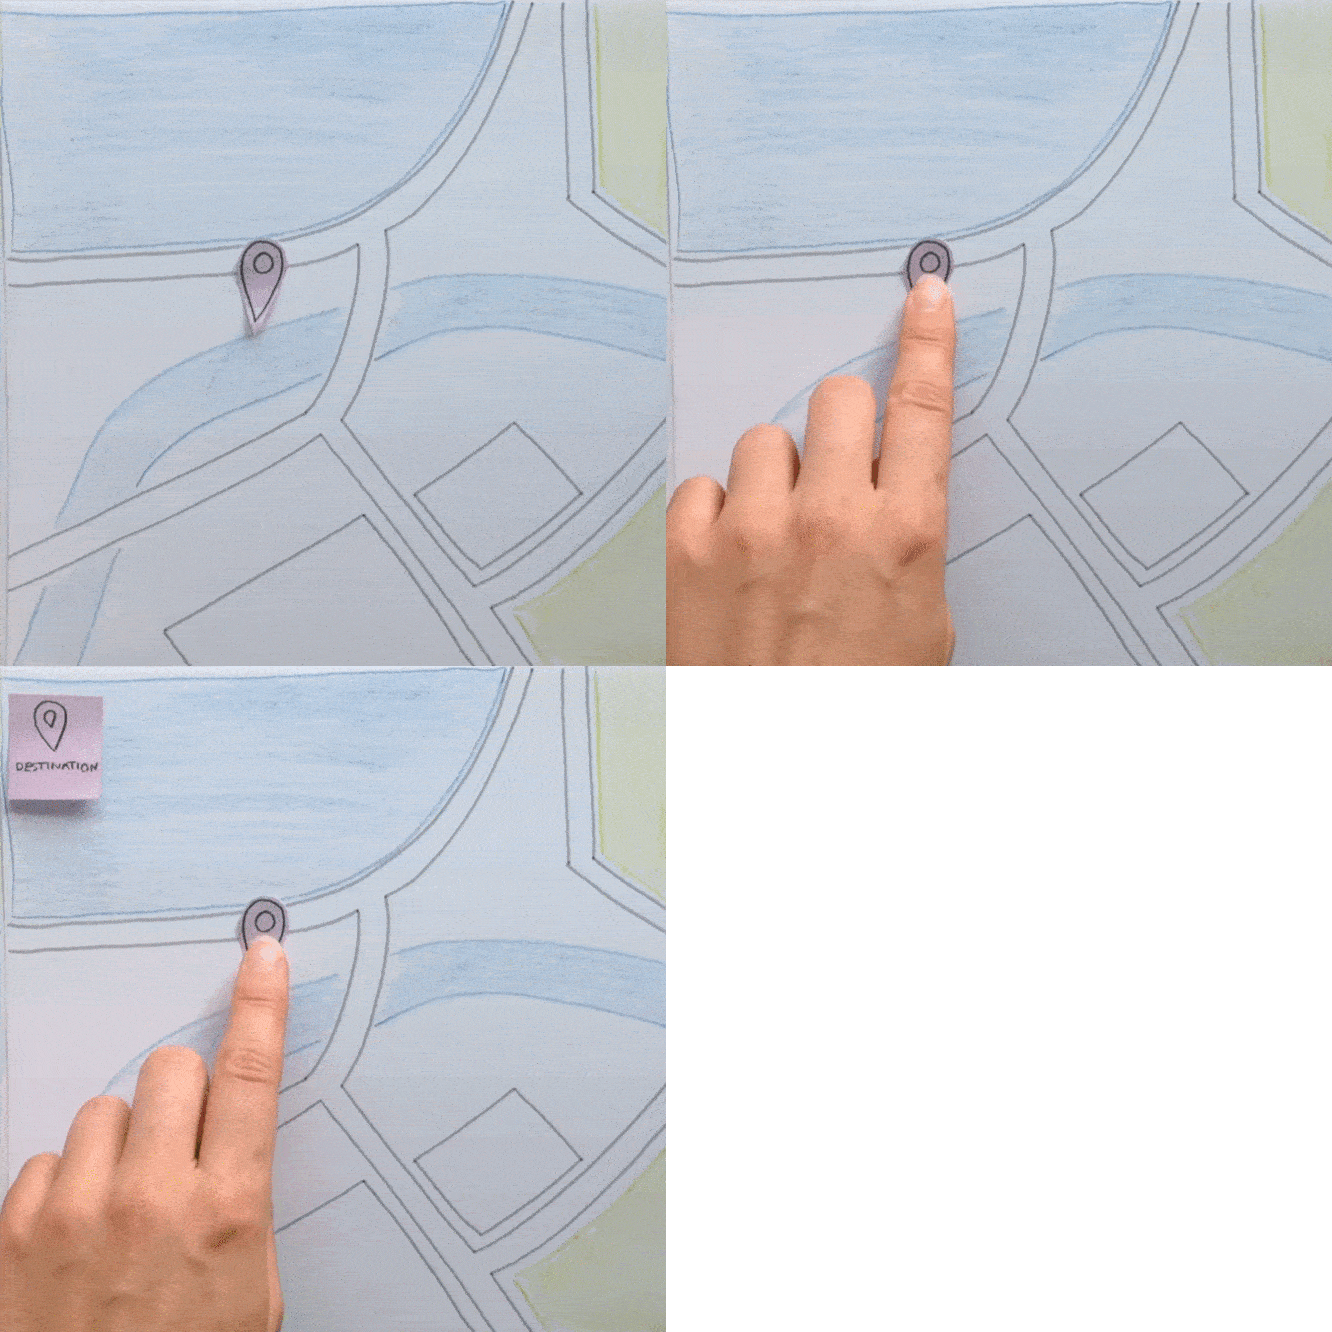
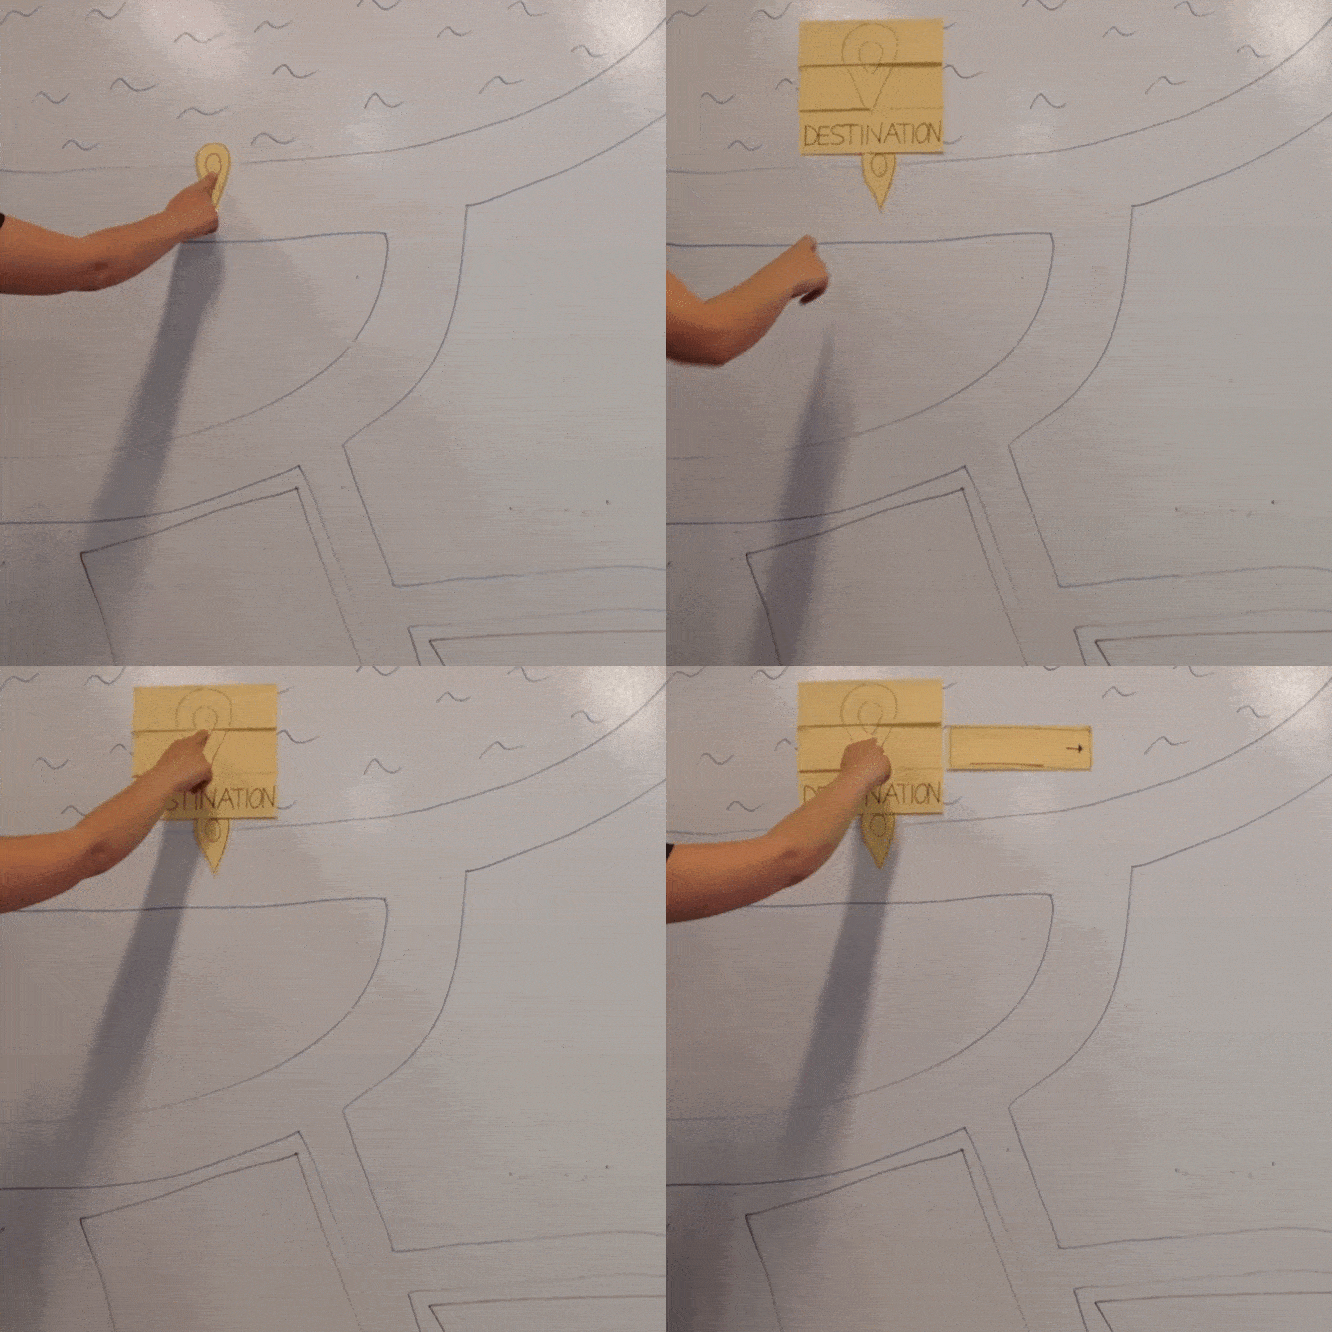
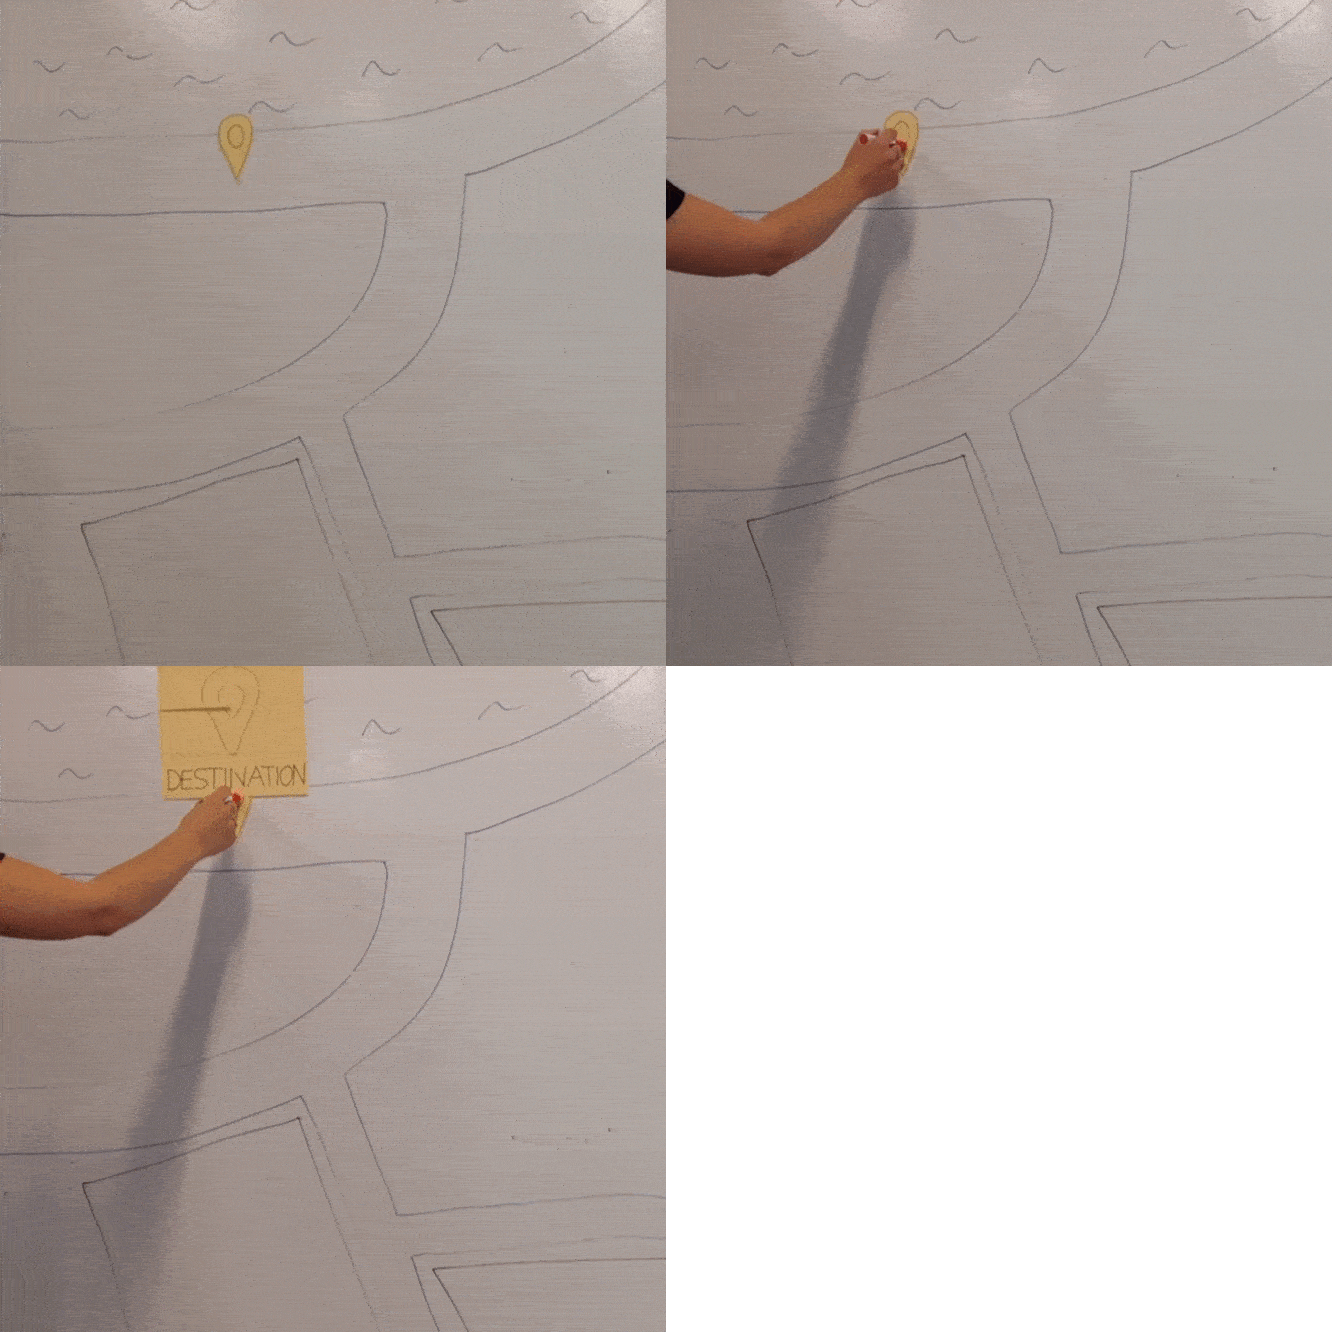
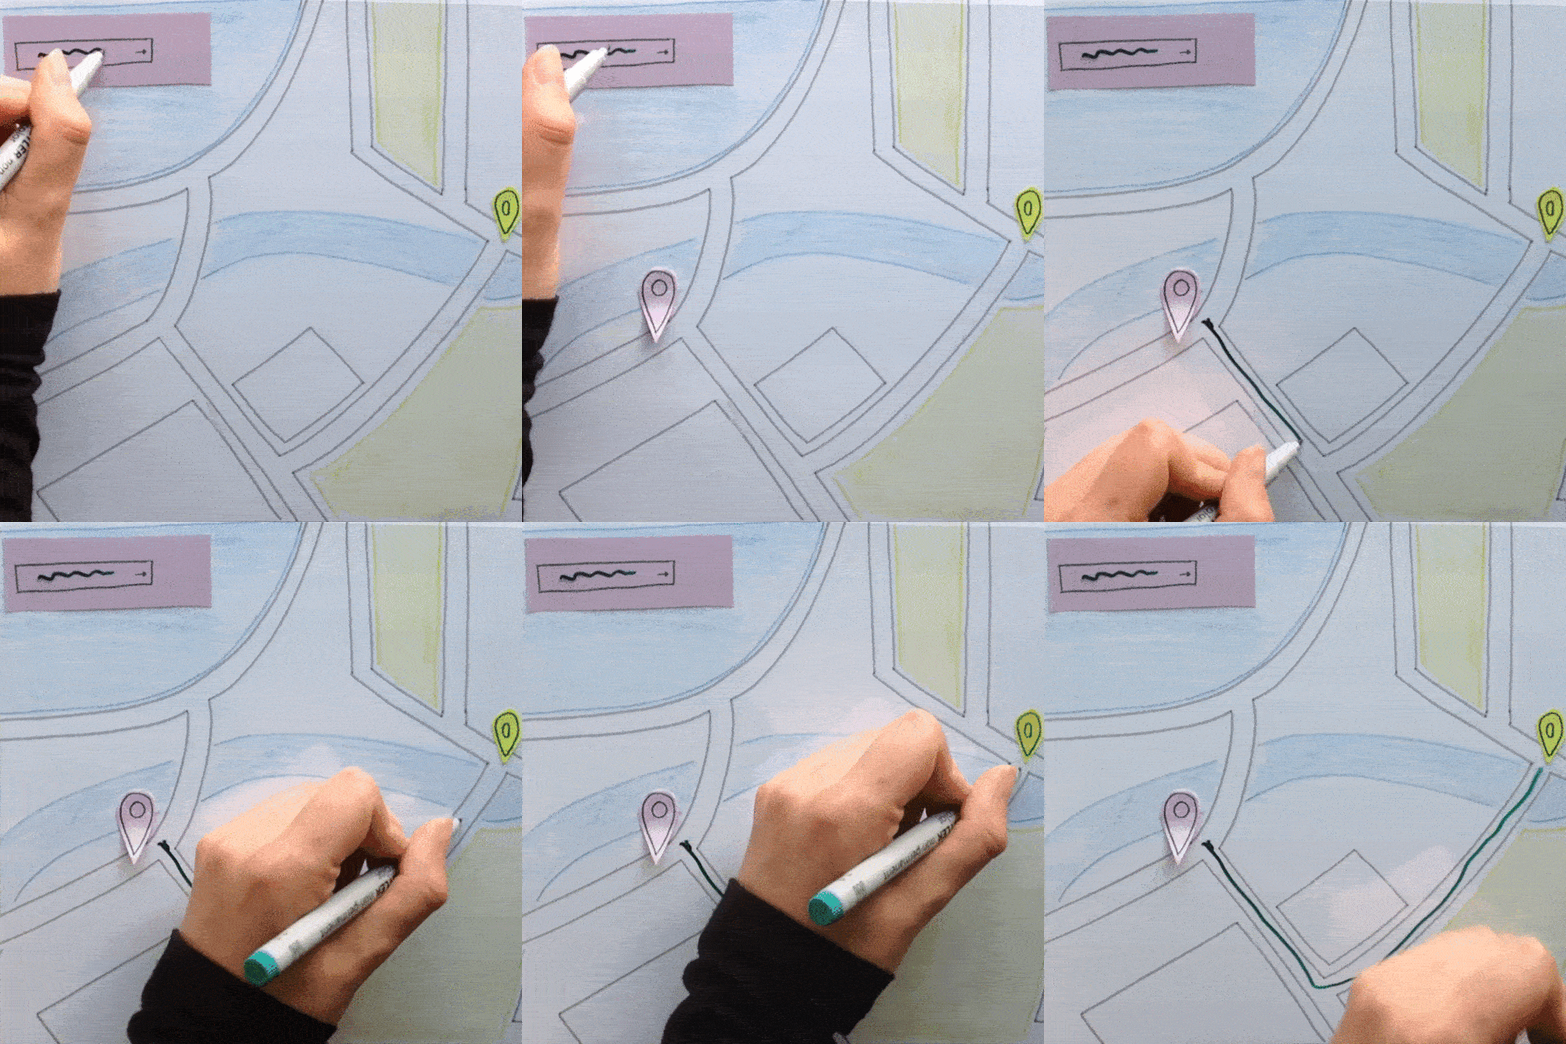
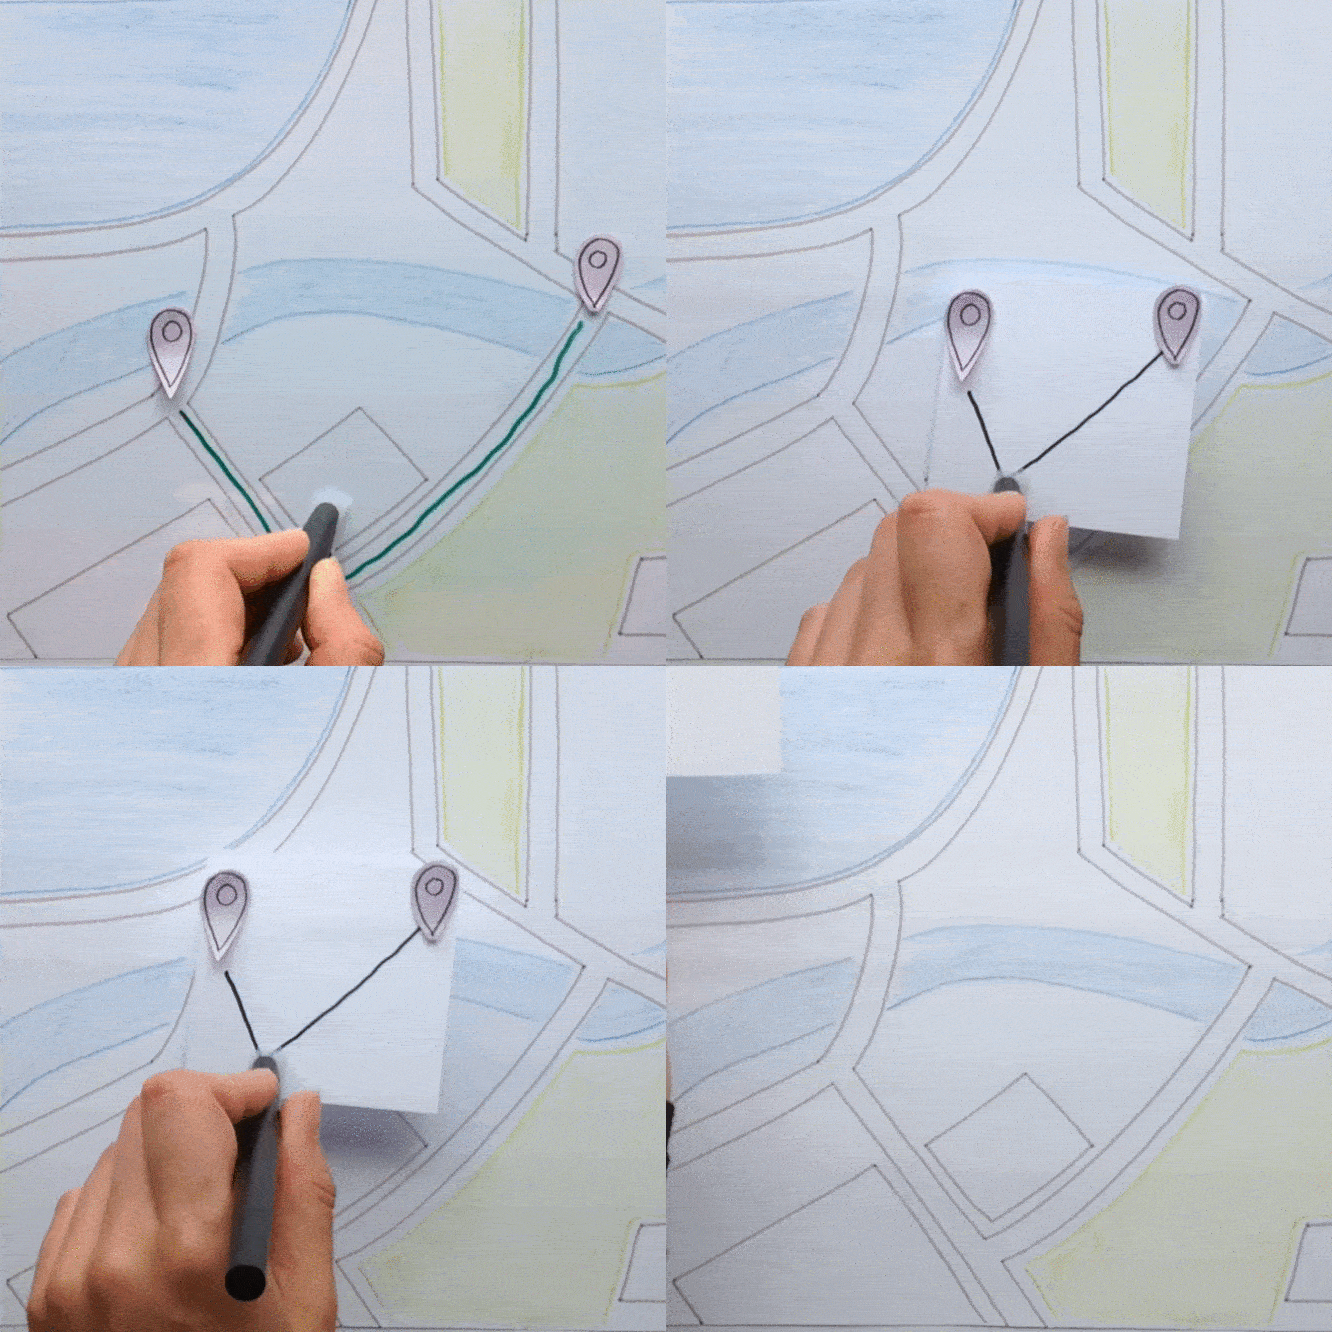
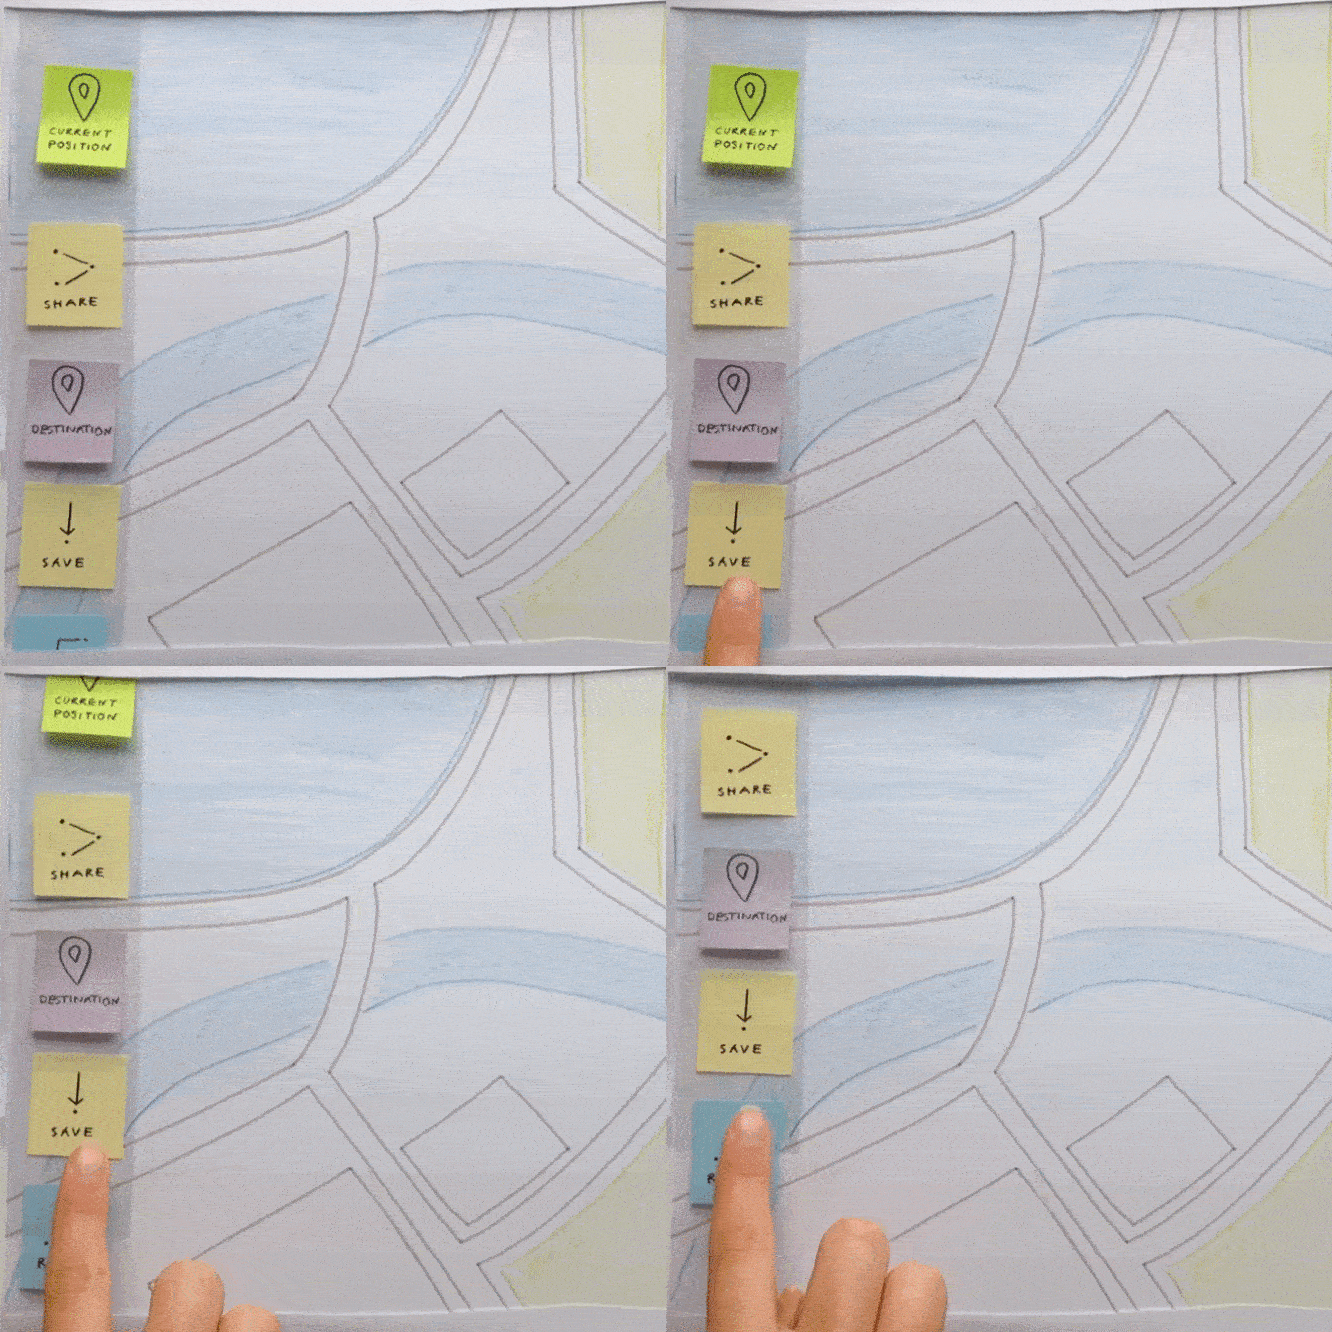
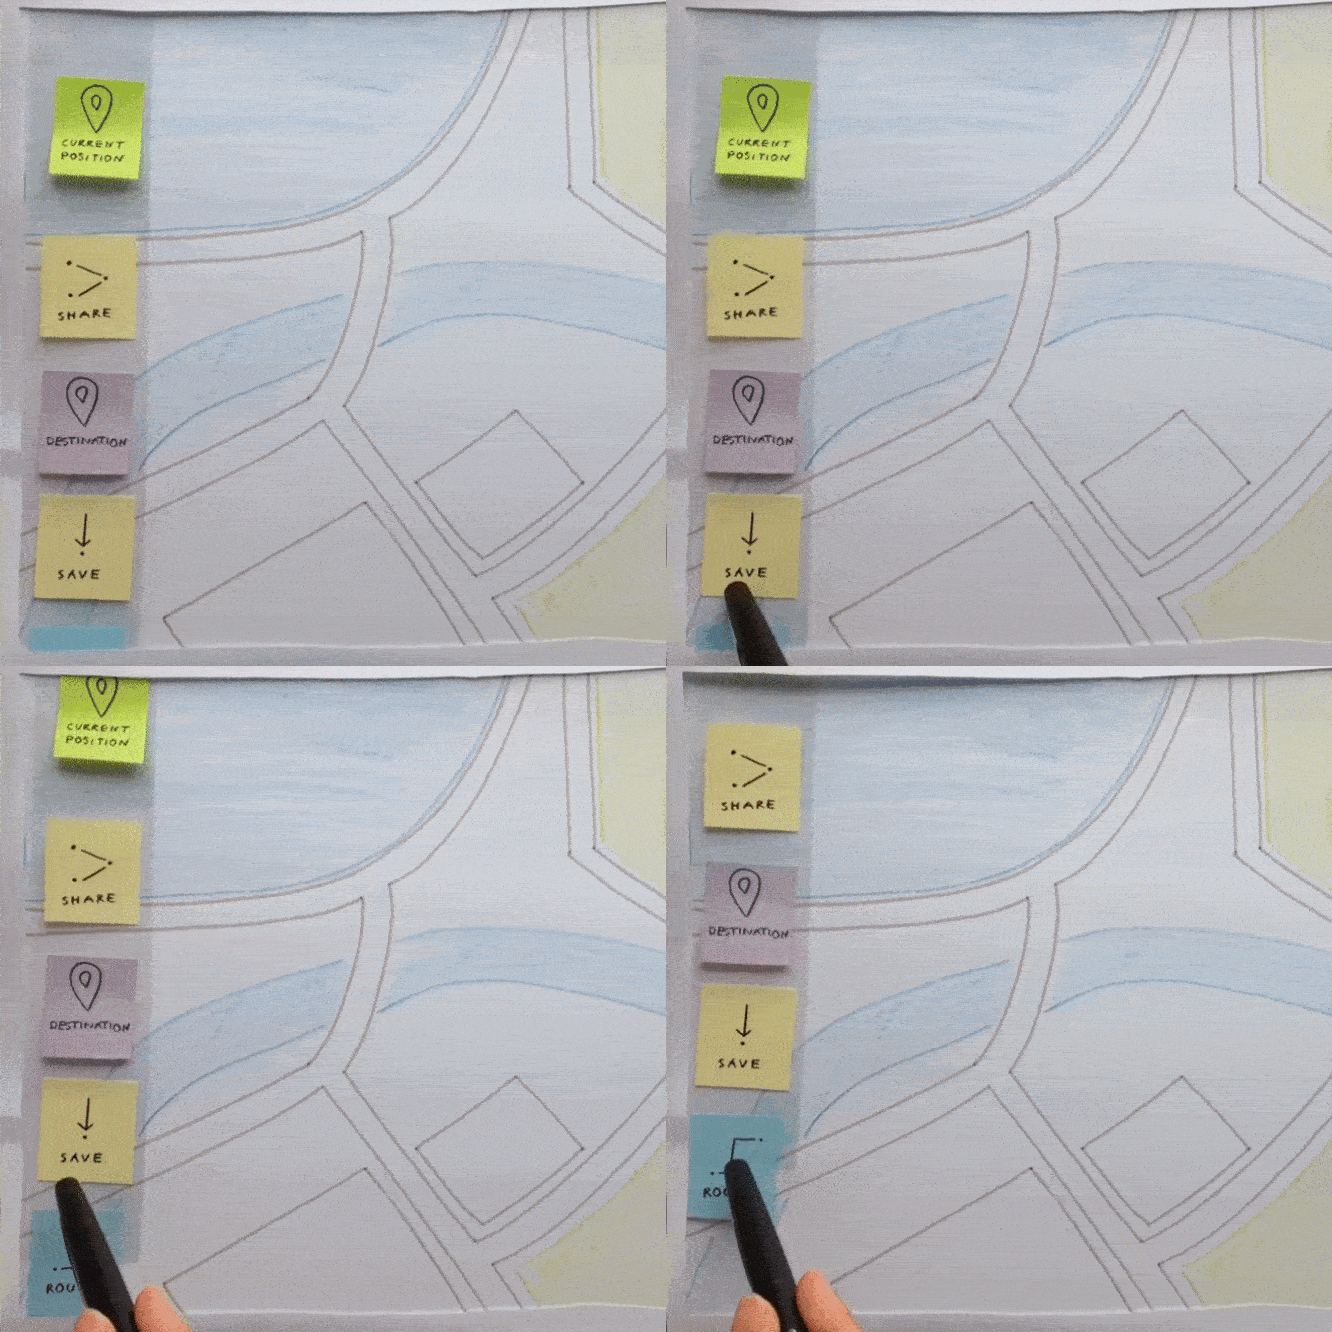
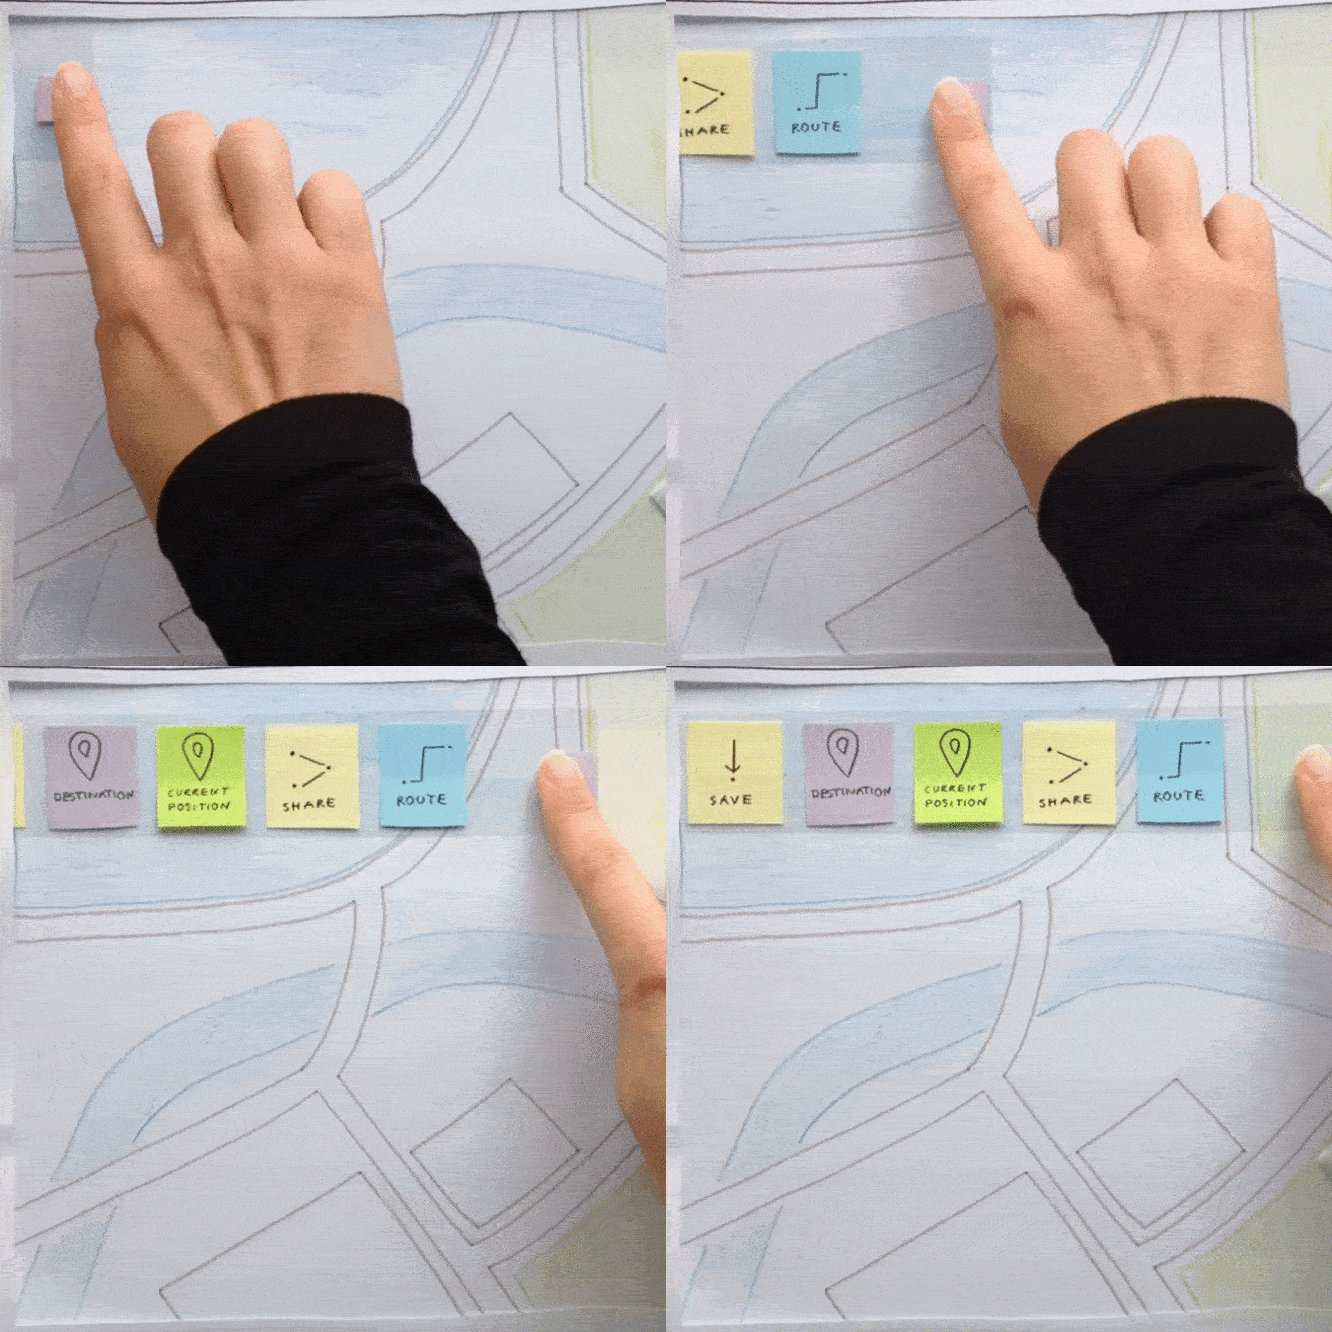
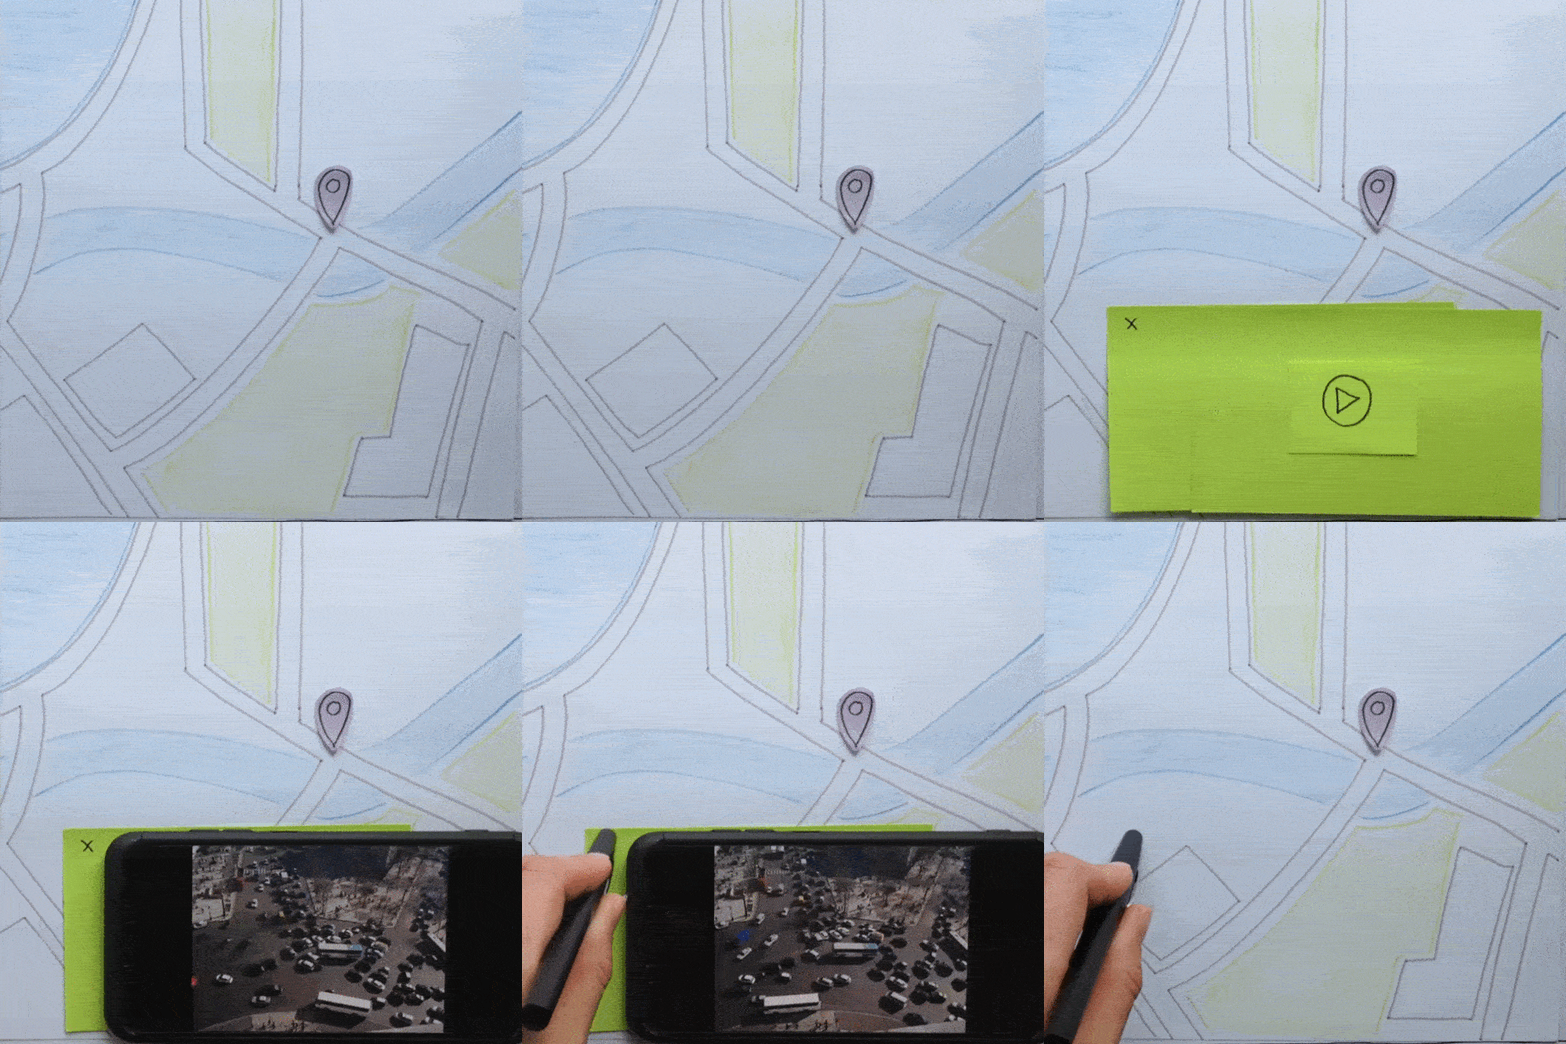
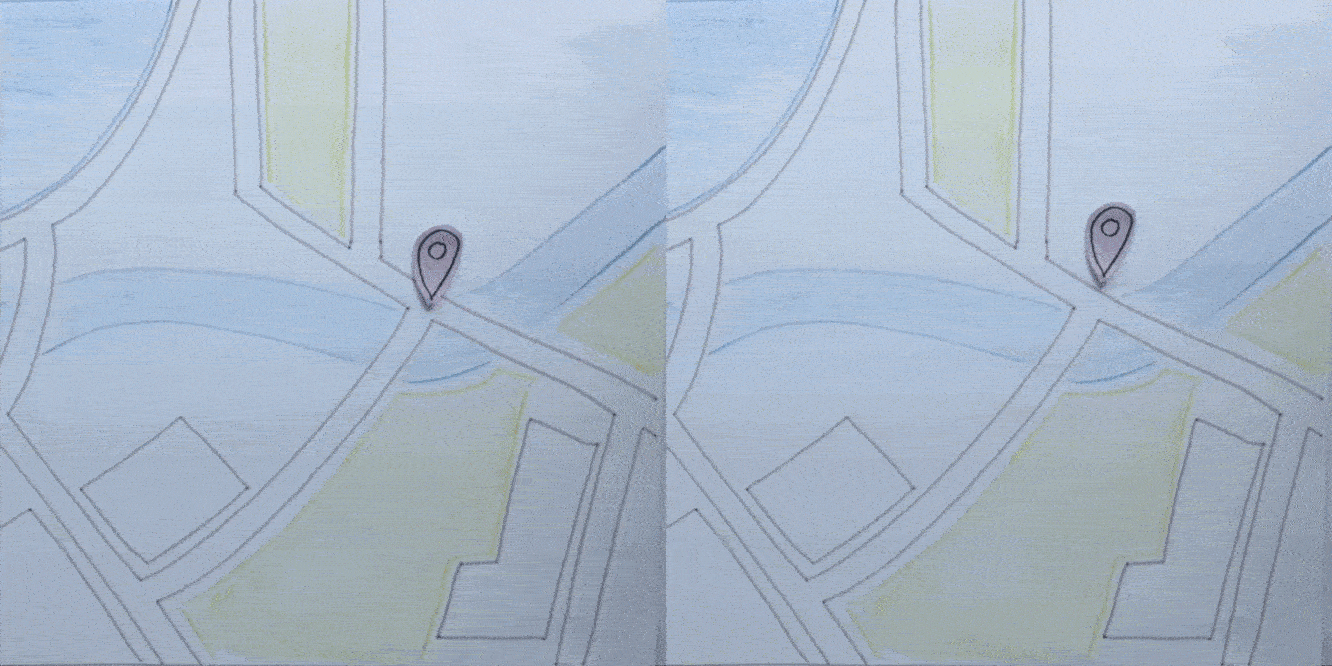
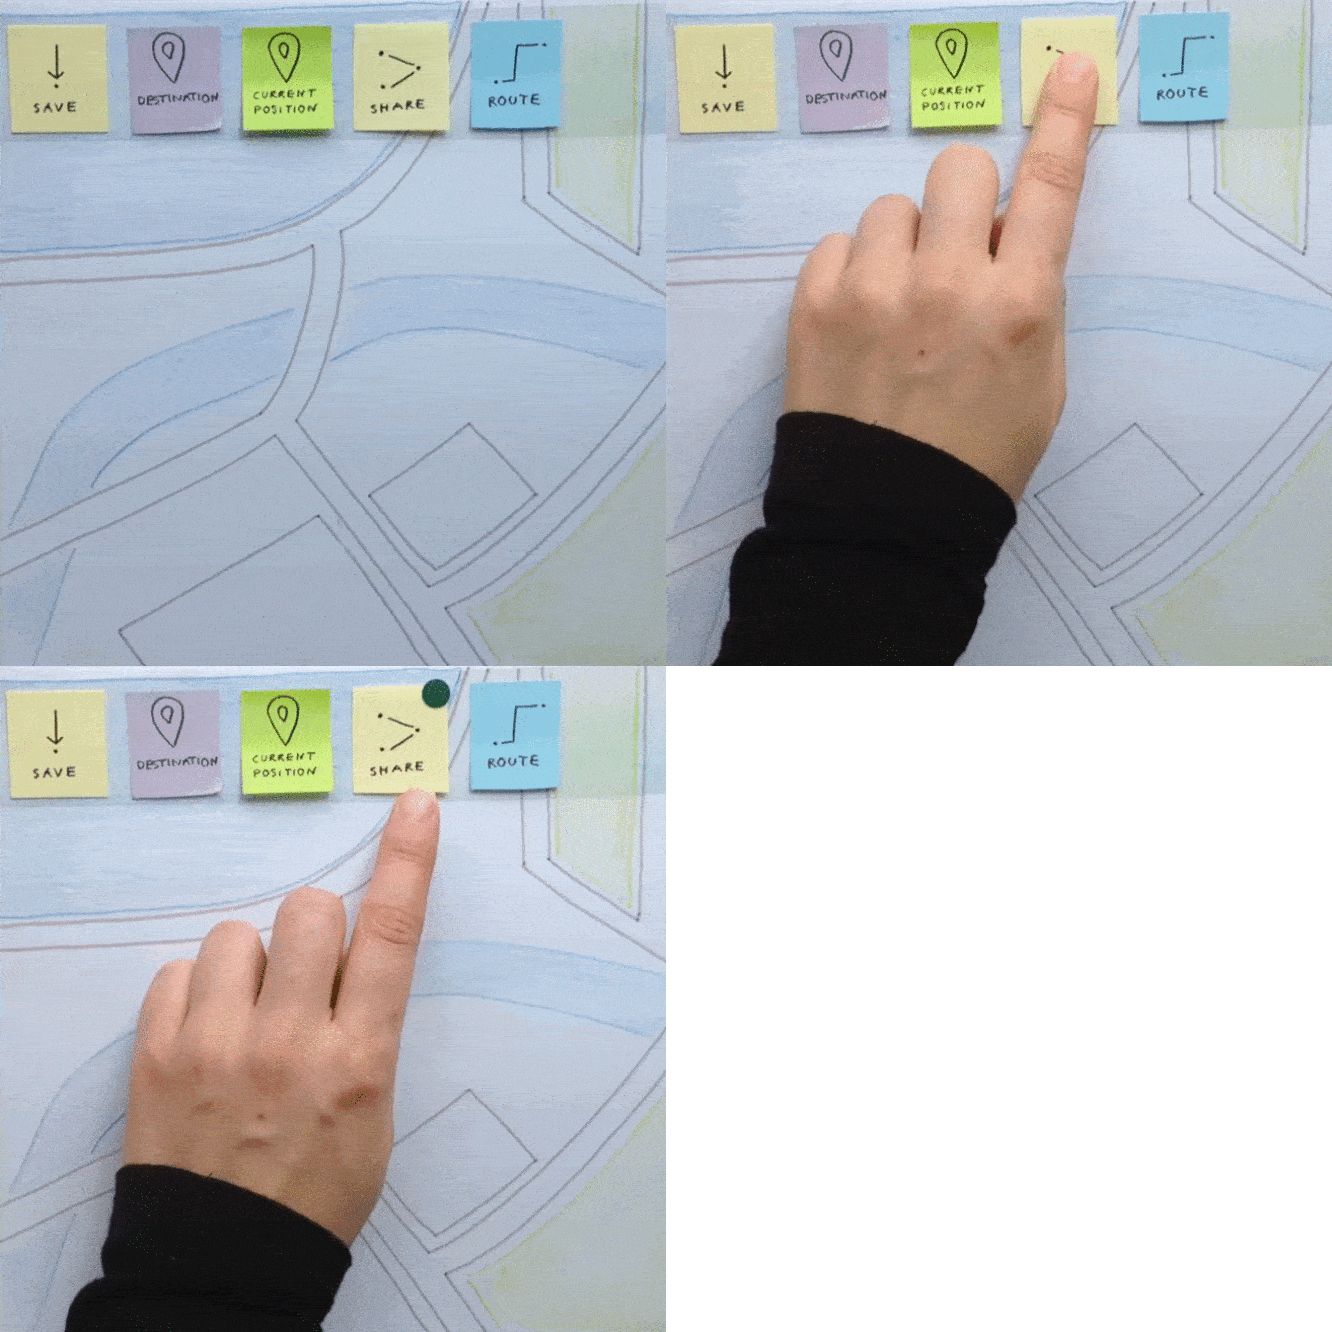
Attach a small piece of tape to your finger. Tap on a movable unit, lift your finger and move it around without moving other units.
Material
Sticky-note tape

Push It
Have you thought of using physical objects yet? Remember the principles of polymorphism, reuse and reification. Also, think of persistance!
Pick Up
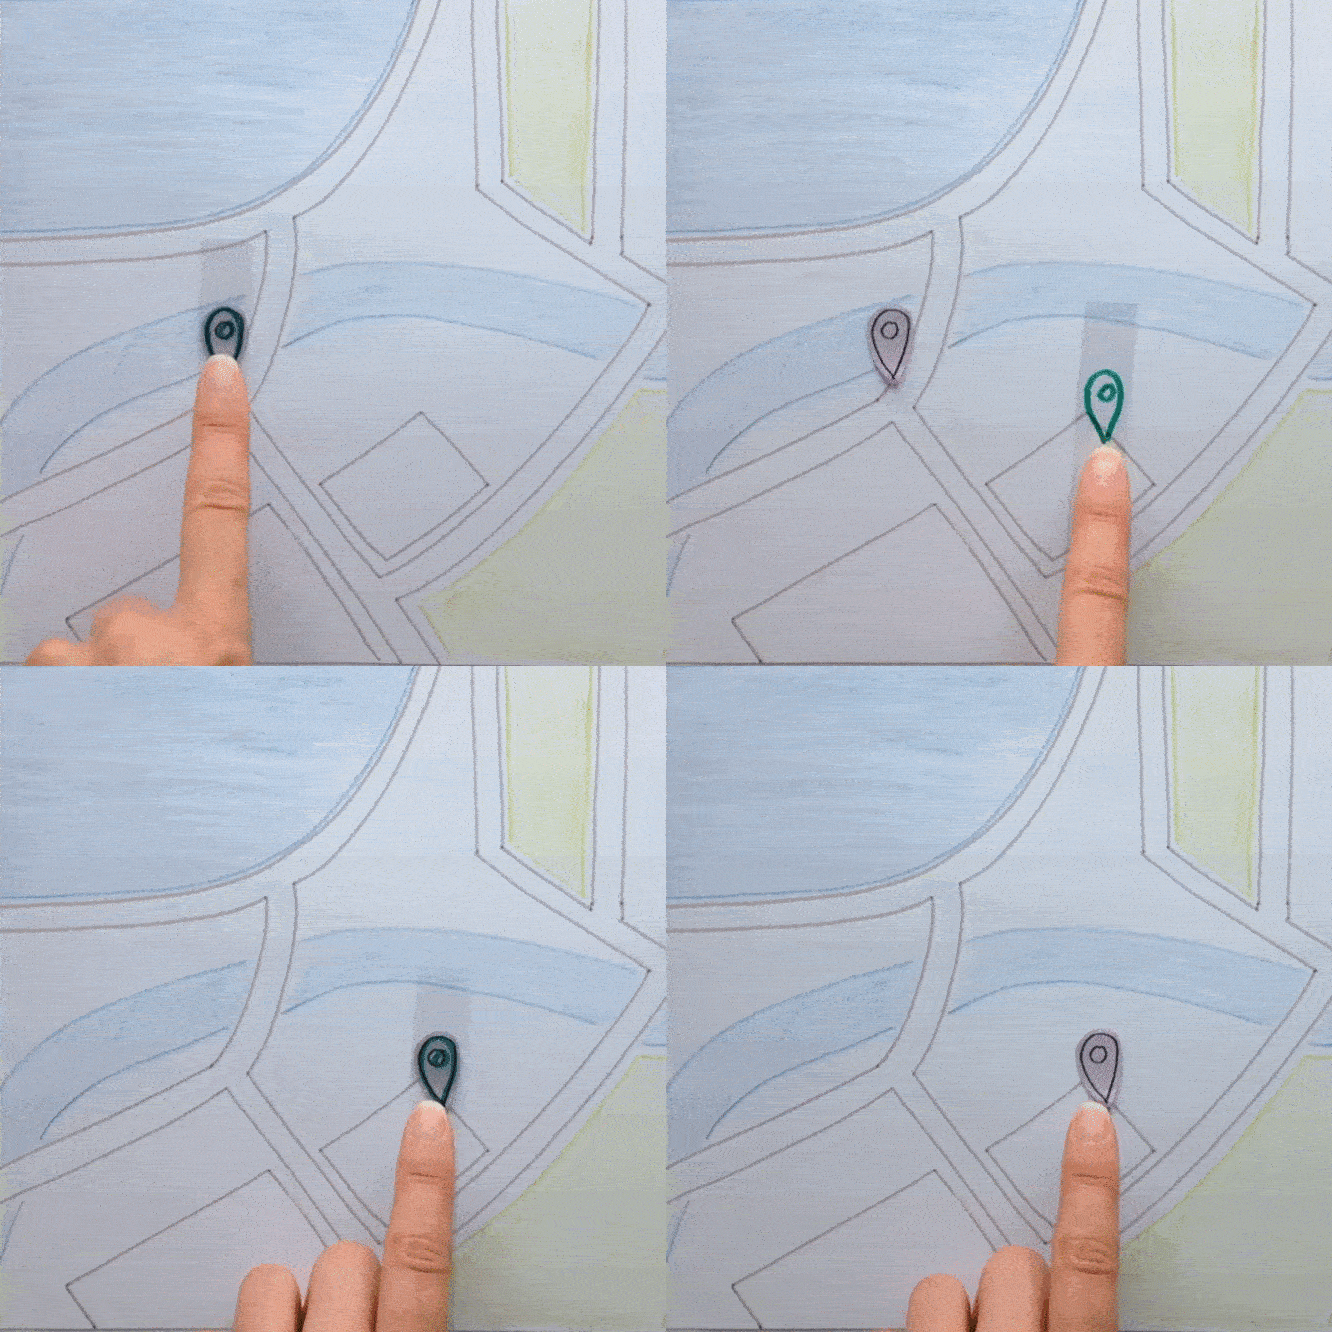
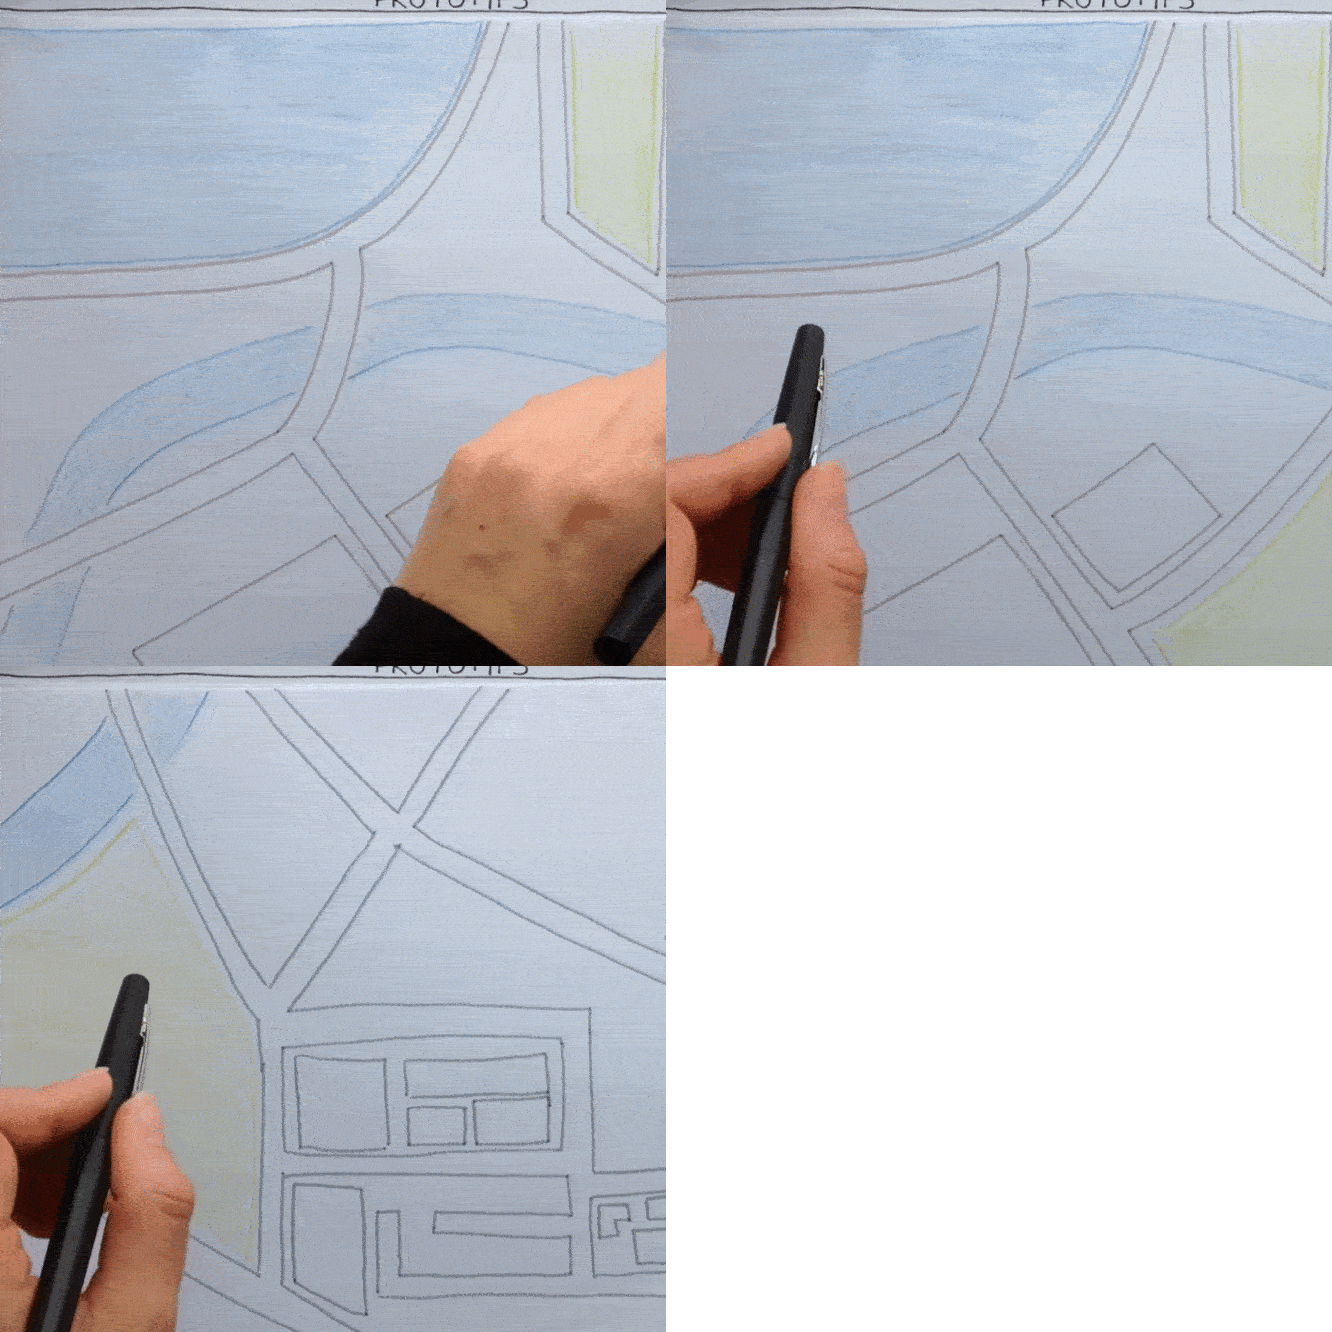
Pick Up
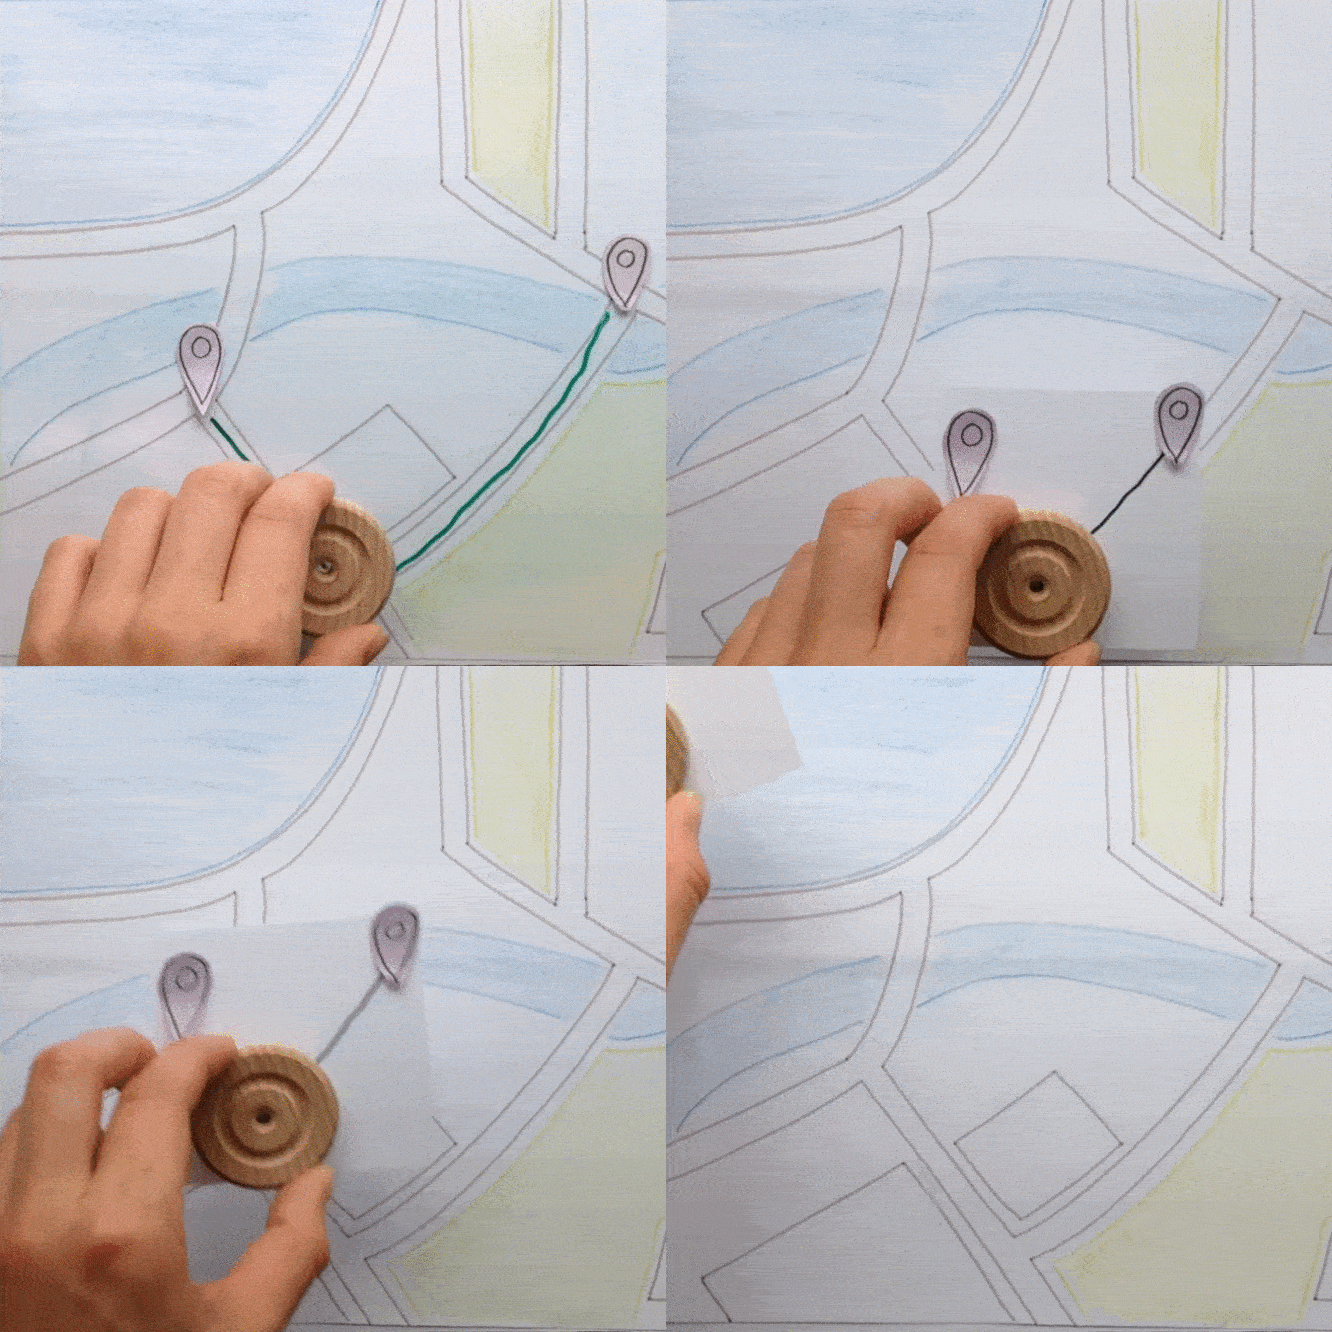
moveDescription
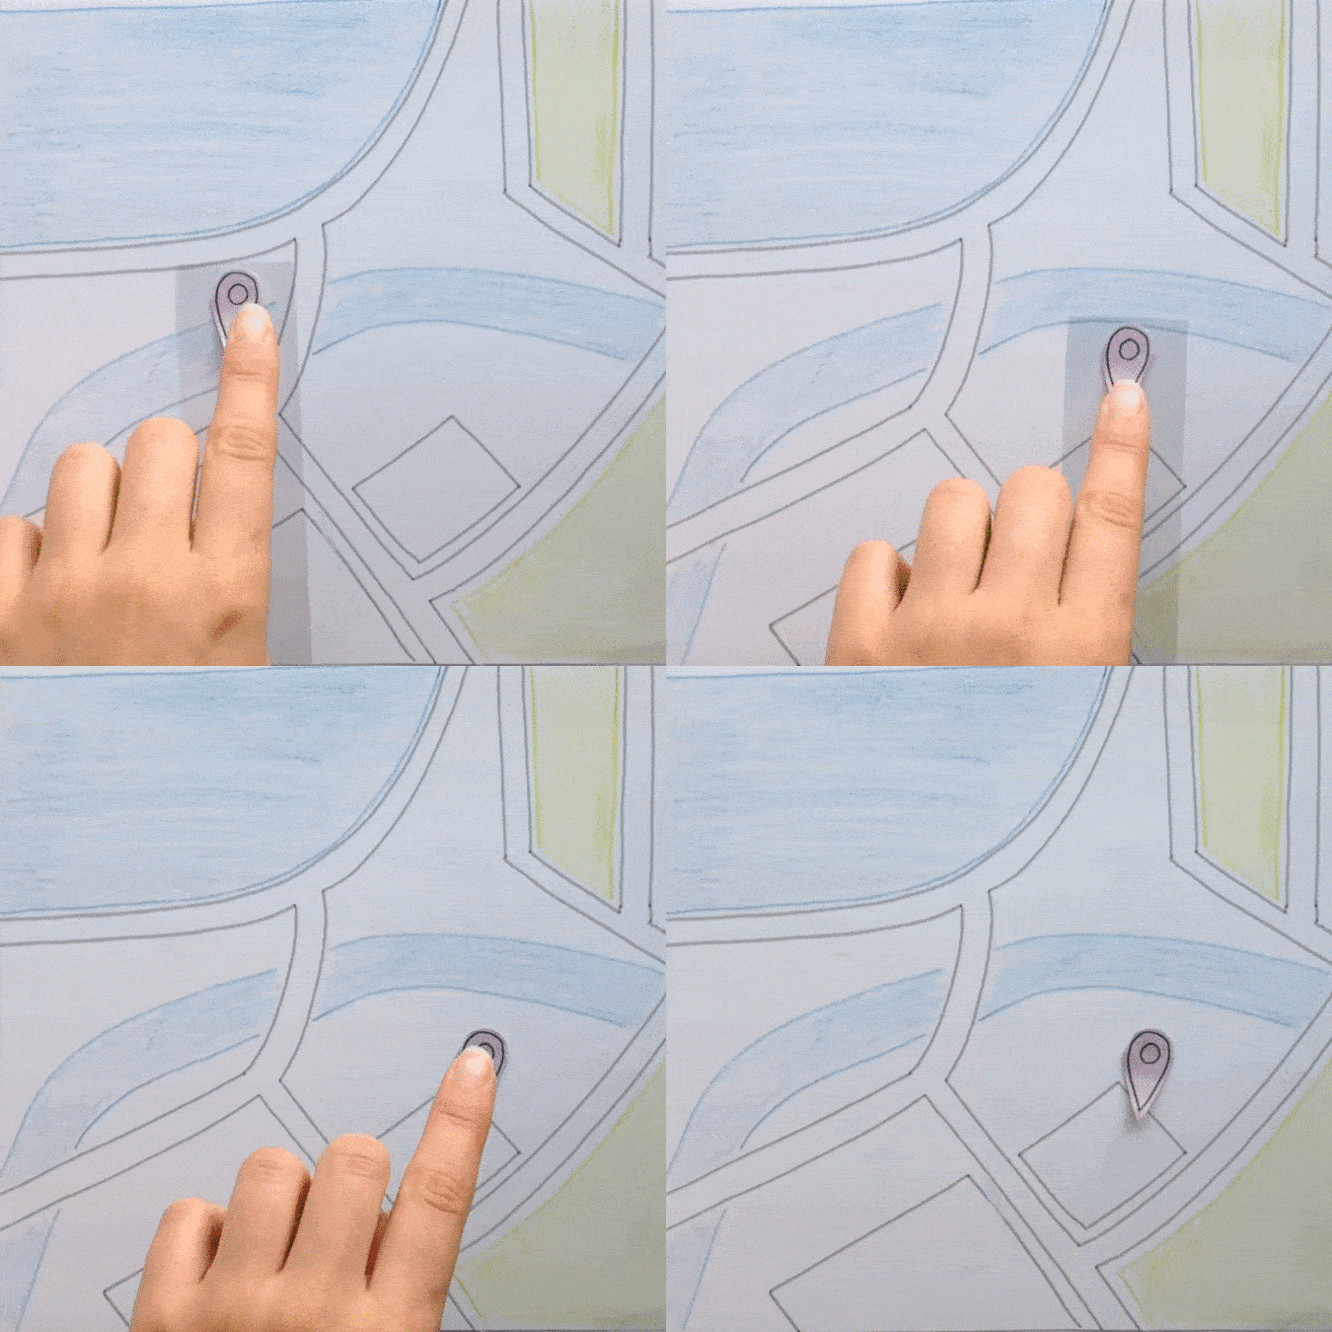
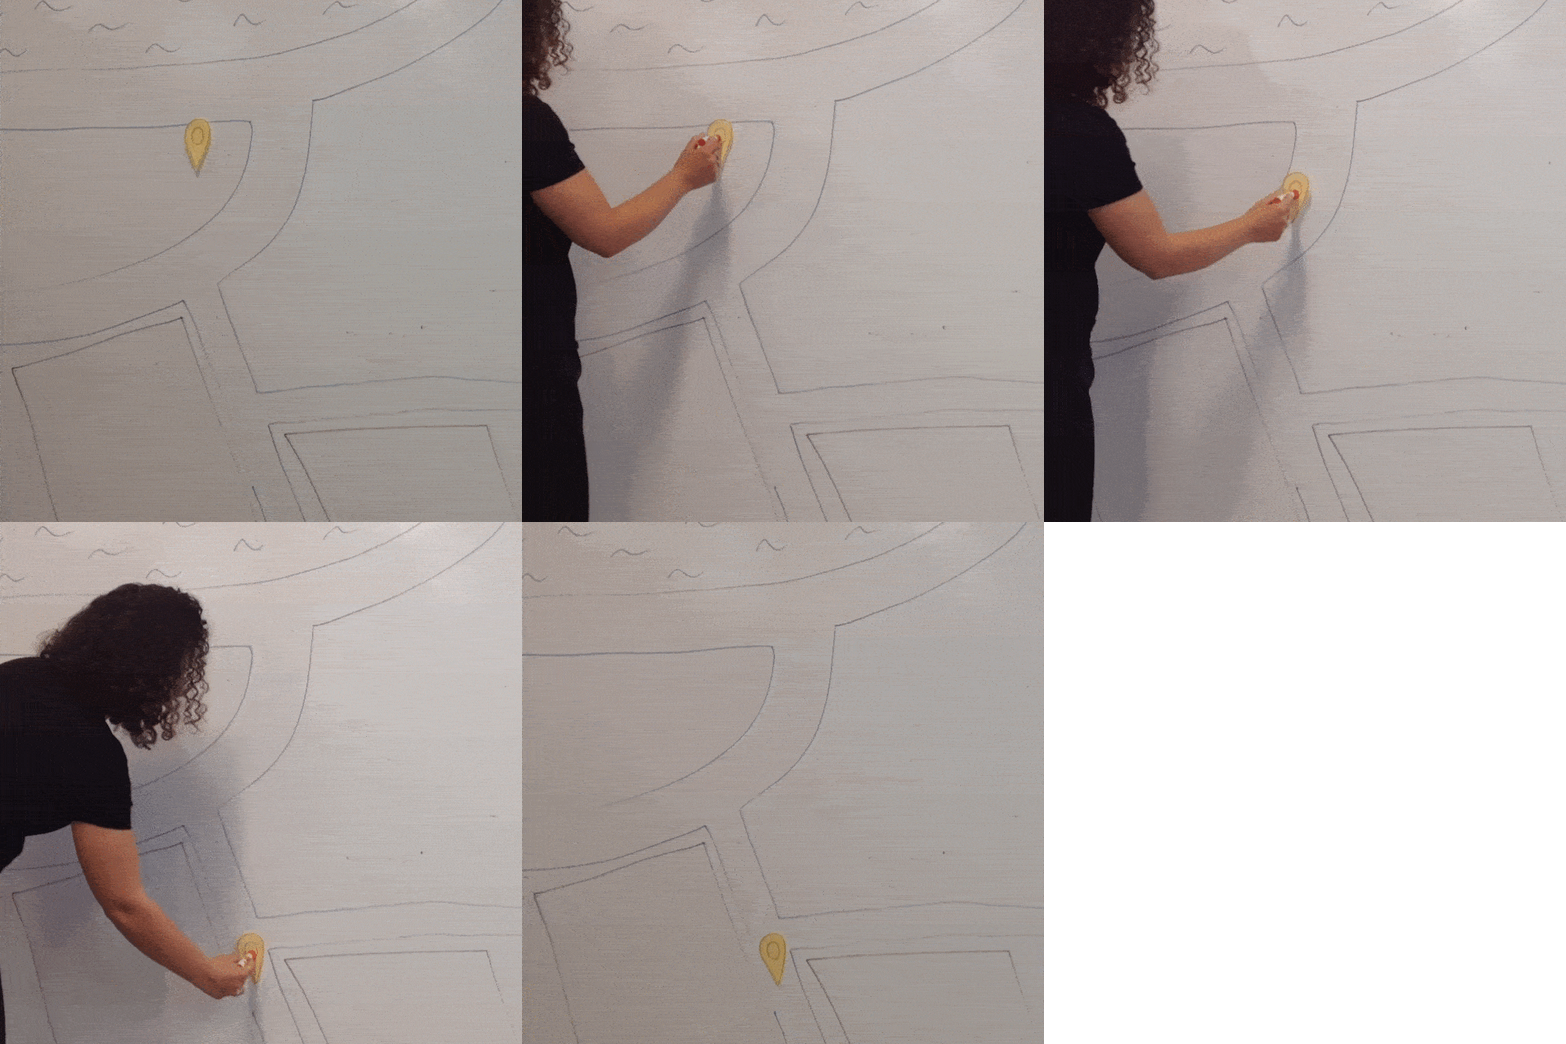
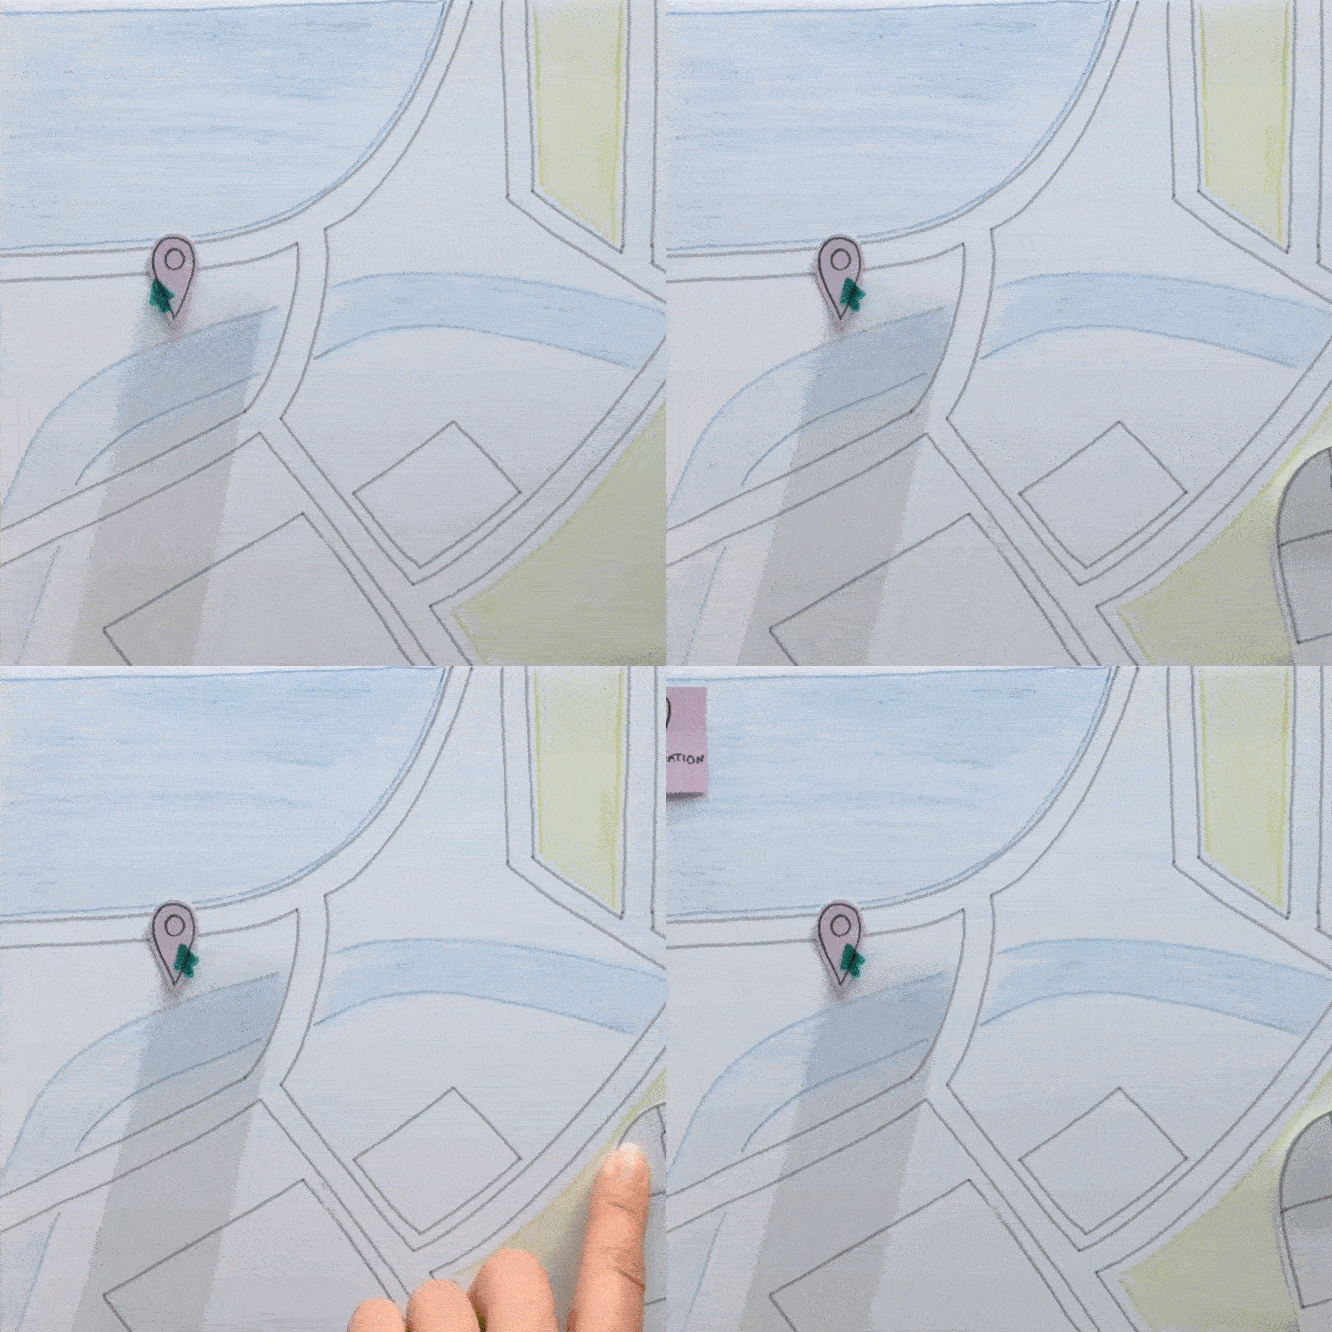
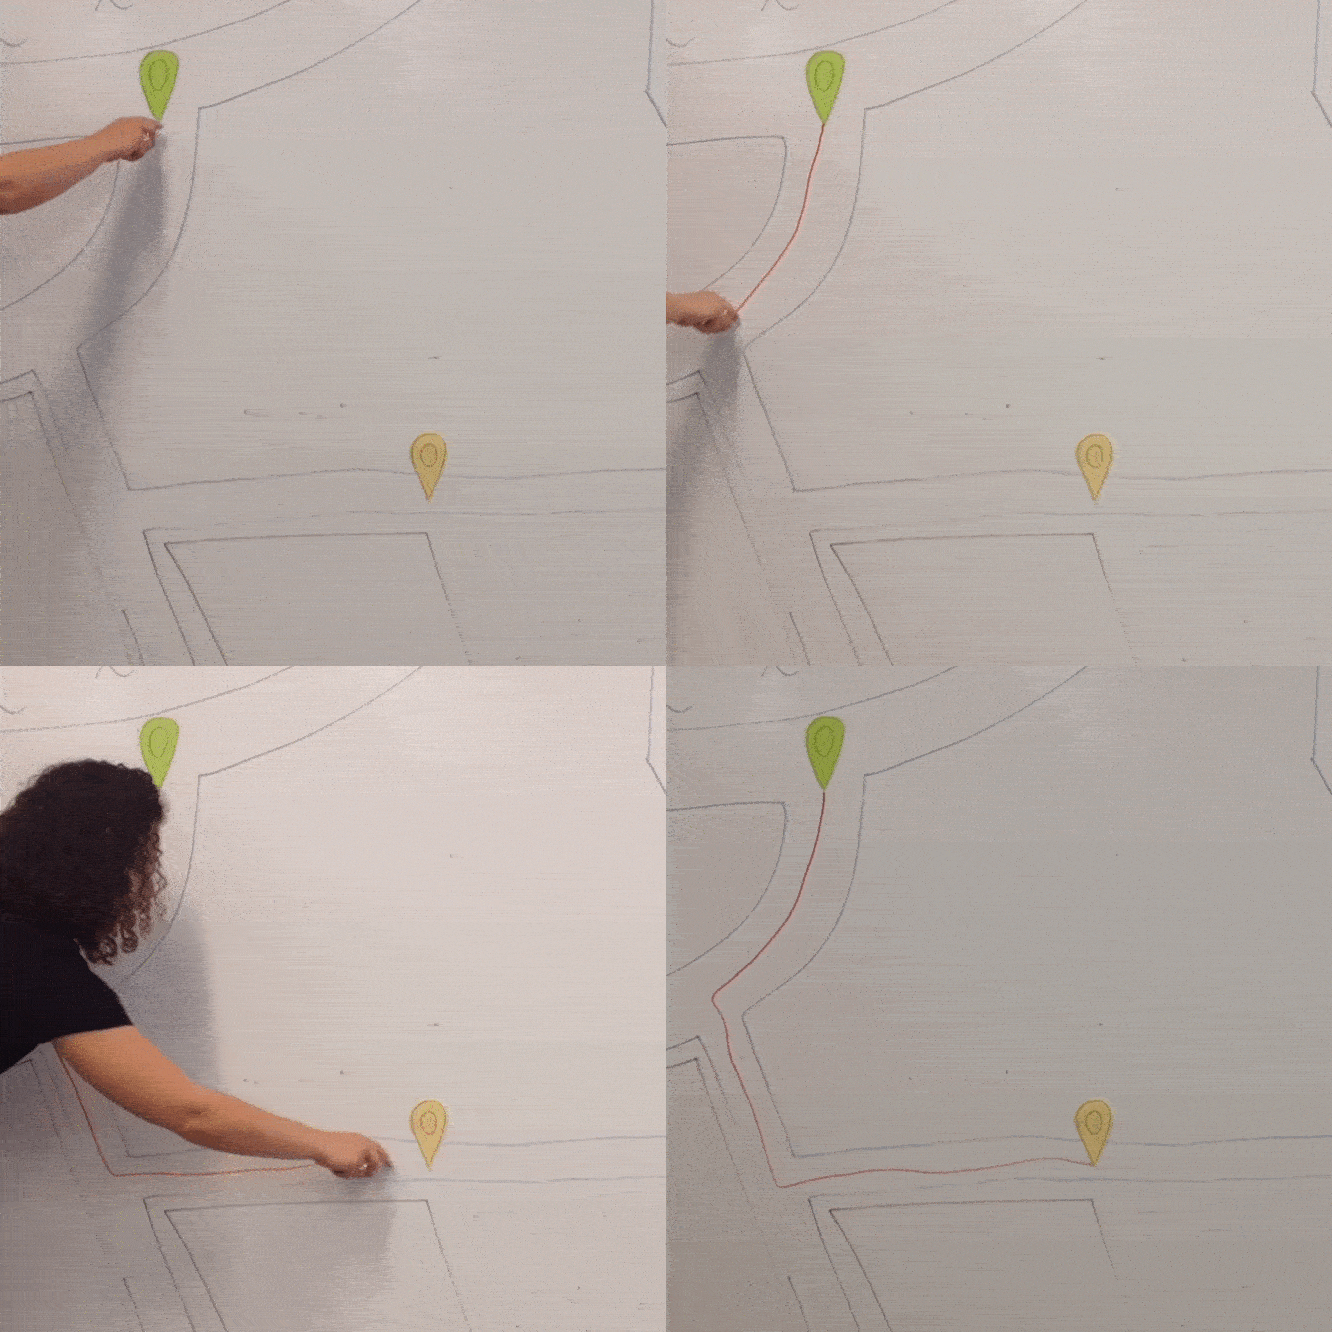
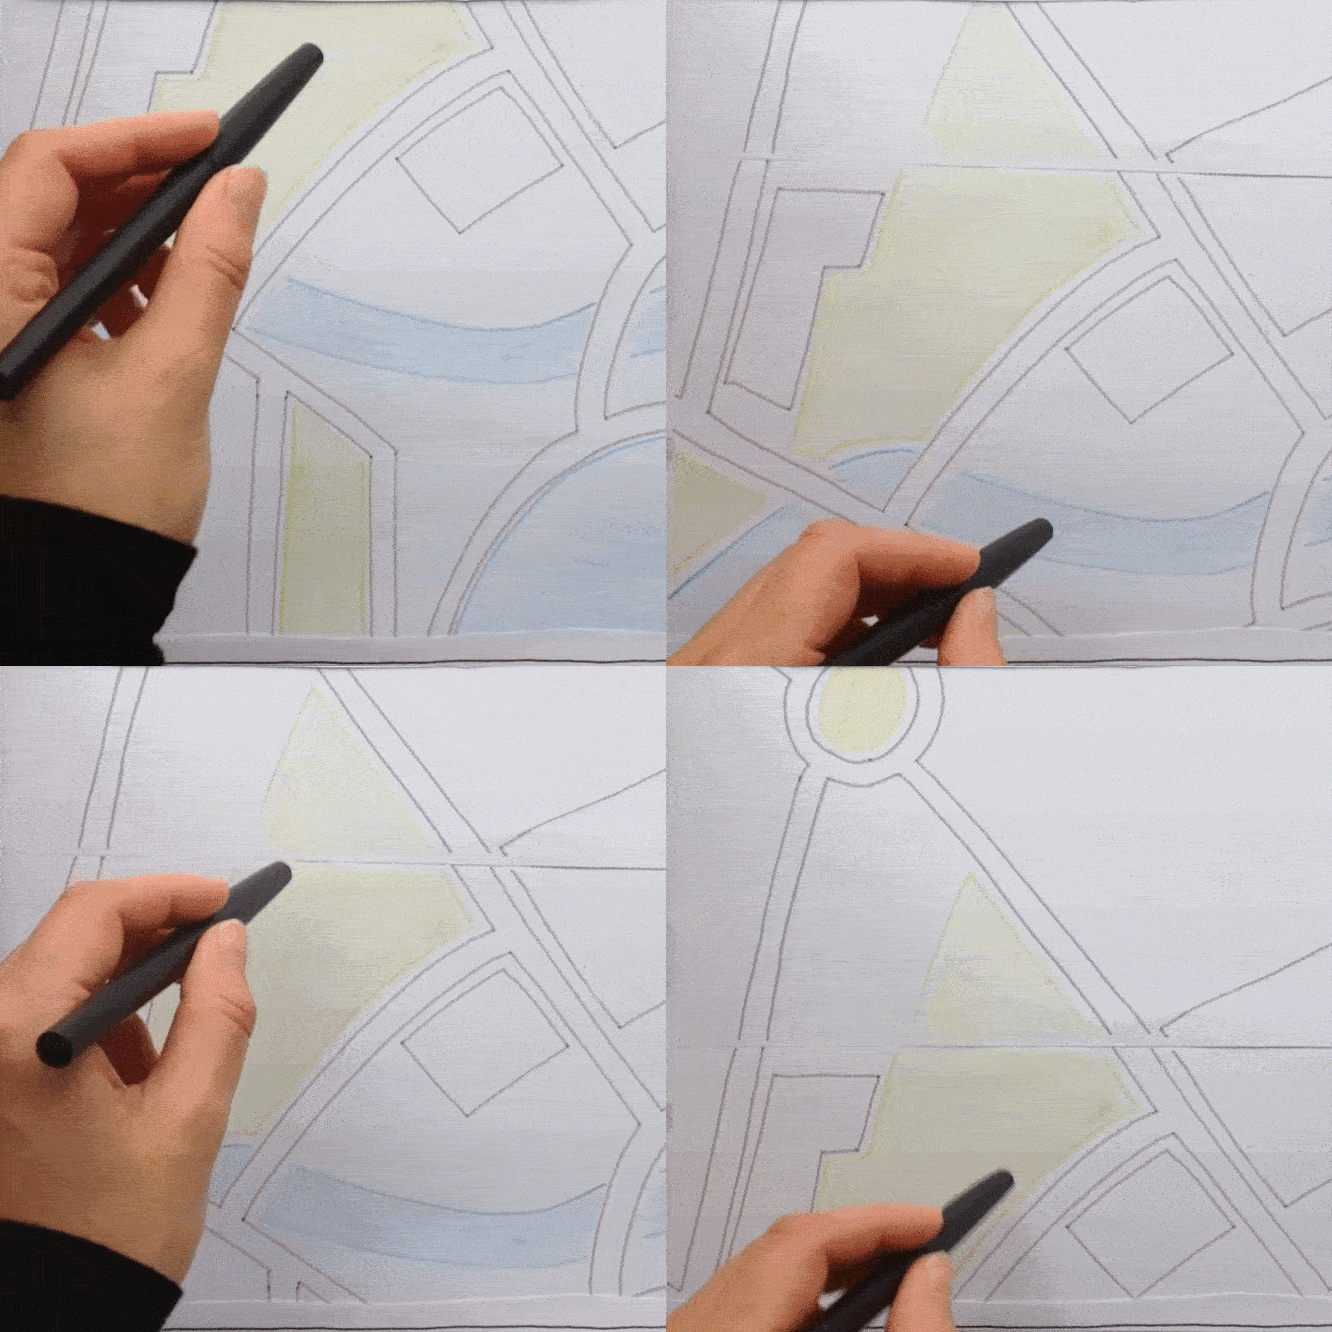
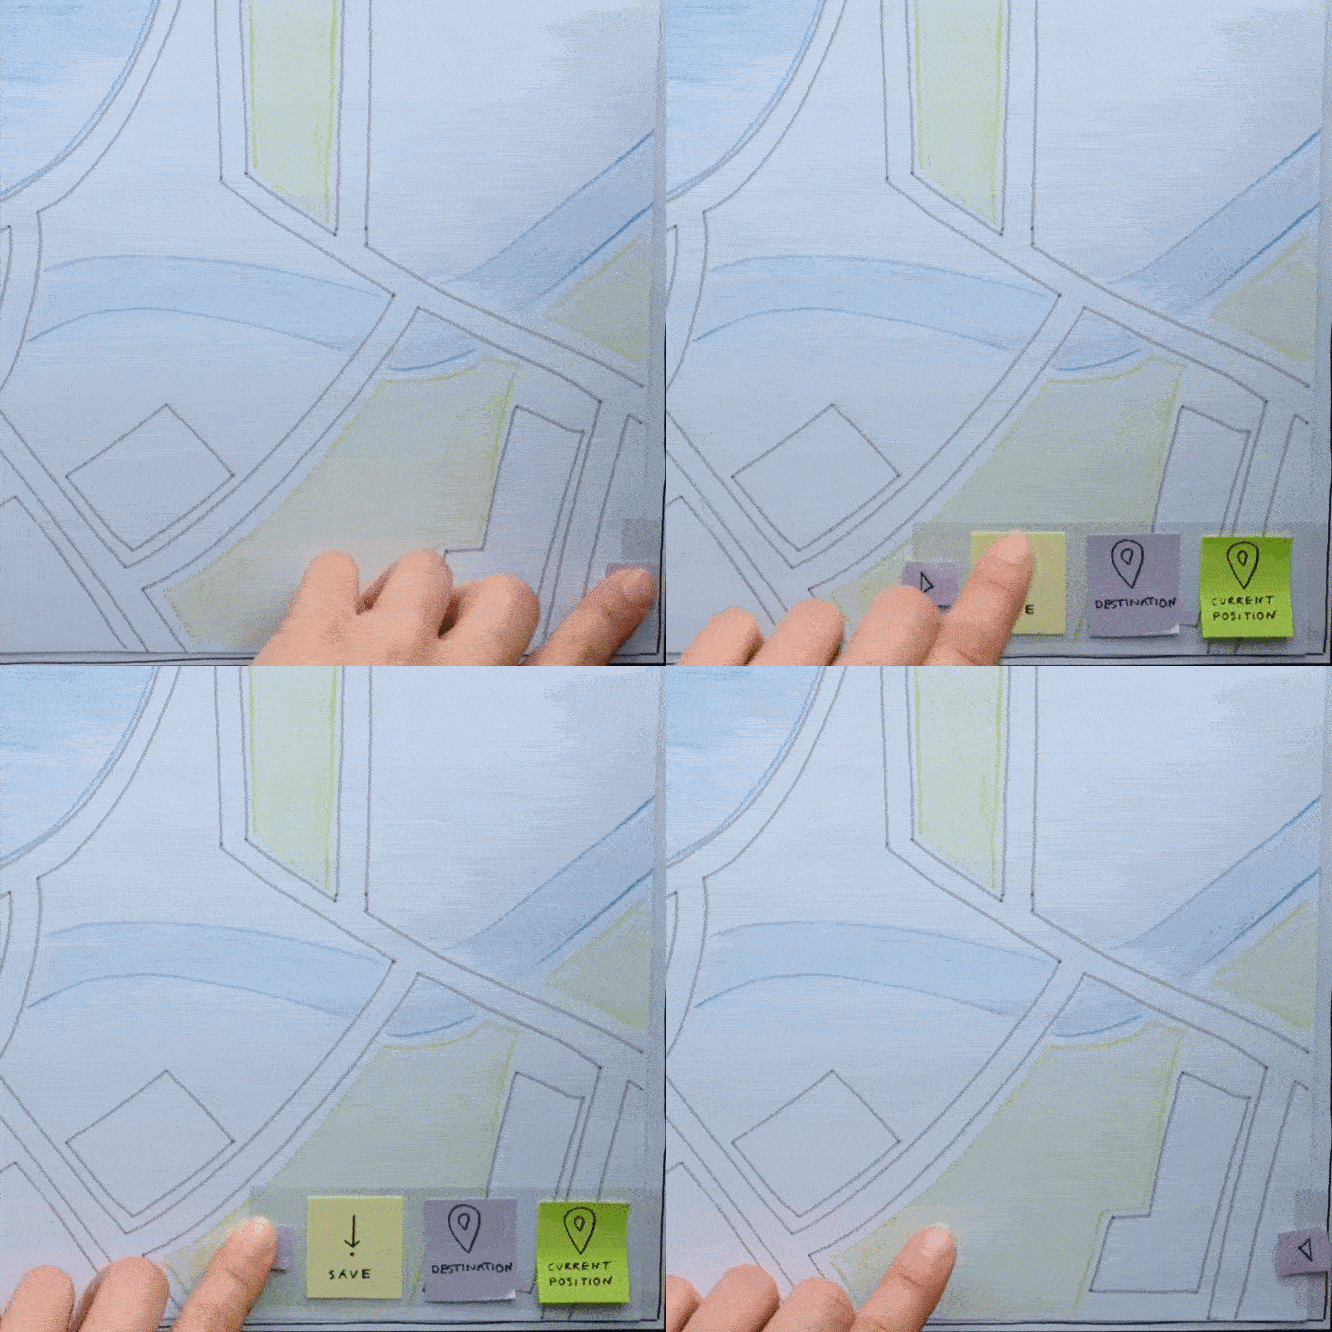
Draw a fixed unit on paper. Trace a copy of it onto a transparency. Attach the fixed unit to the background. Move your finger along the unit that is moved through the transparency from outside the shot.
Material
Transparency strip, transparency pen

Push It
Have you thought of using physical objects yet? Remember the principles of polymorphism, reuse and reification. Also, think of persistance!
Magic Move
Magic Move
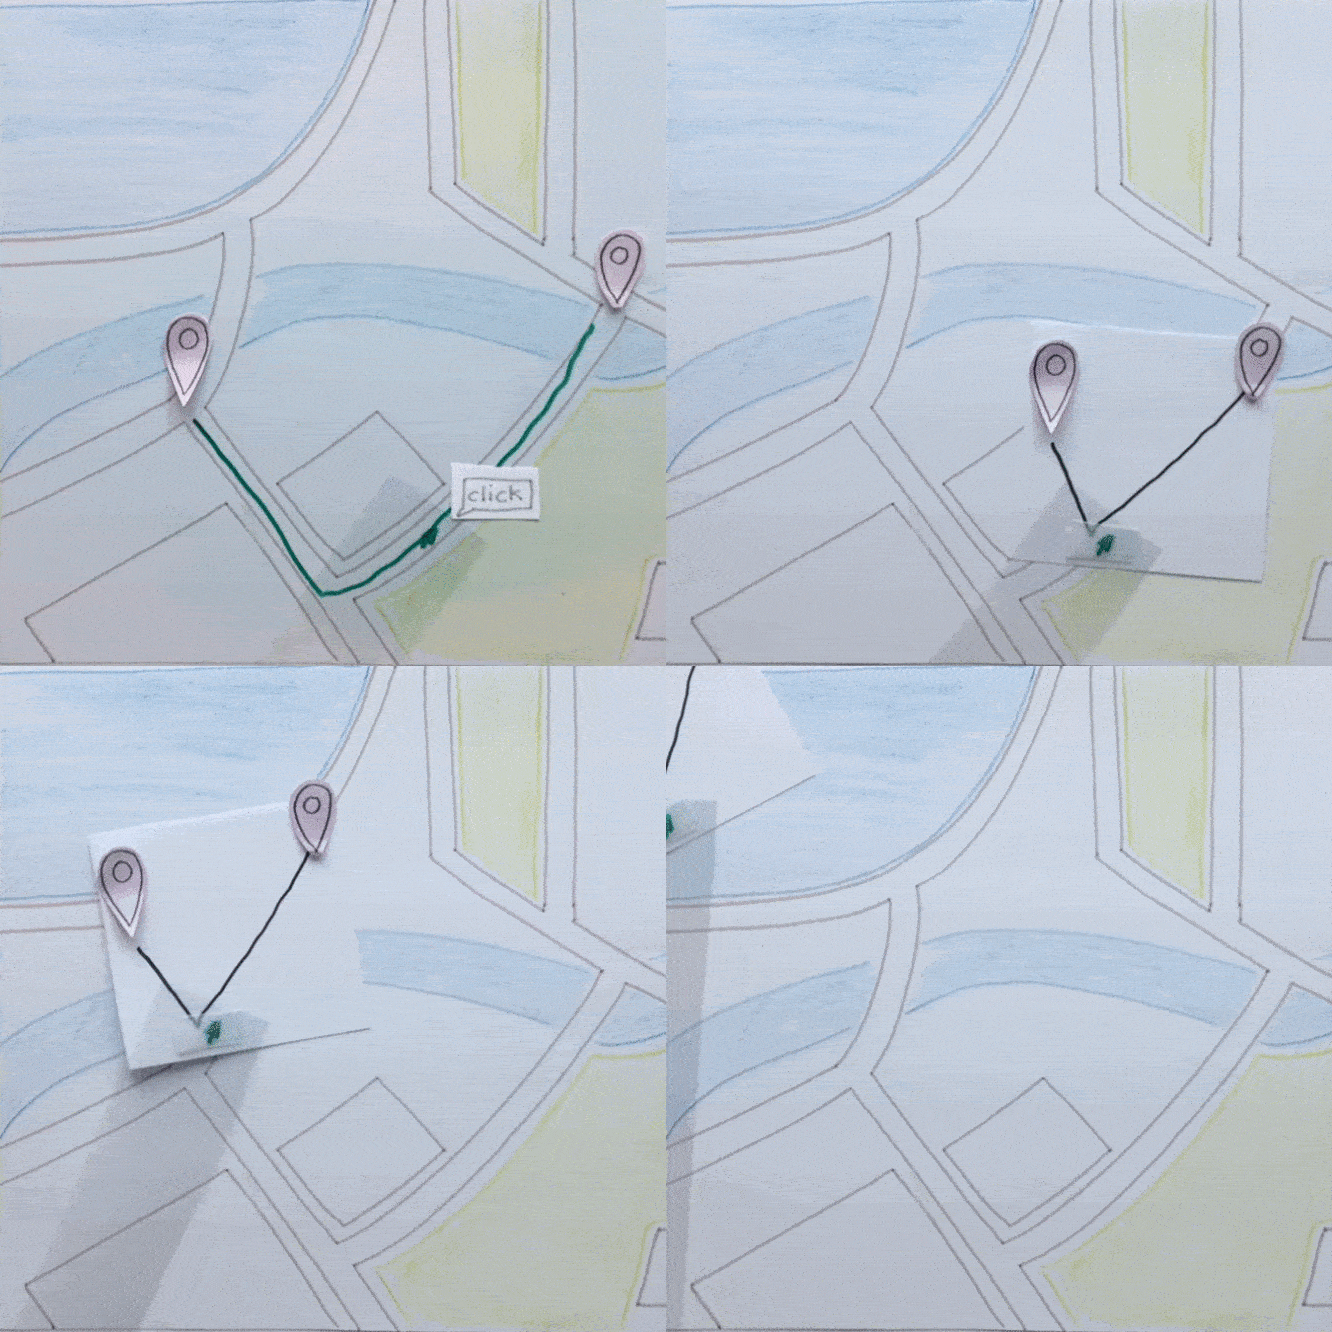
moveDescription
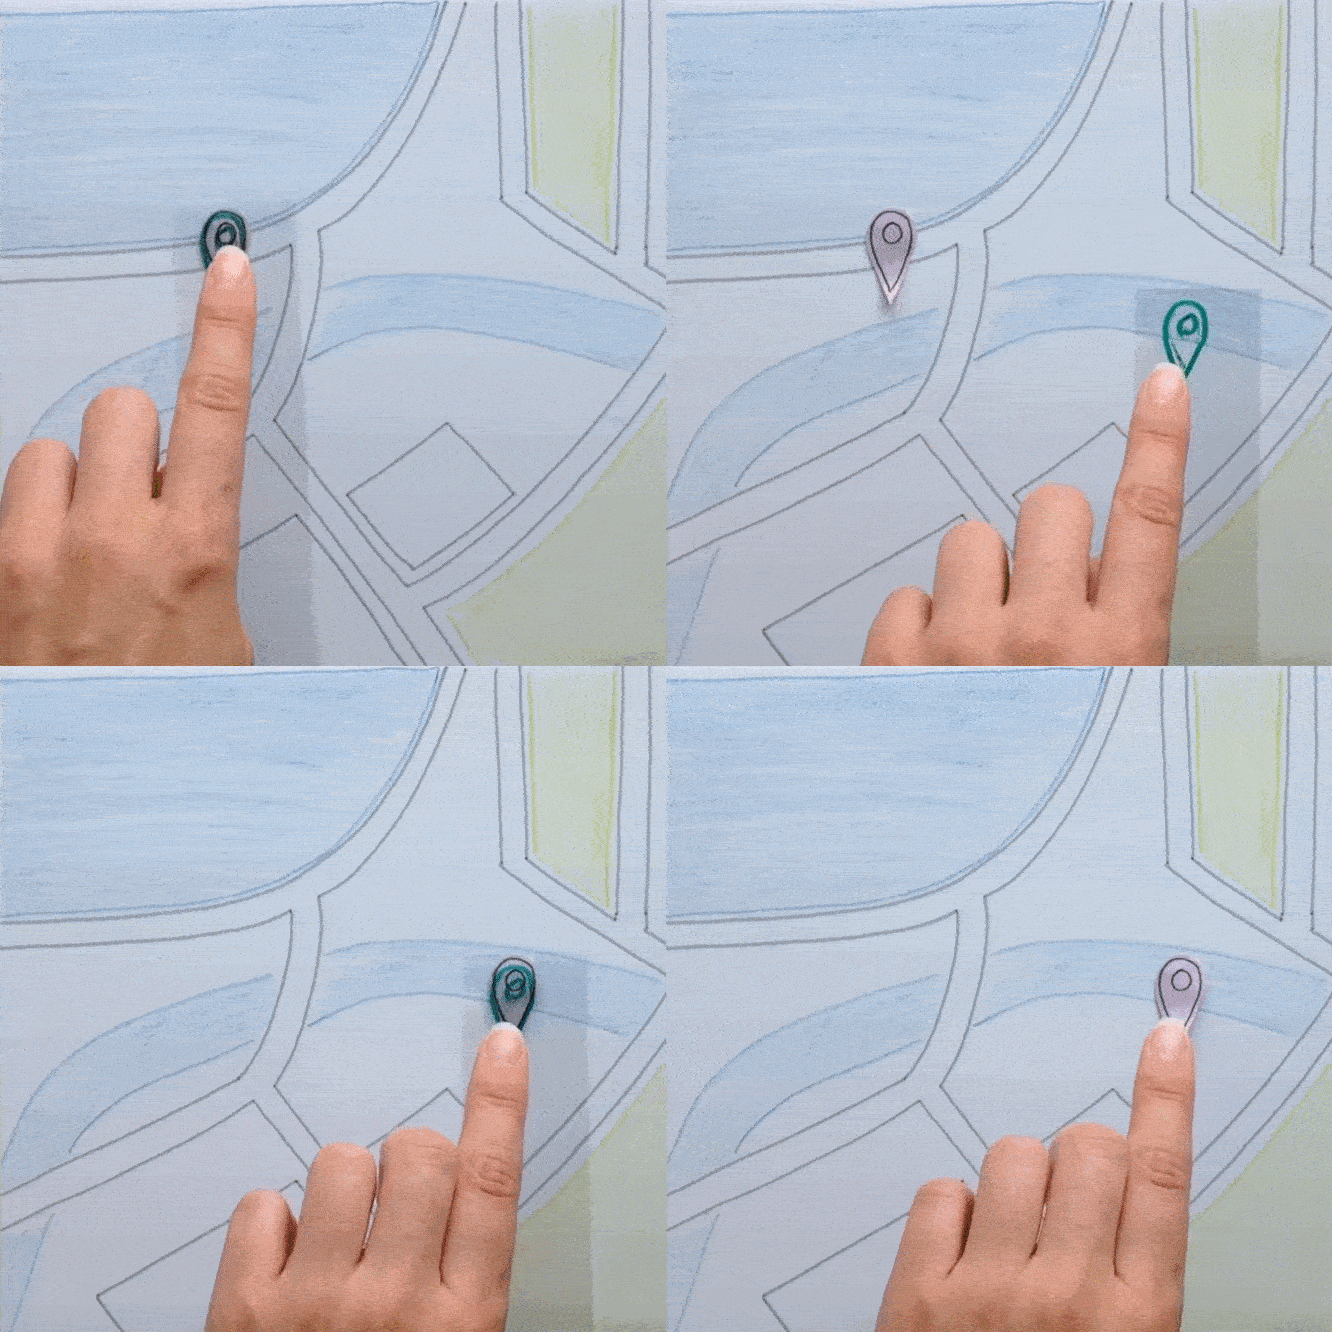
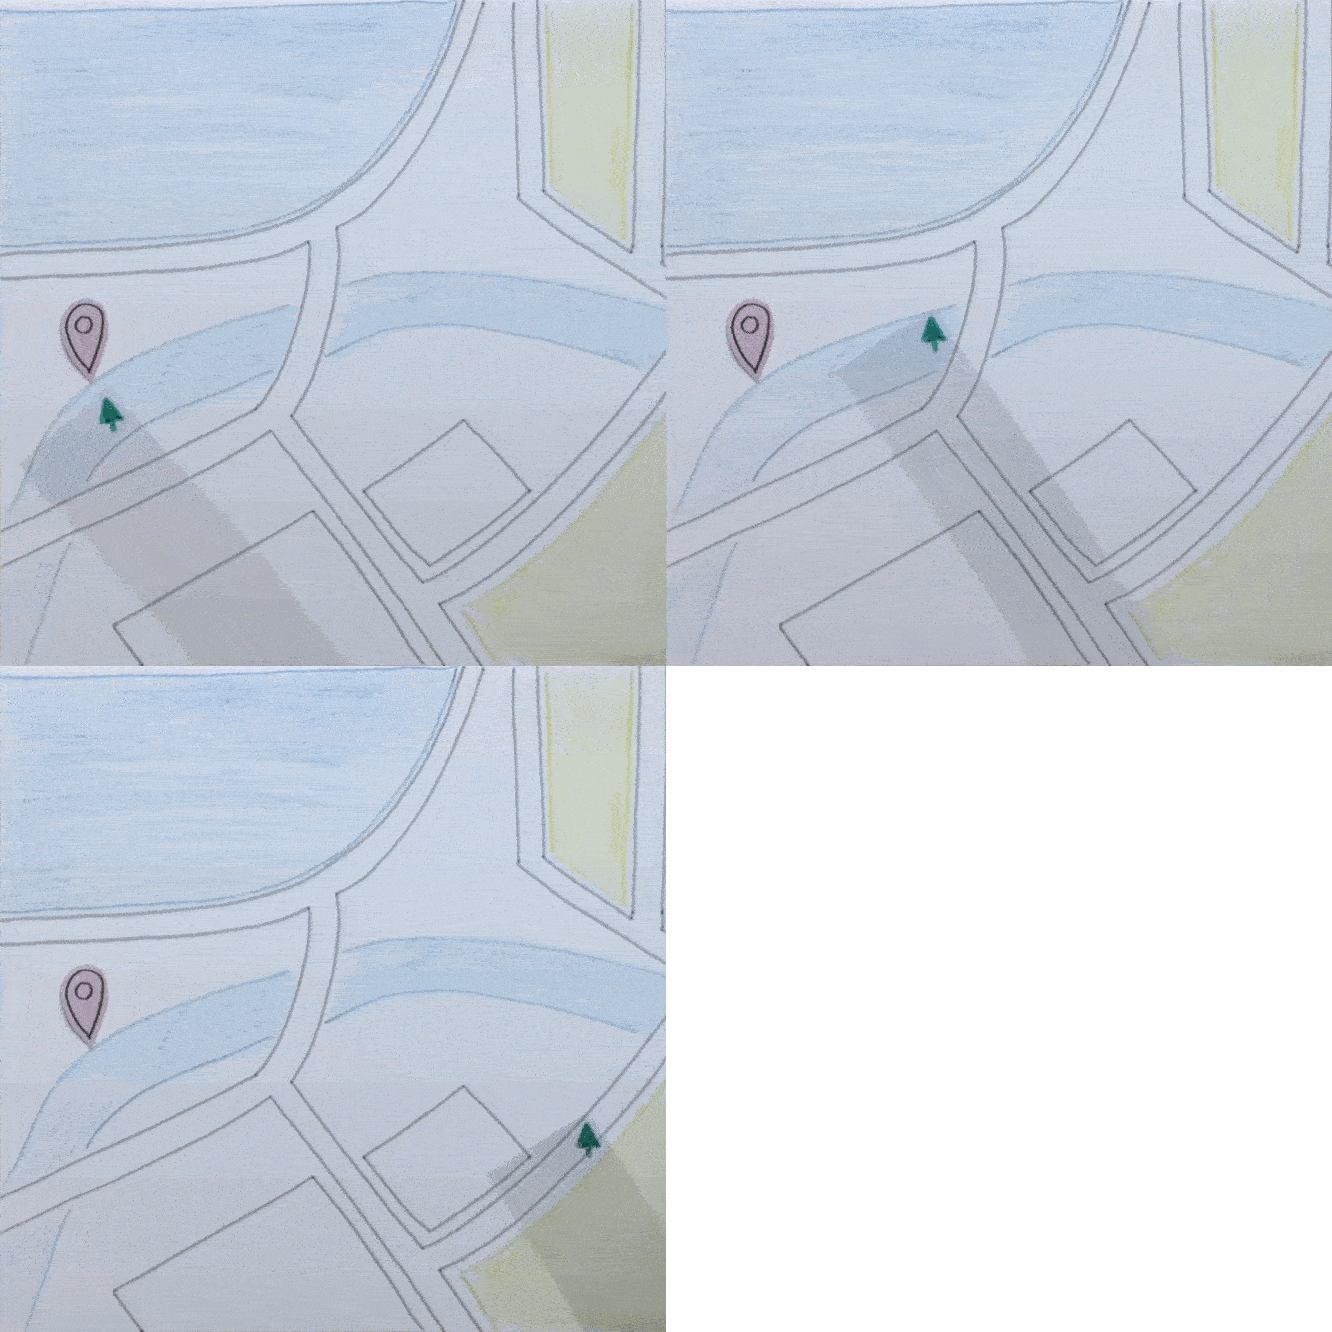
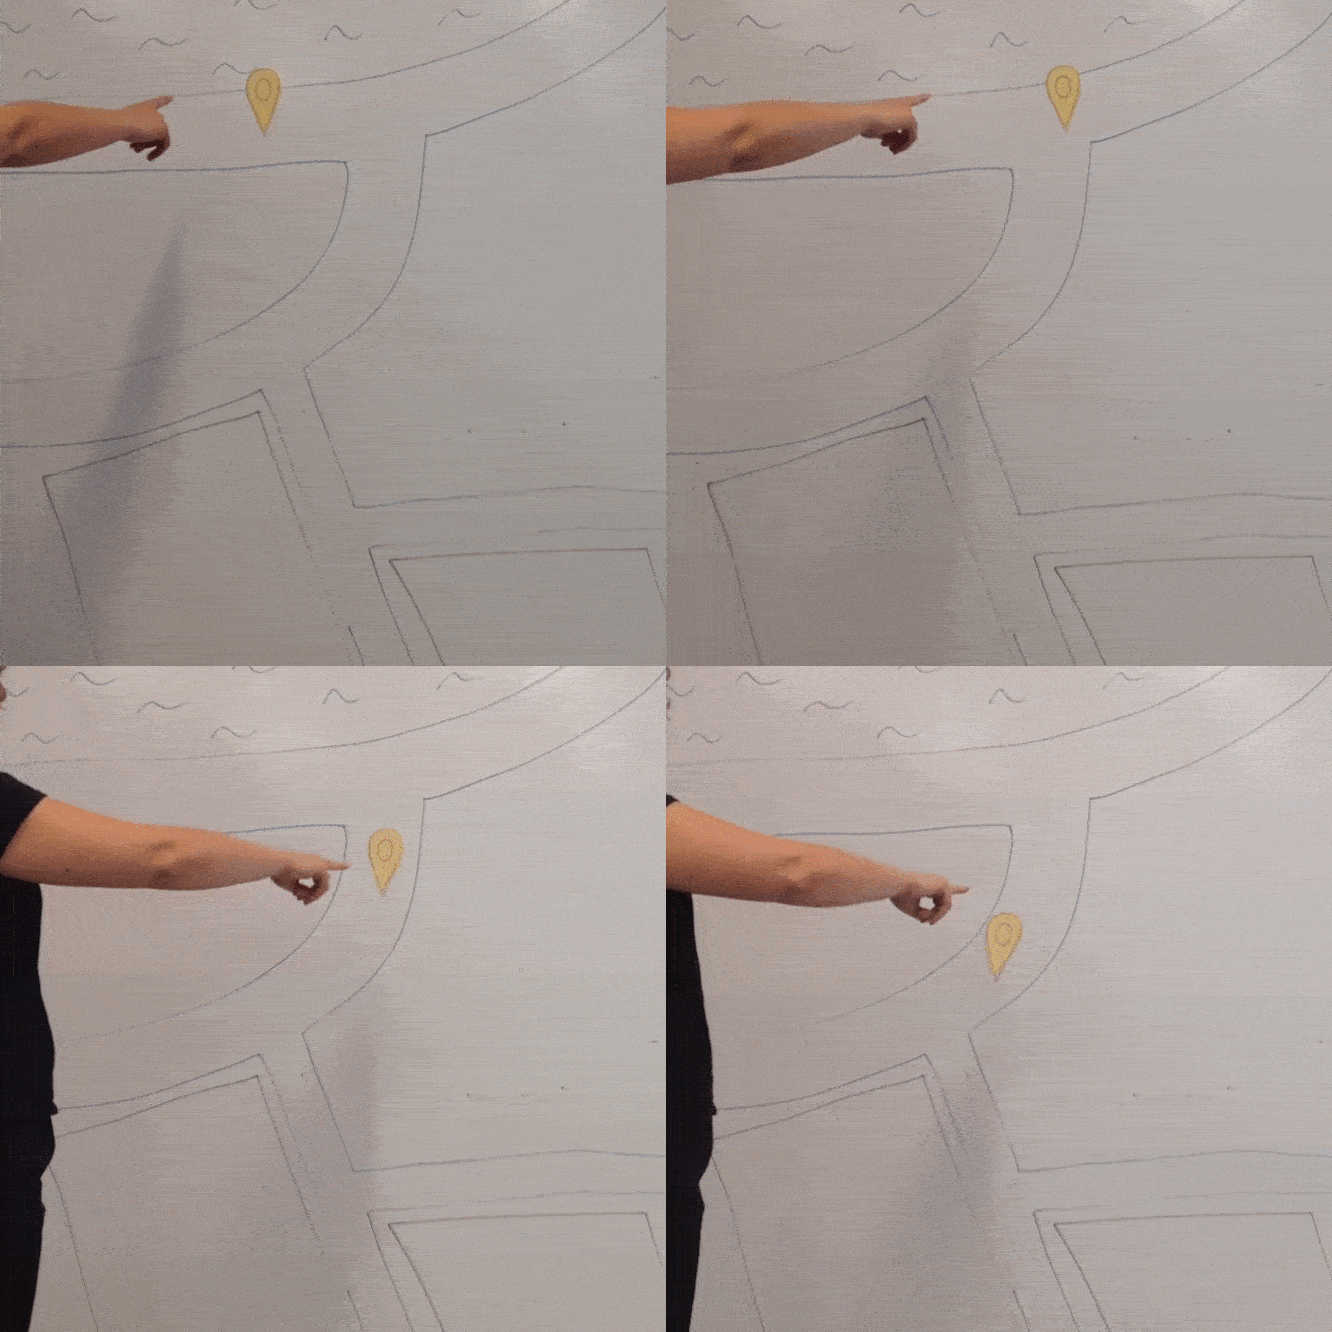
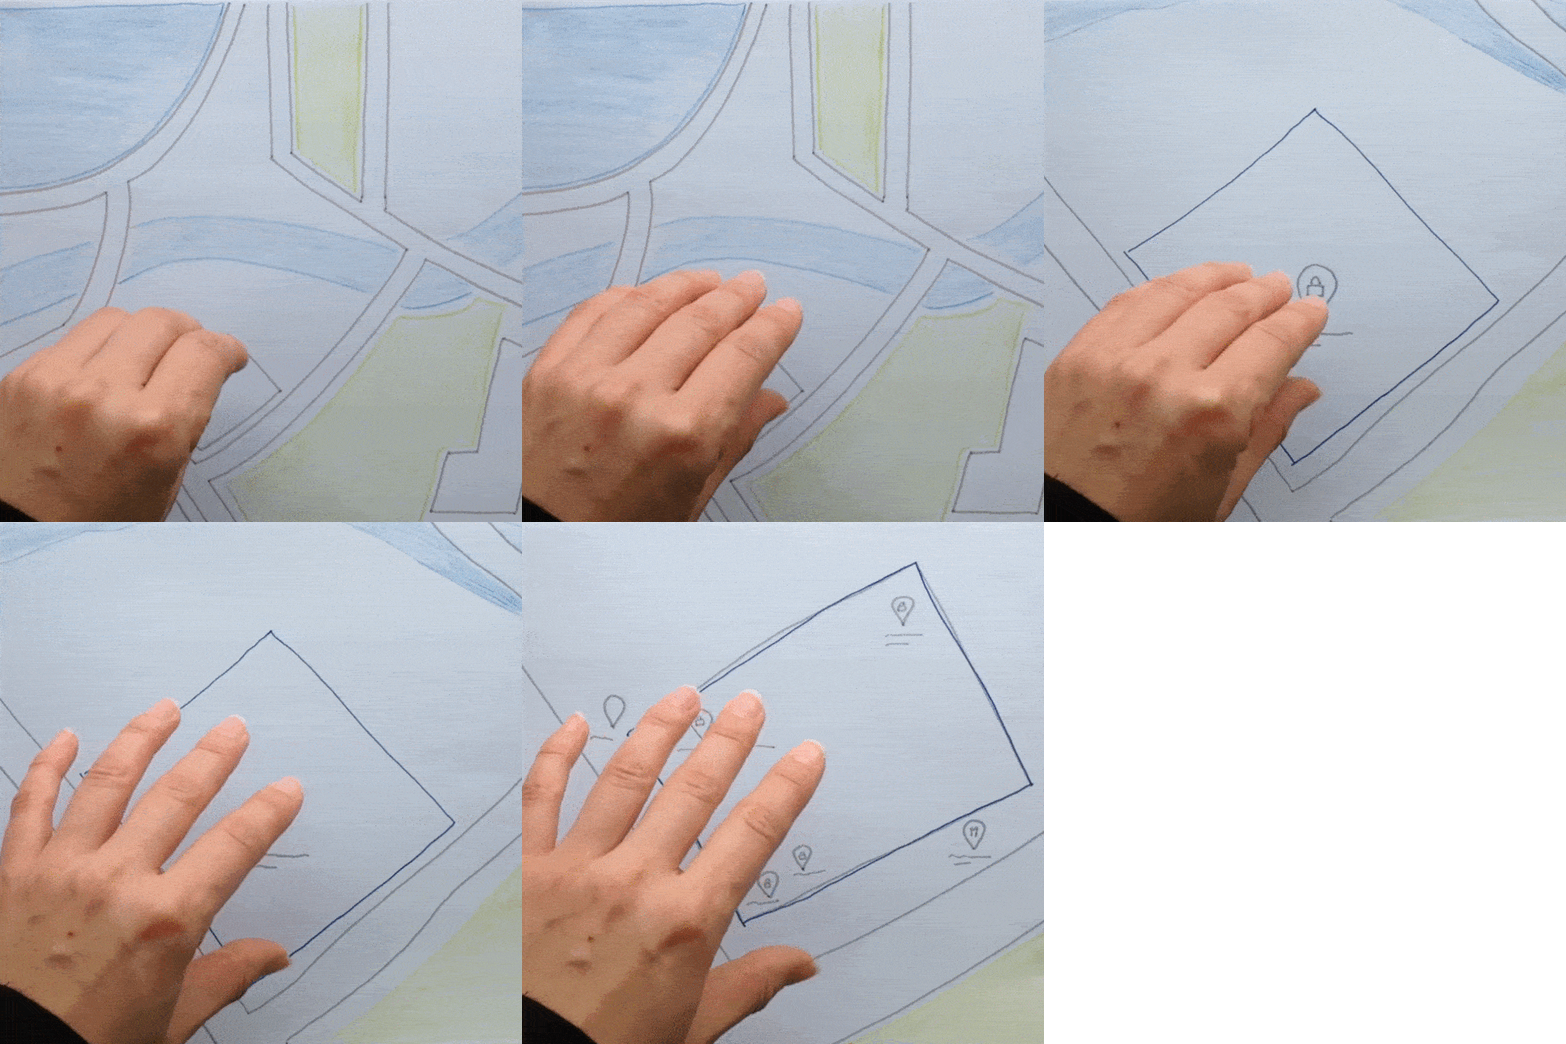
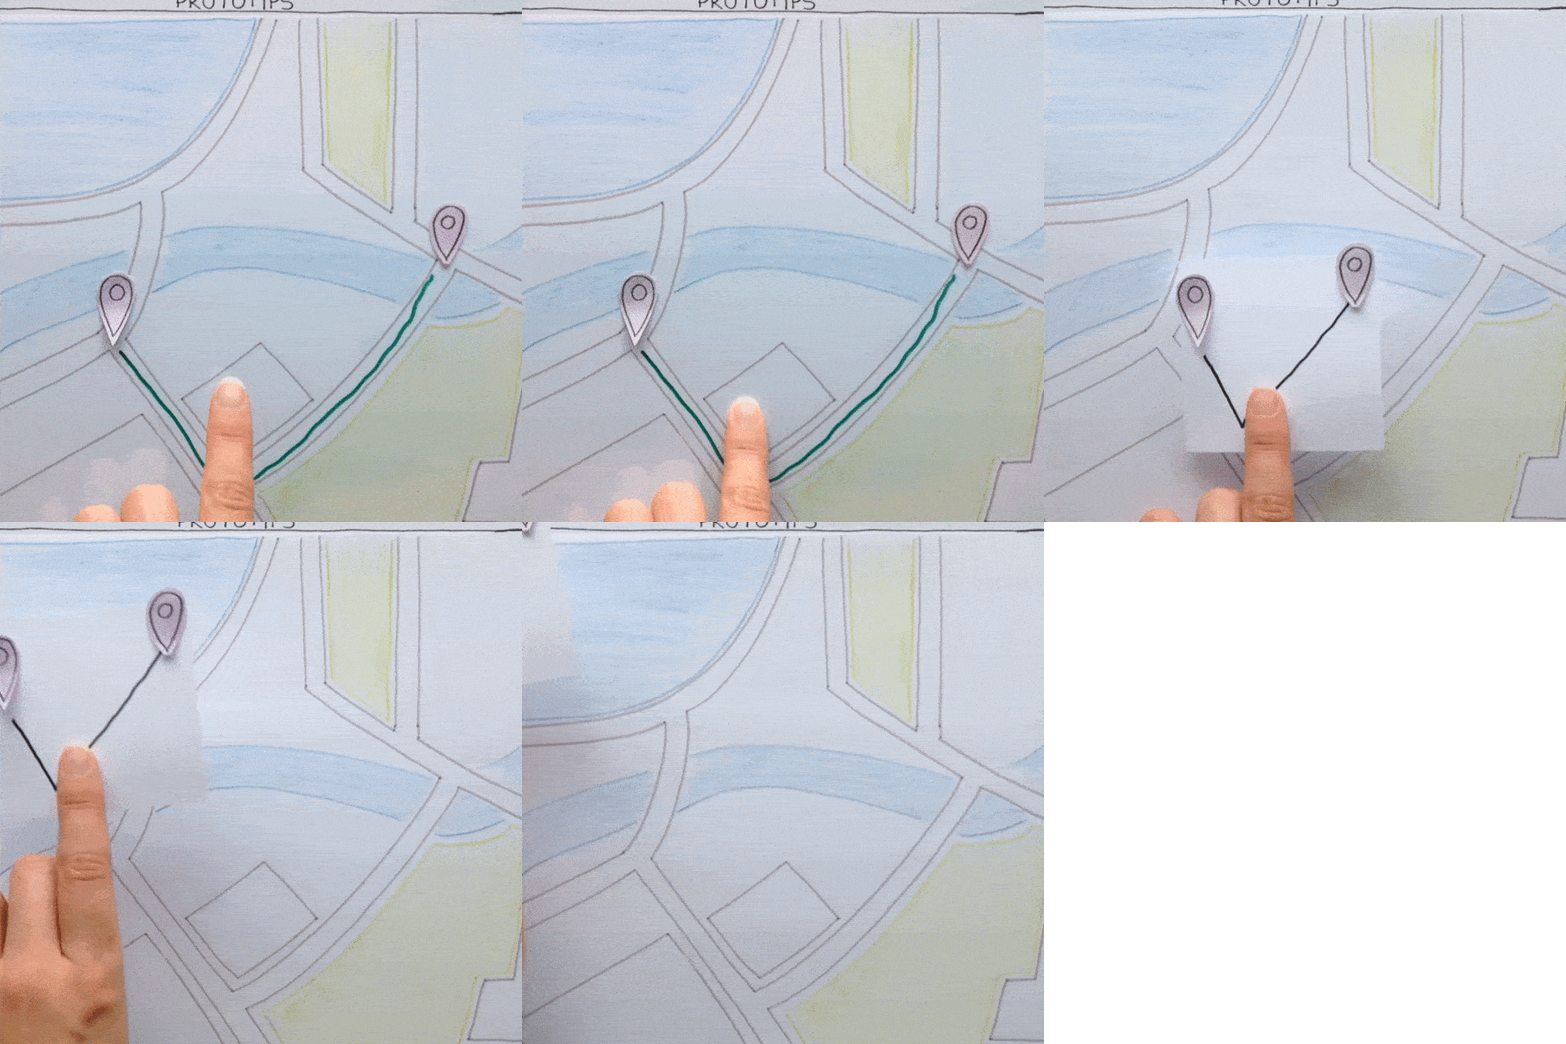
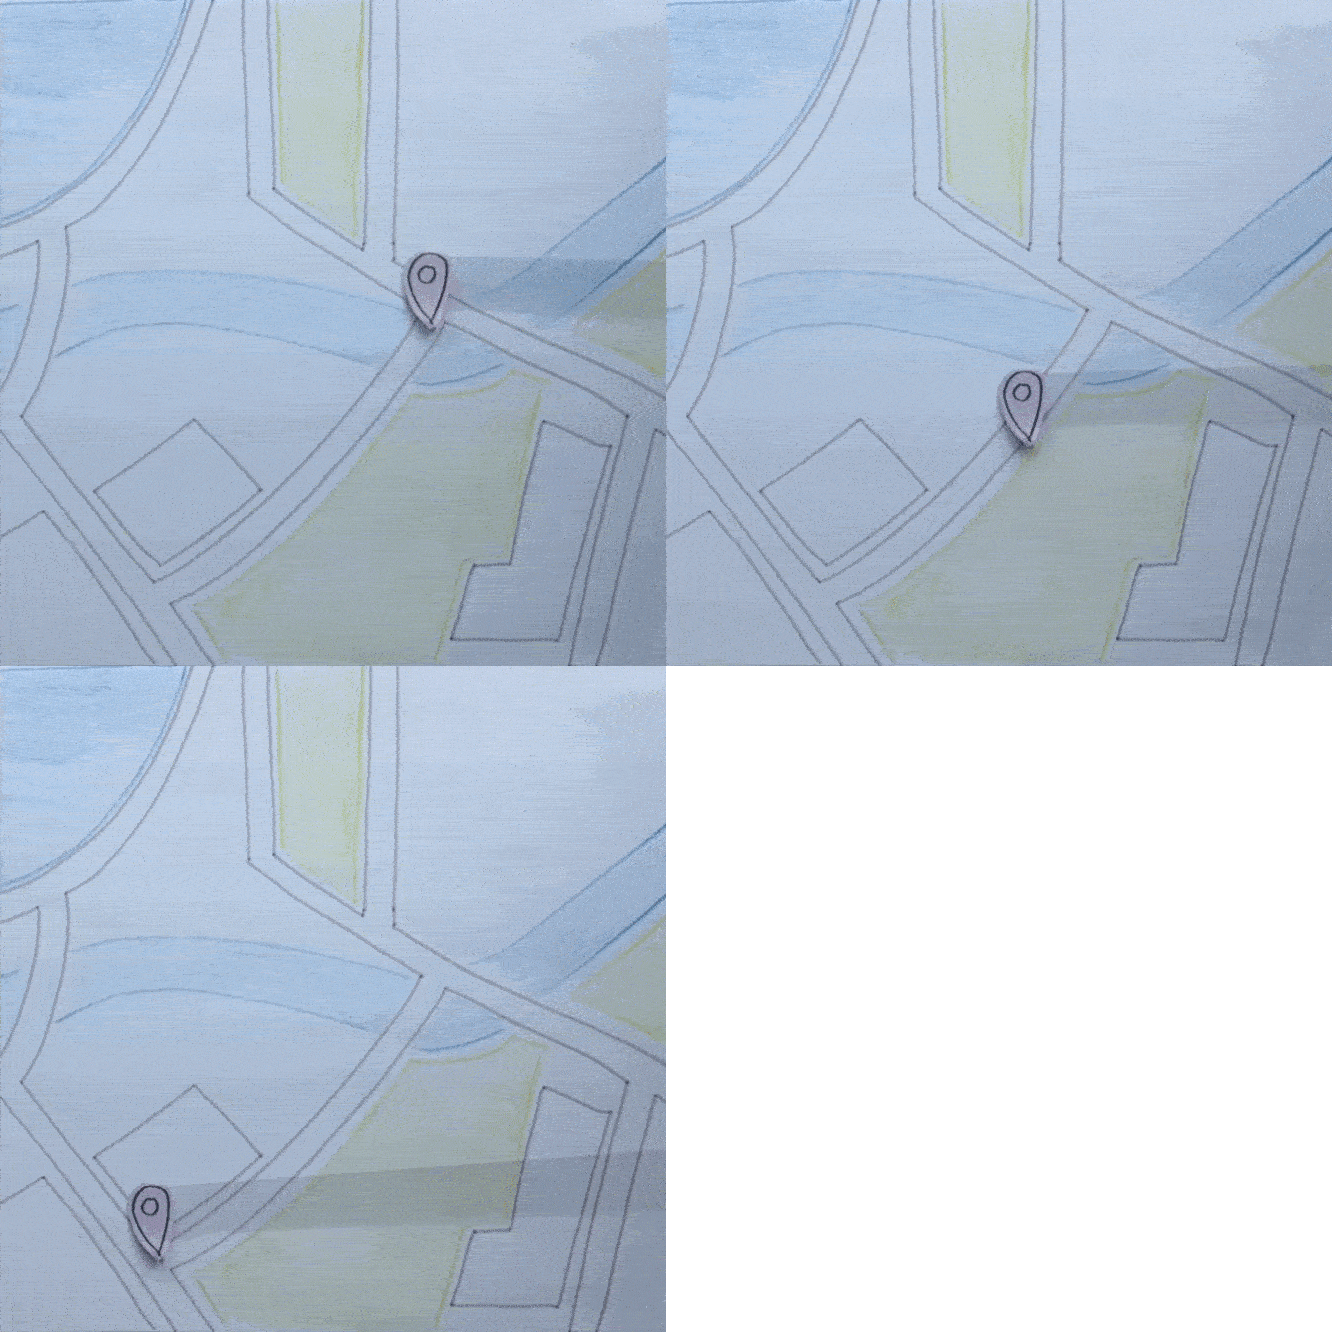
Attach the movable unit onto a transparency. Move your finger and the transparency together to the correct location.
Material
Transparency strip, tape
One more tip
Using a transparency to move units around can get a bit messy if you have a lot of loose elements on your background. In that case, better go for the tapefinger. Anyhow, you can use the static of the transparency to stick your unit onto it instead of using tape.

Push It
Have you thought of using physical objects yet? Remember the principles of polymorphism, reuse and reification. Also, think of persistance!
Moving Smooth
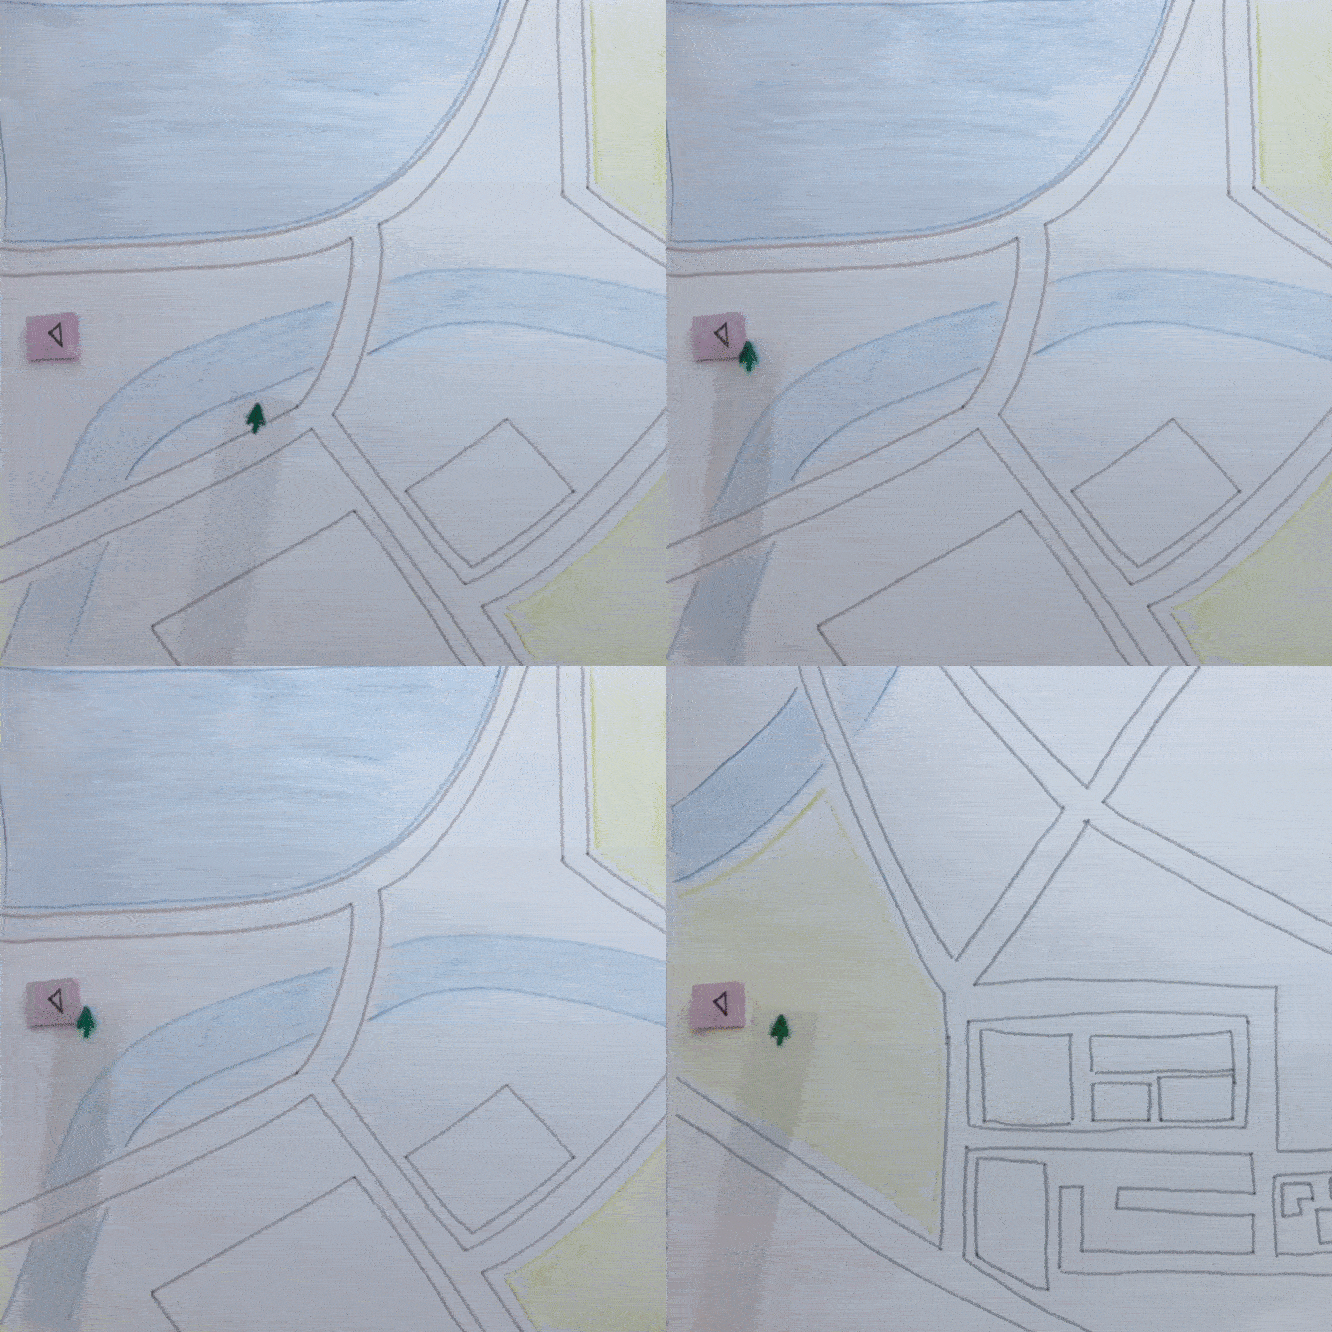
Moving Smooth
moveDescription
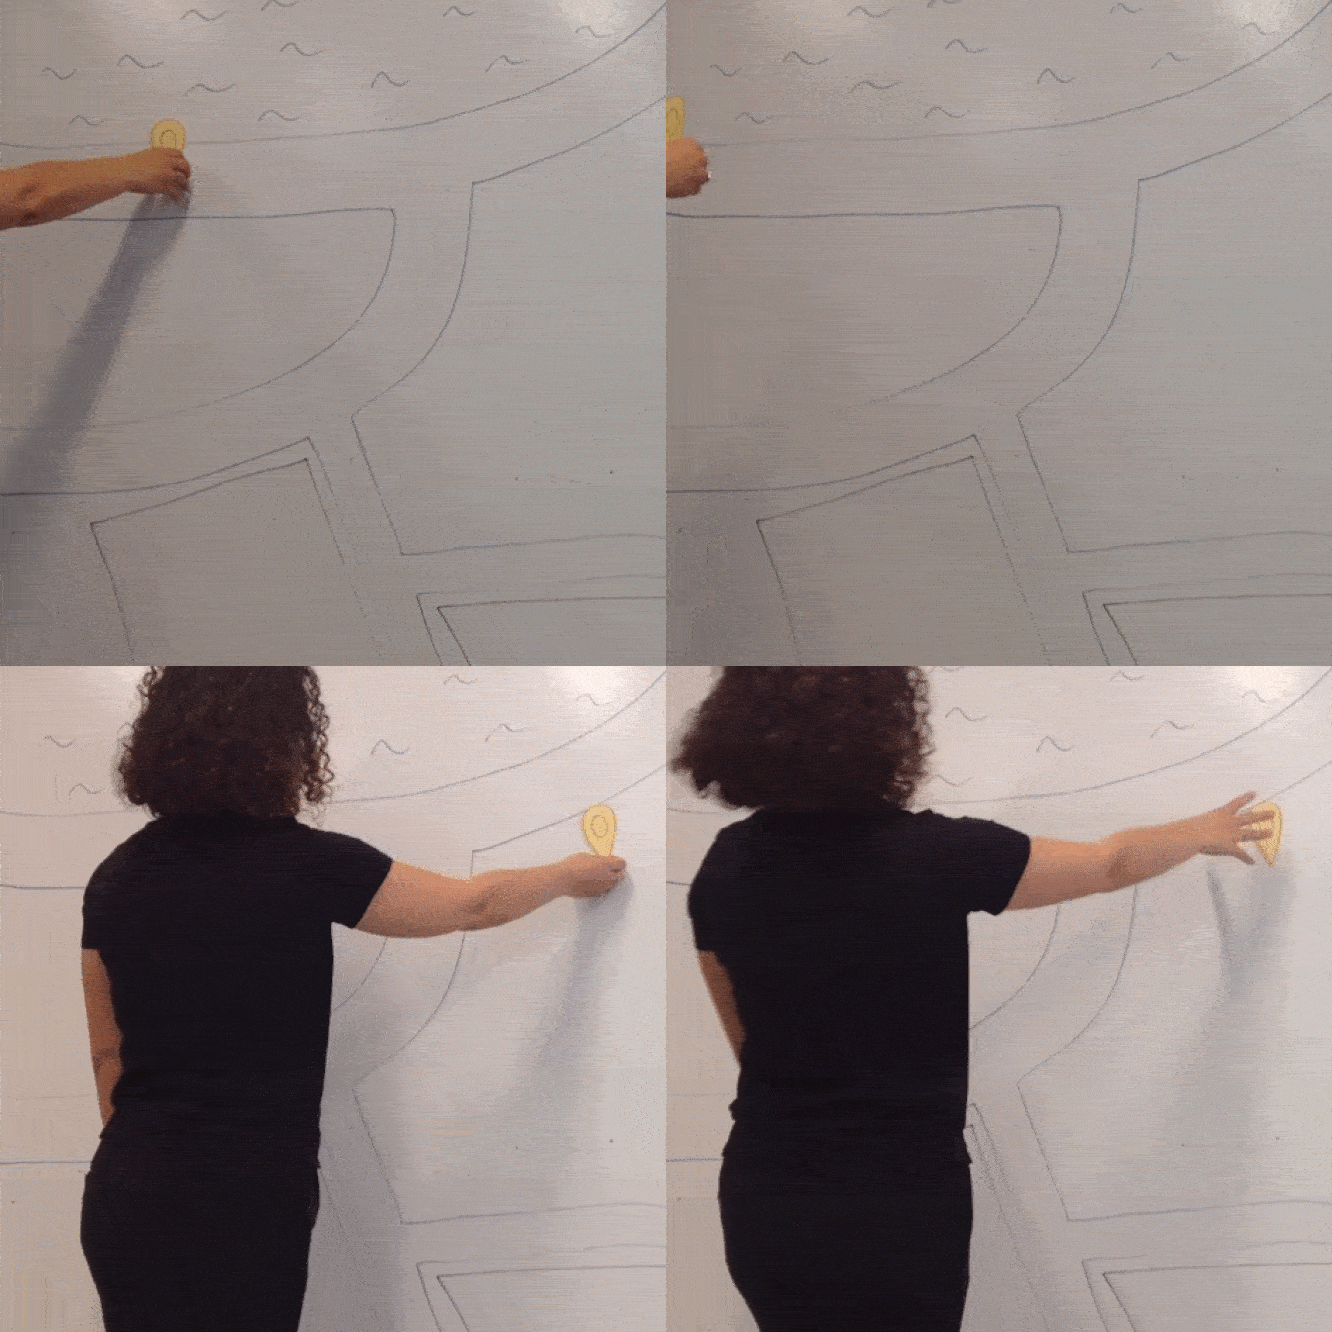
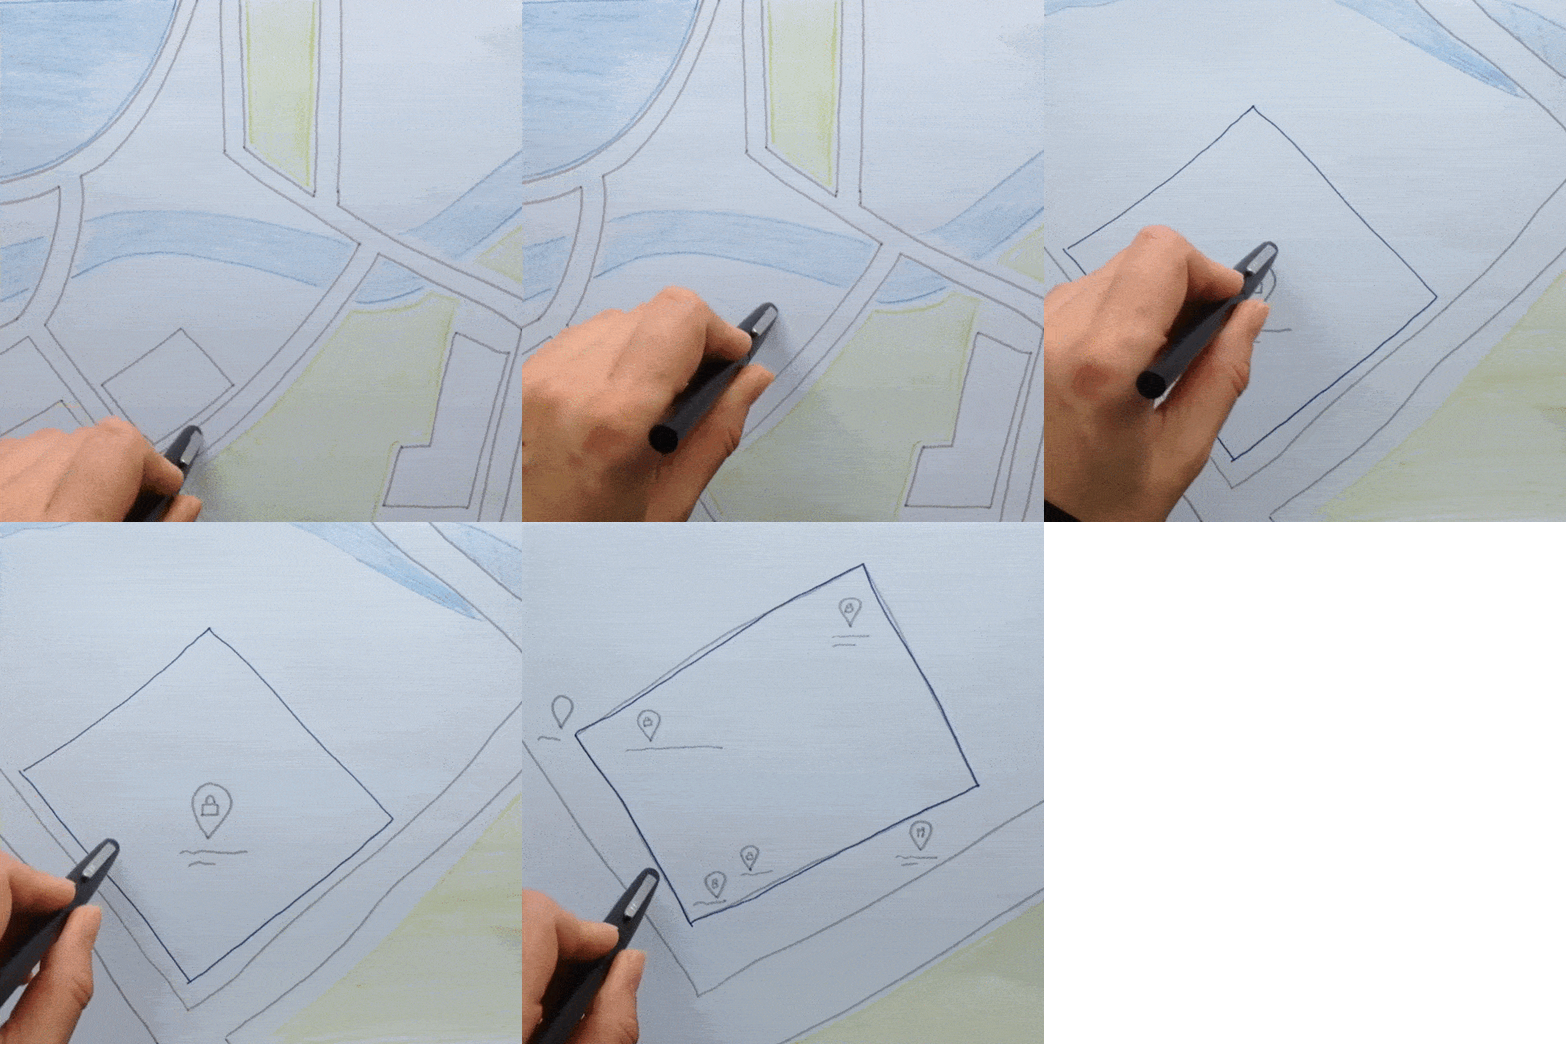
Place a transparency on the background. Place movable units on top so you can move them around more smoothly.
Material
Transparency
One more tip
When using a full transparency in your shot, choose the right lightning, as the transparency will reflect it.

Push It
Have you thought of using physical objects yet? Remember the principles of polymorphism, reuse and reification. Also, think of persistance!
Moving Object
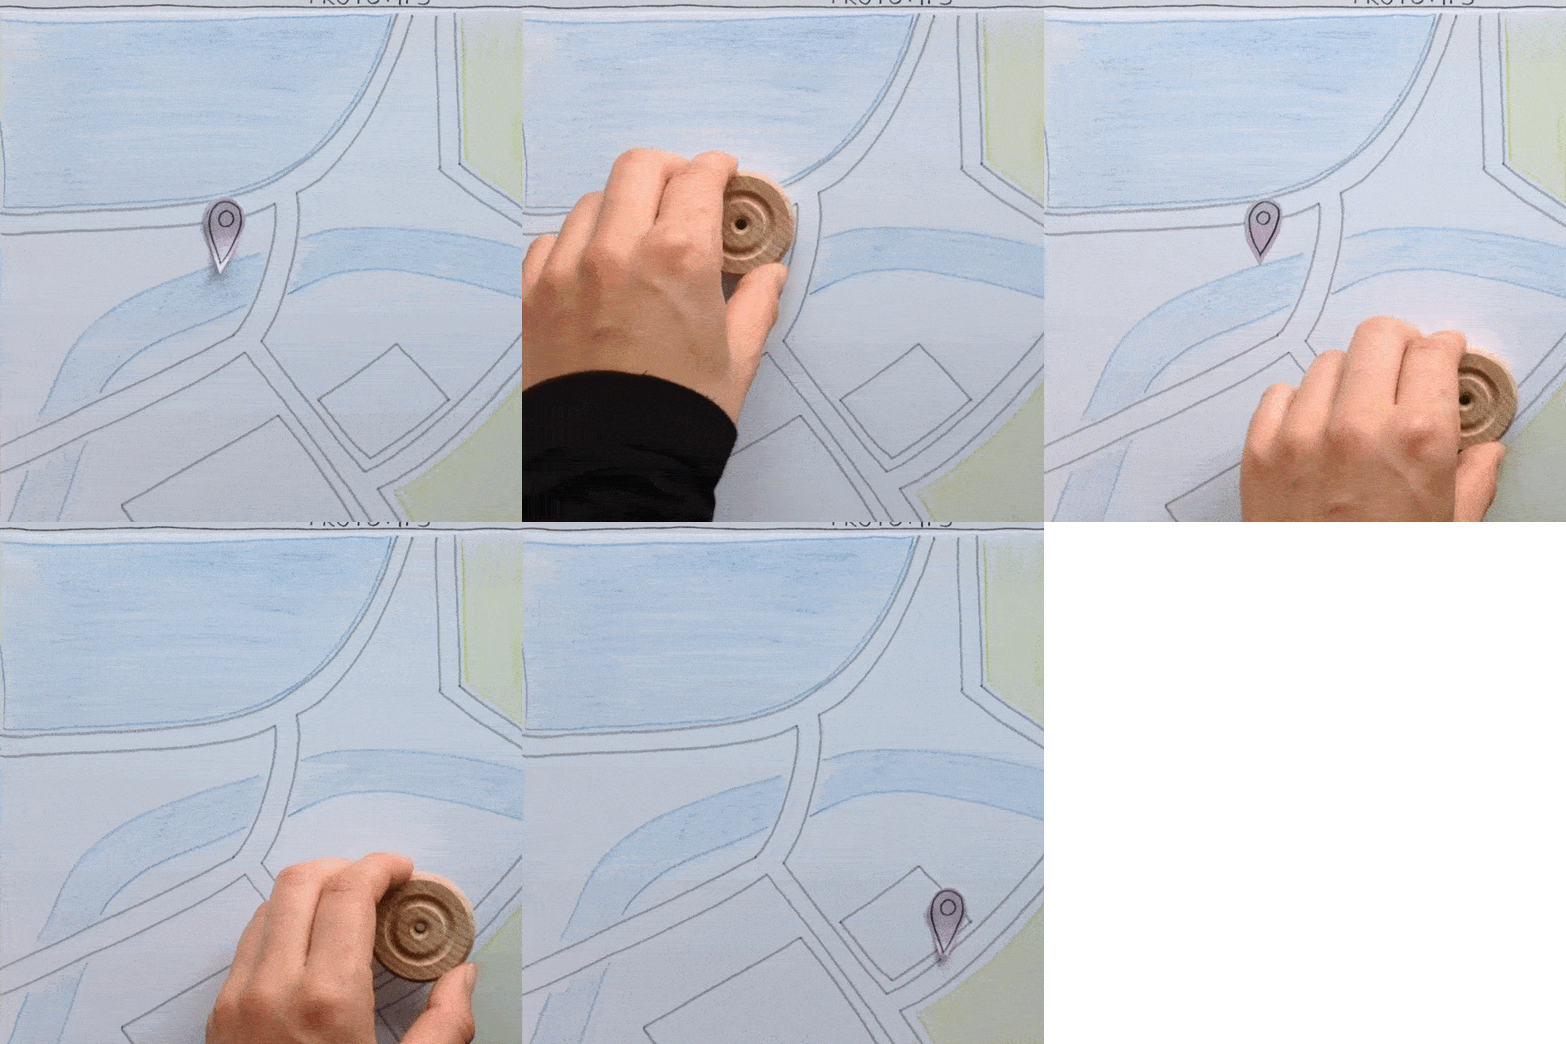
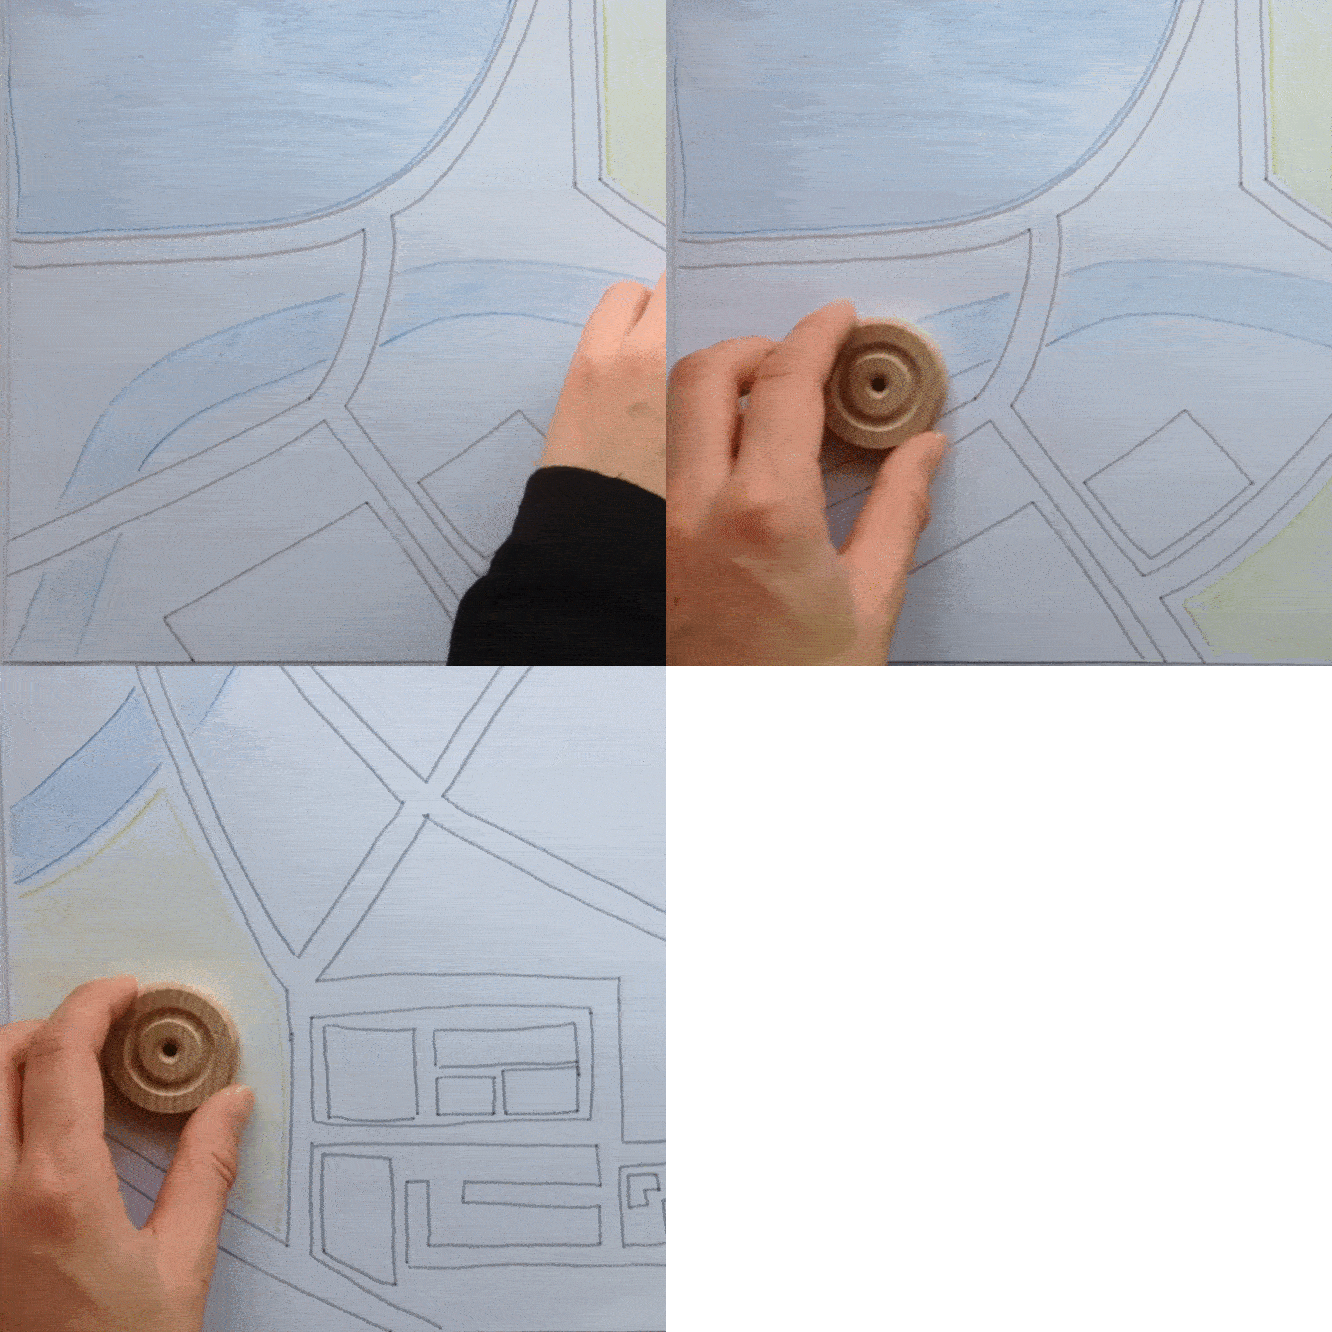
Moving Object
moveDescription
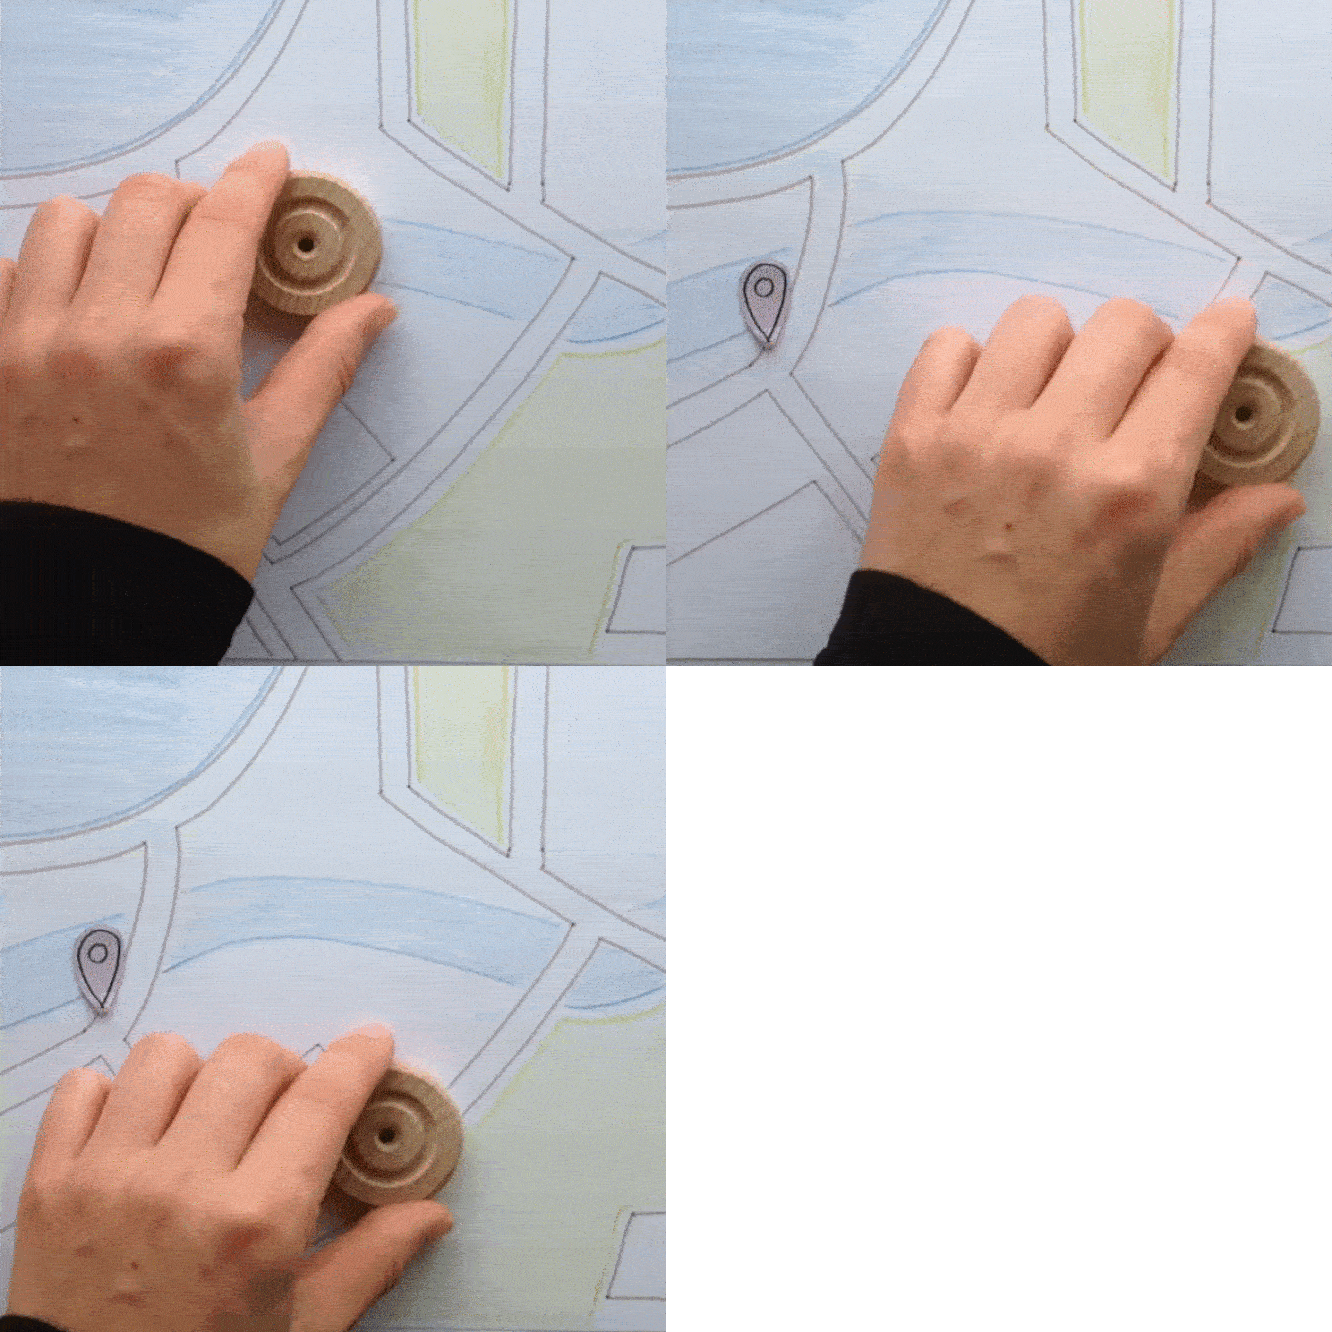
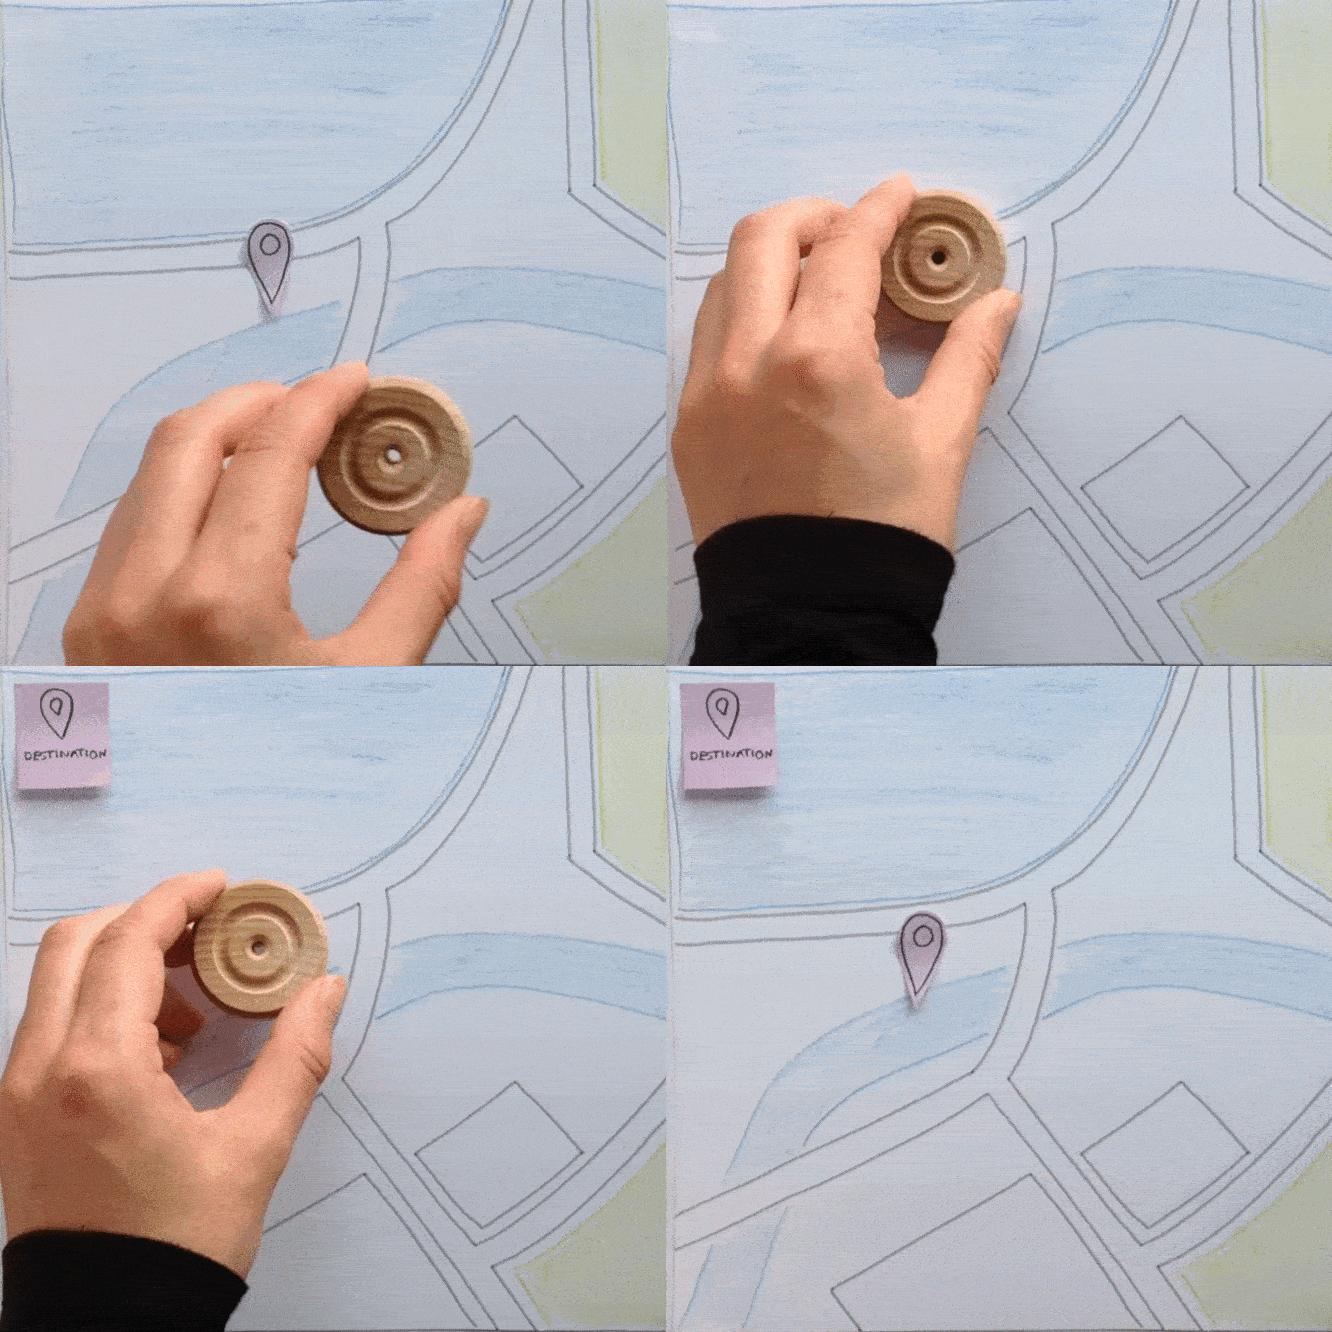
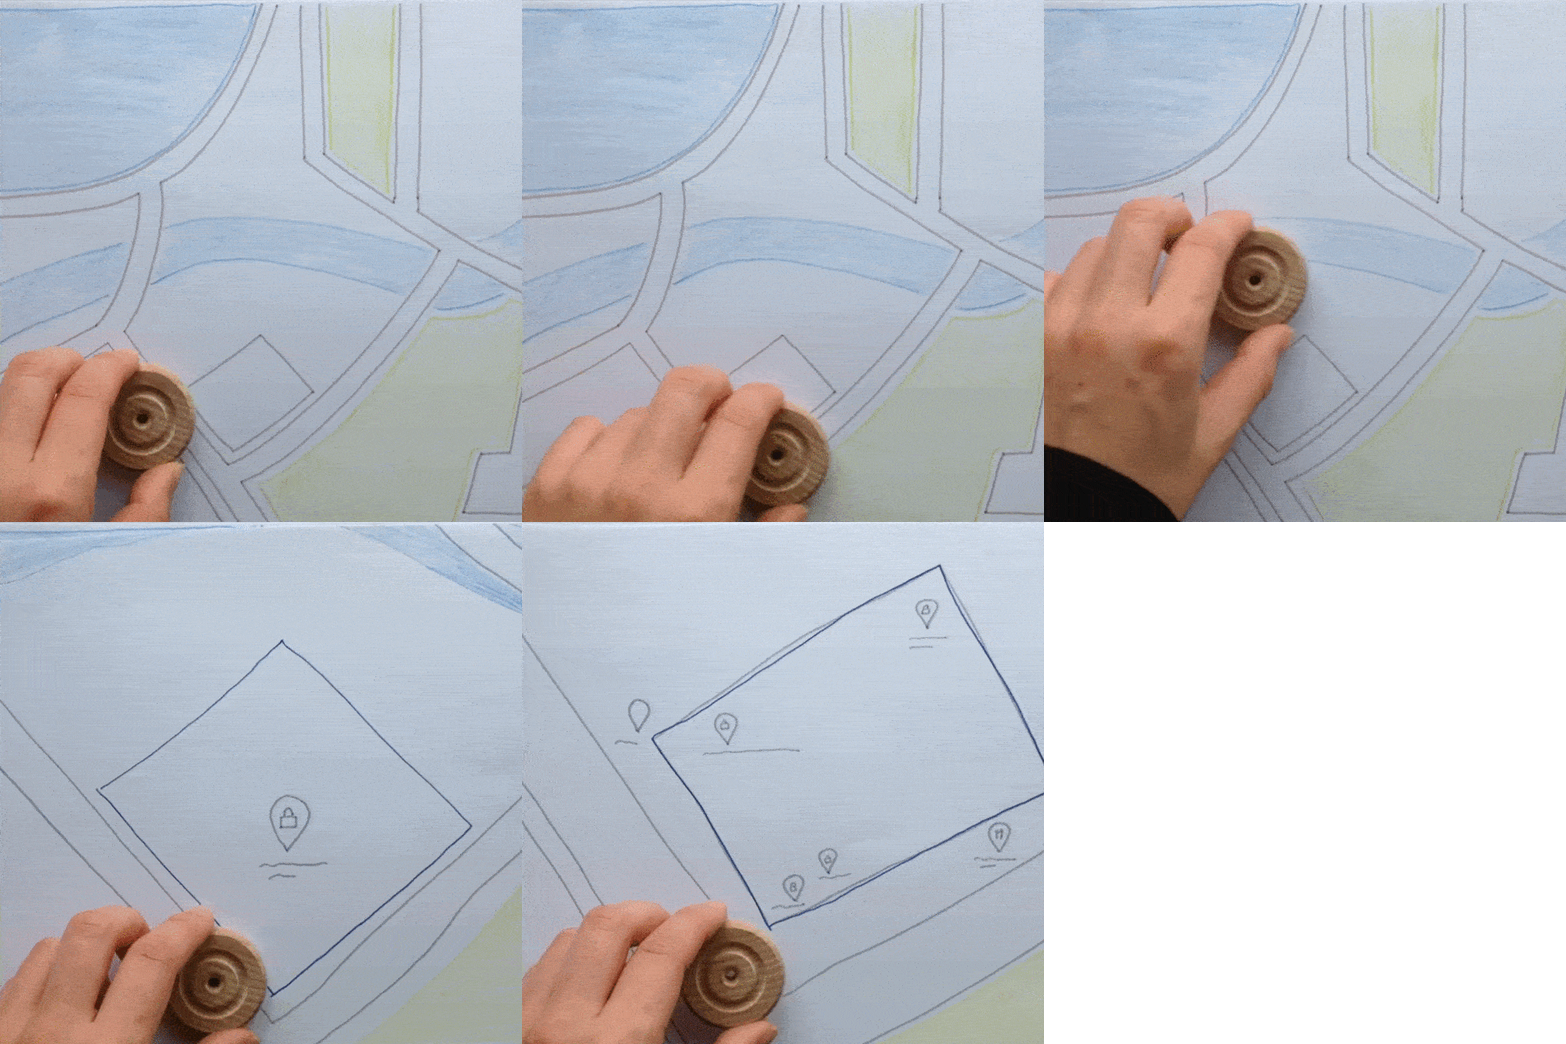
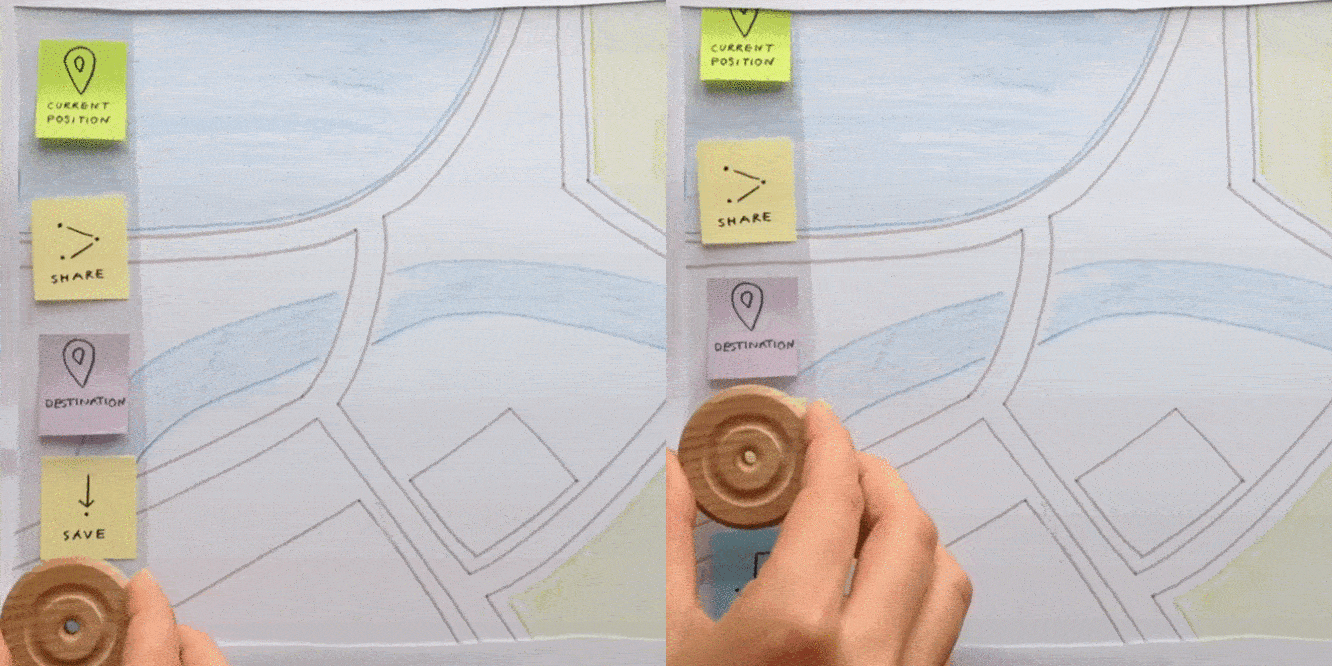
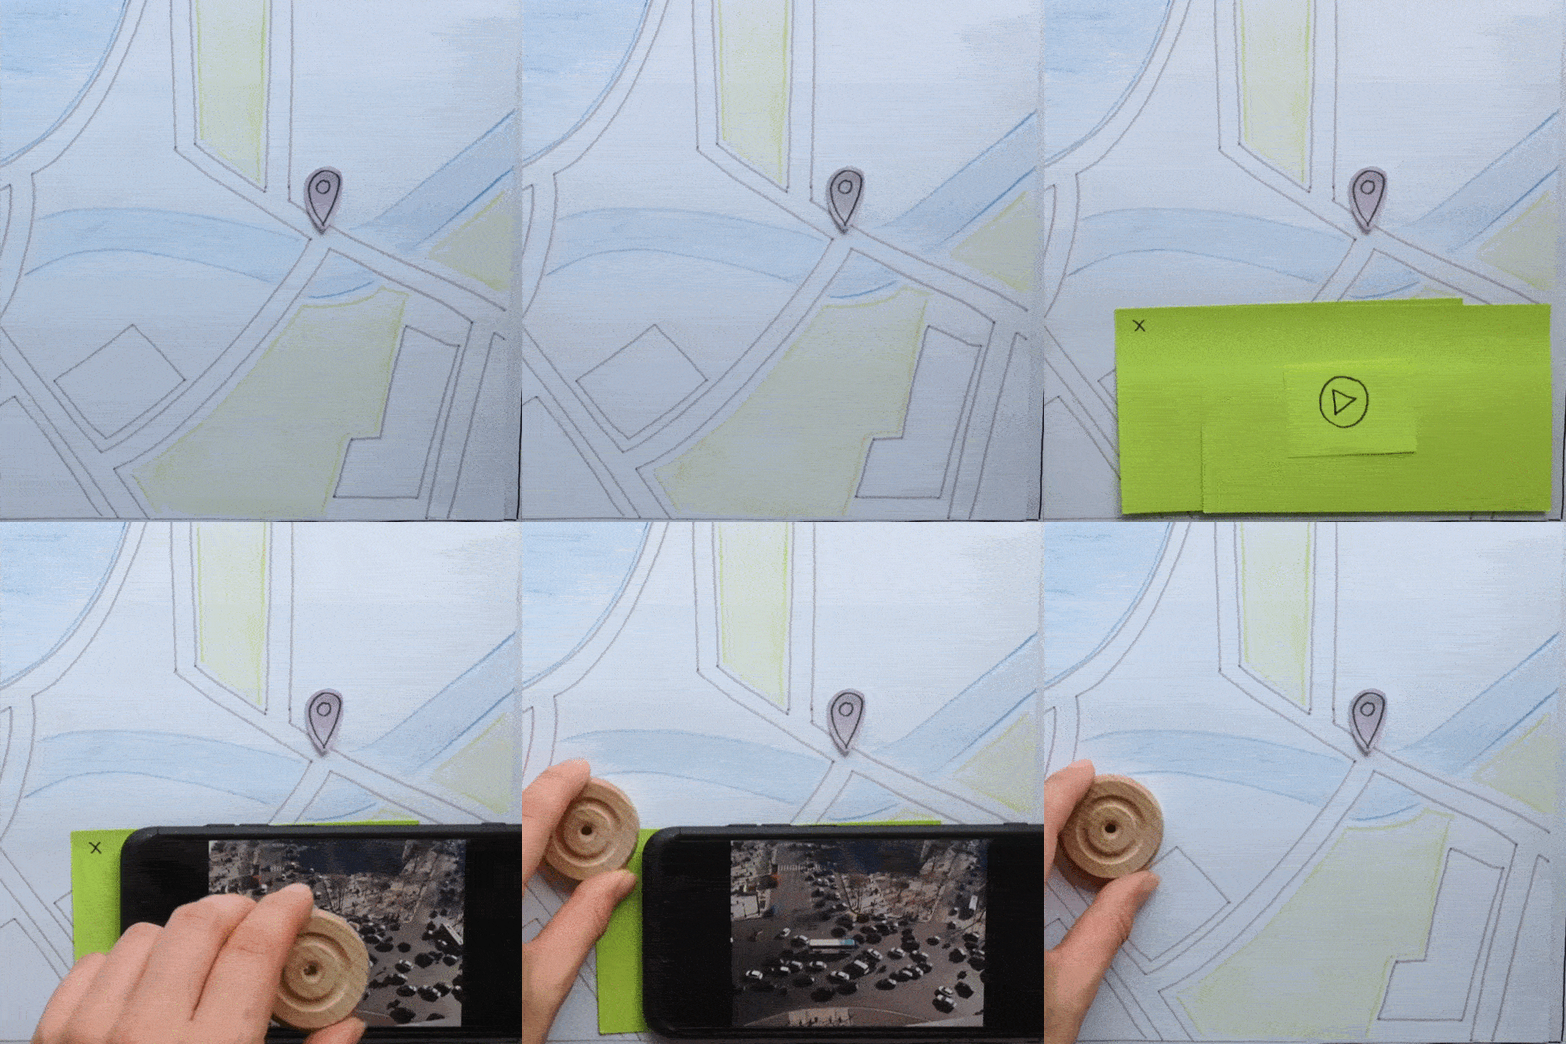
Attach tape to the back of a physical object. Use the physical object to pick up a movable unit.
Material
Physical object, tape
One more tip
Be careful to remove the tape afterwards.

Push It
Great that you are using physical objects! Can you push the principles of instrumental interaction even further?
Moving Mouse
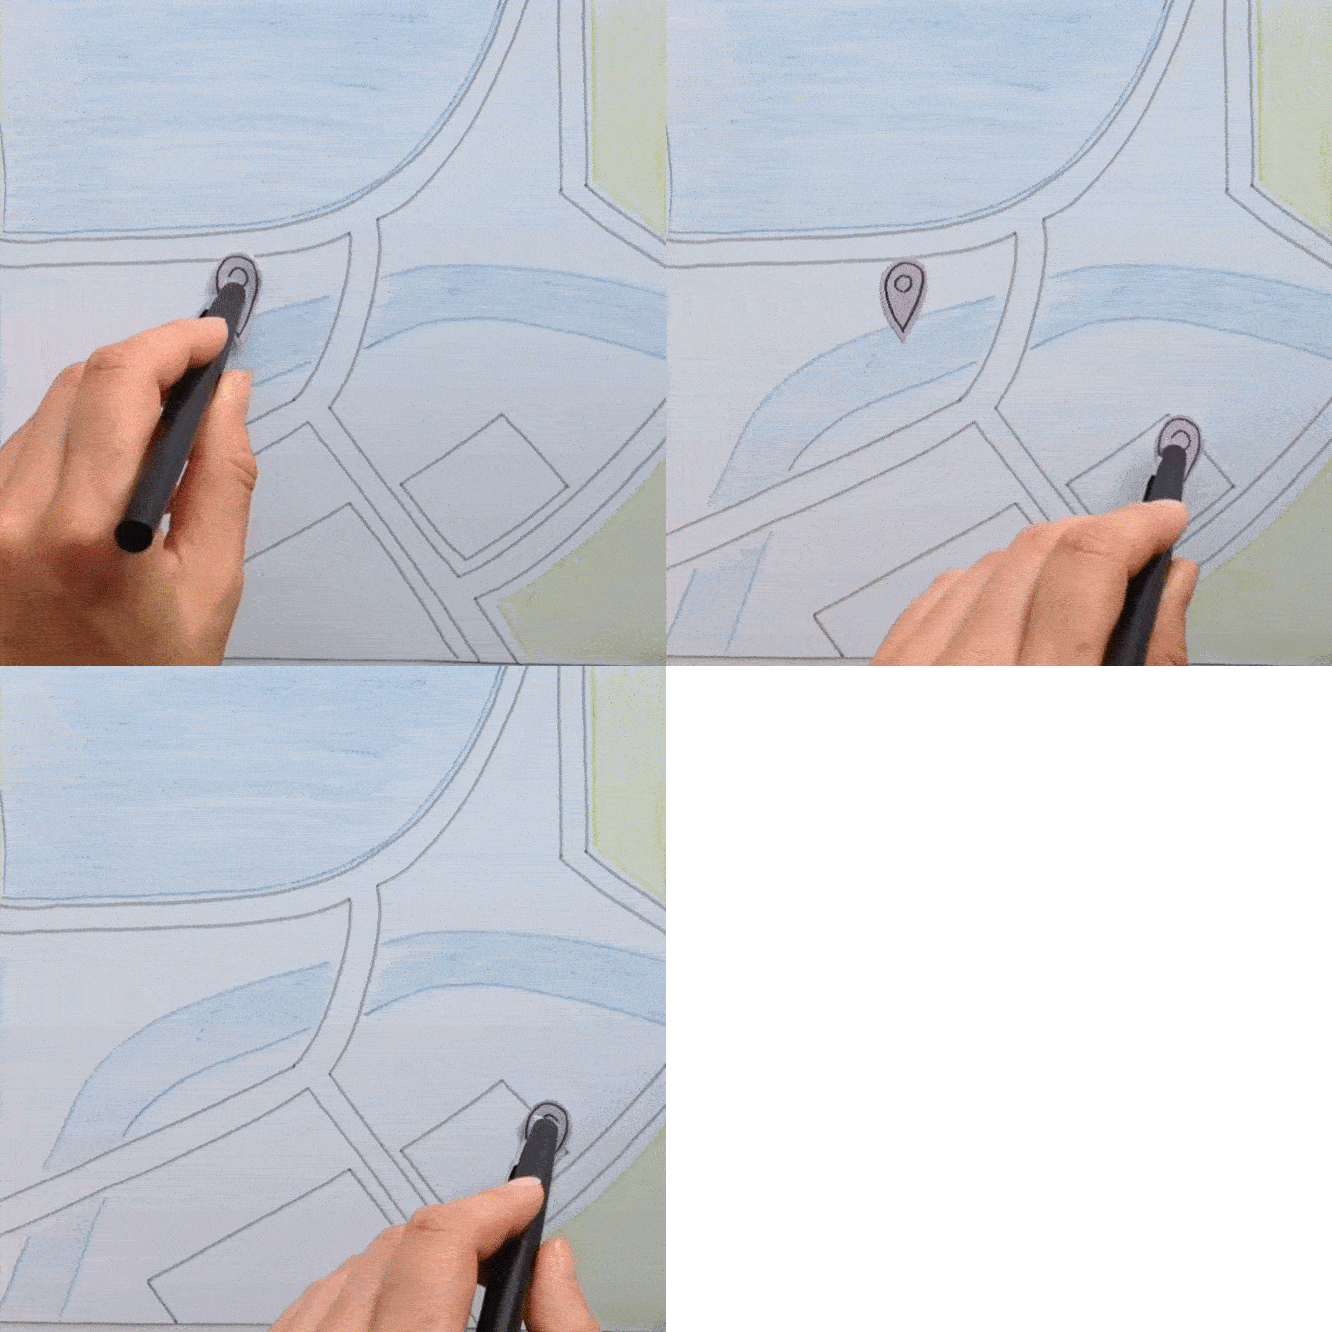
Moving Mouse
moveDescription
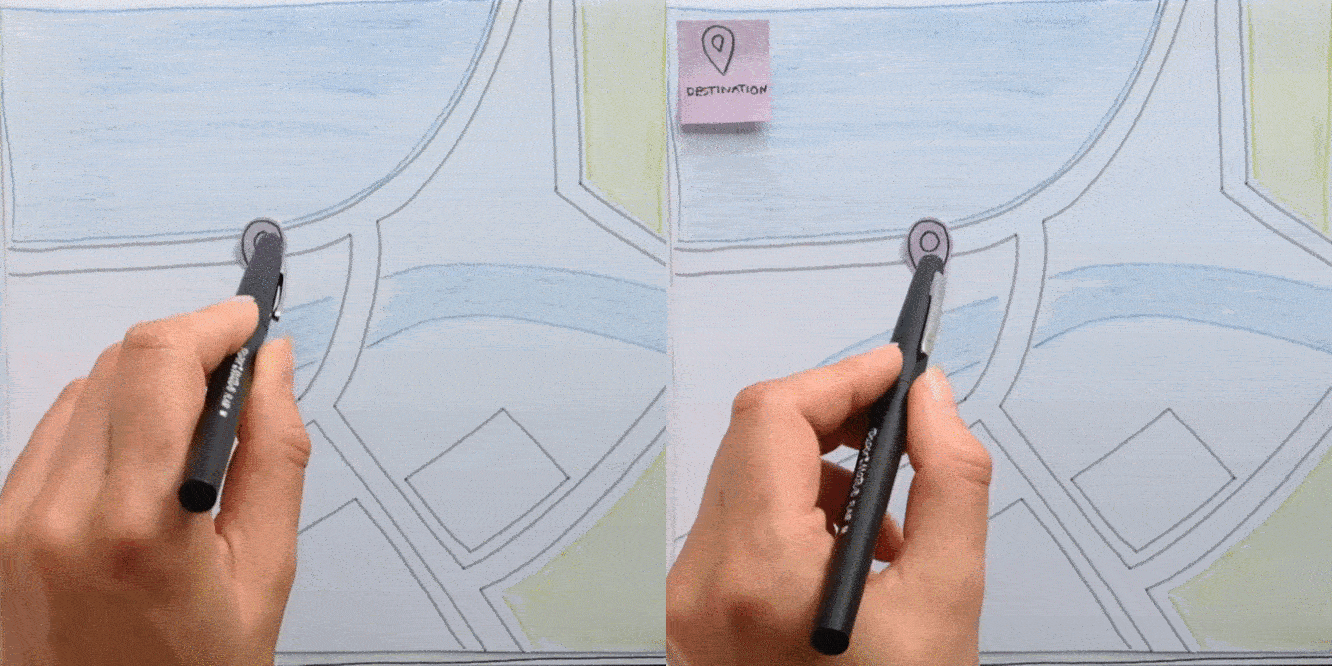
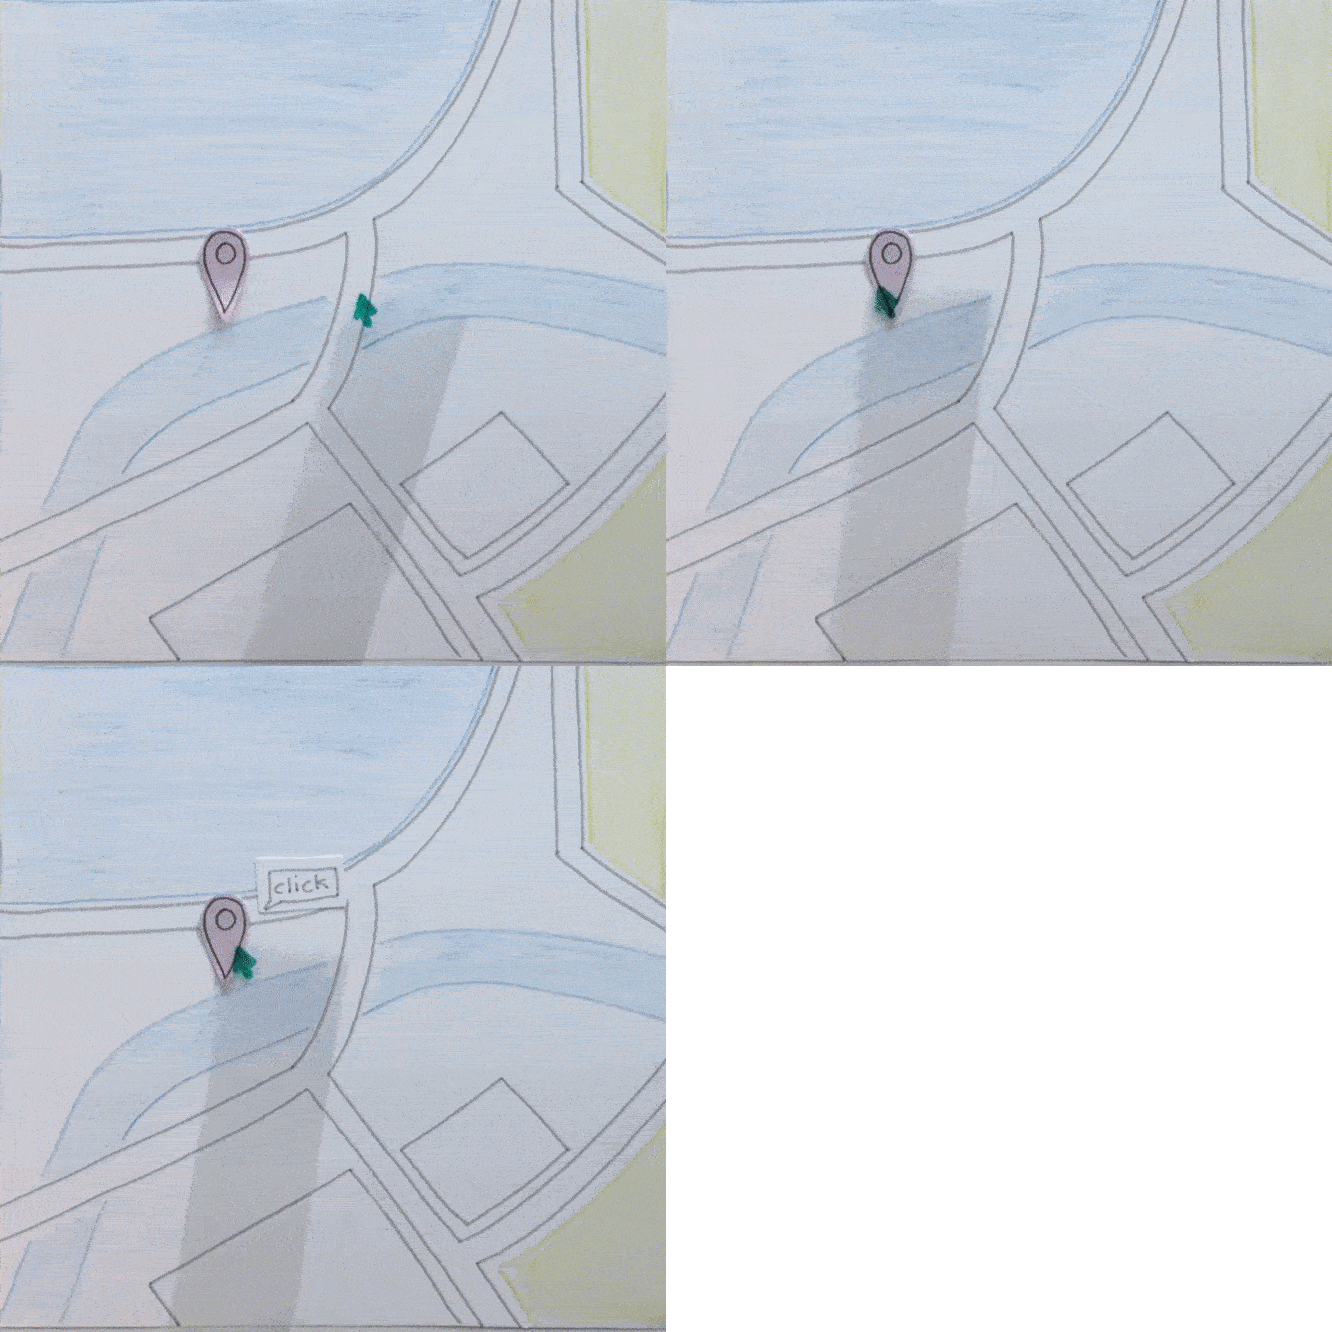
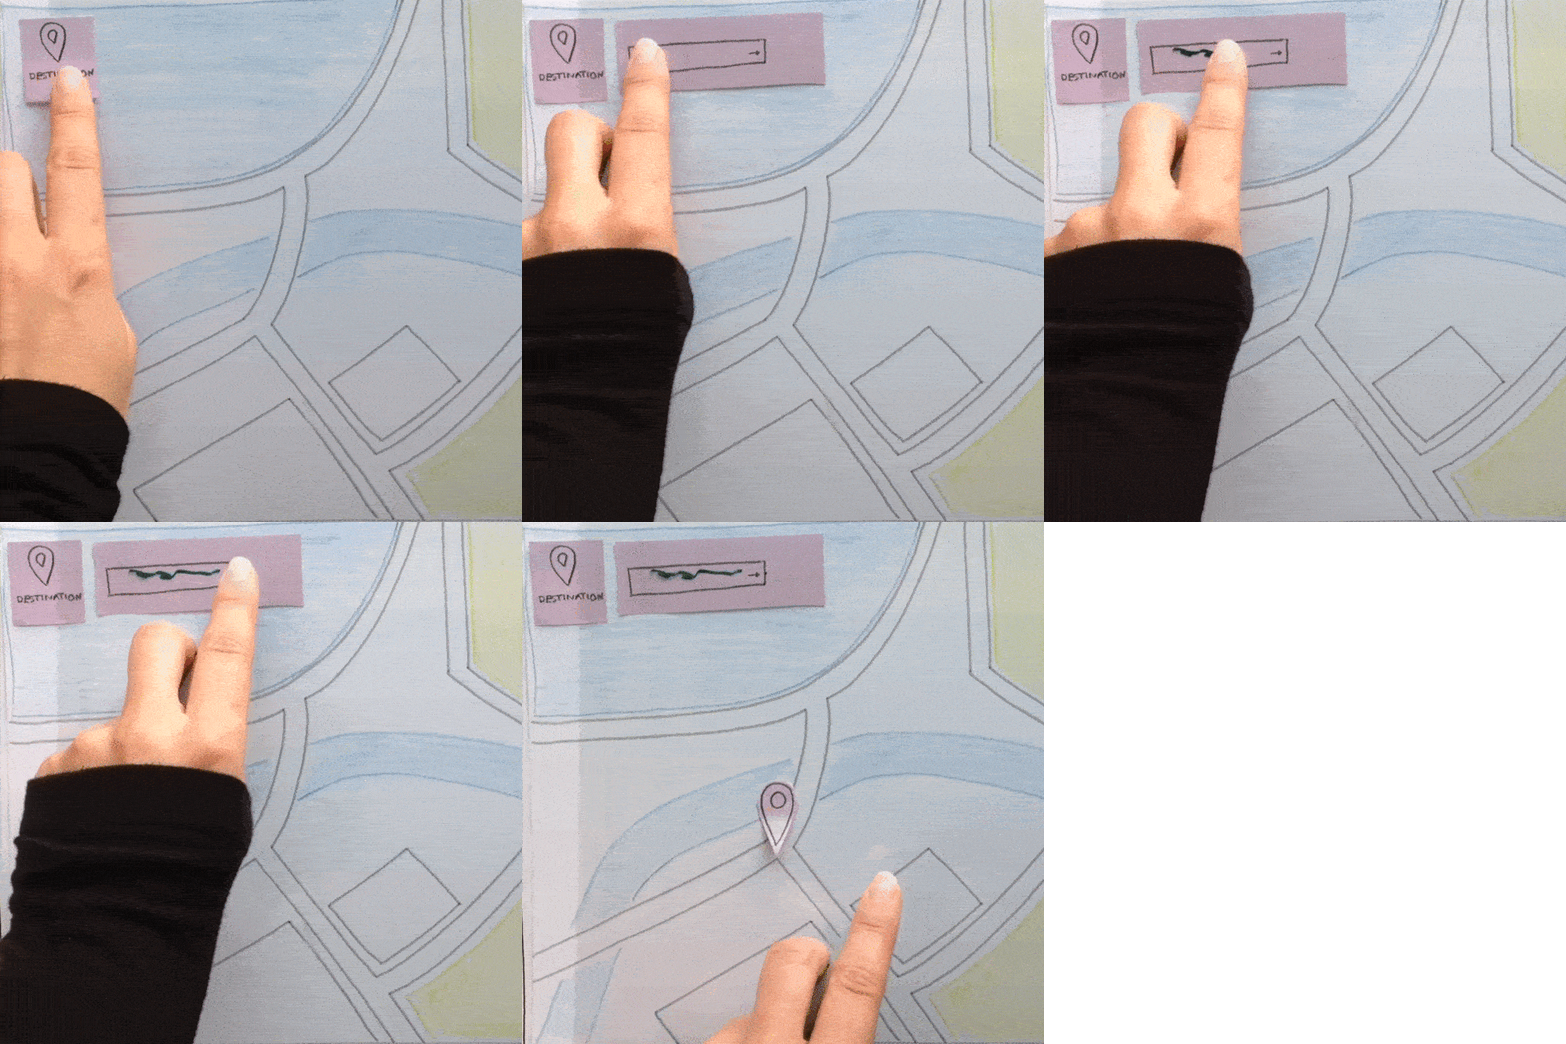
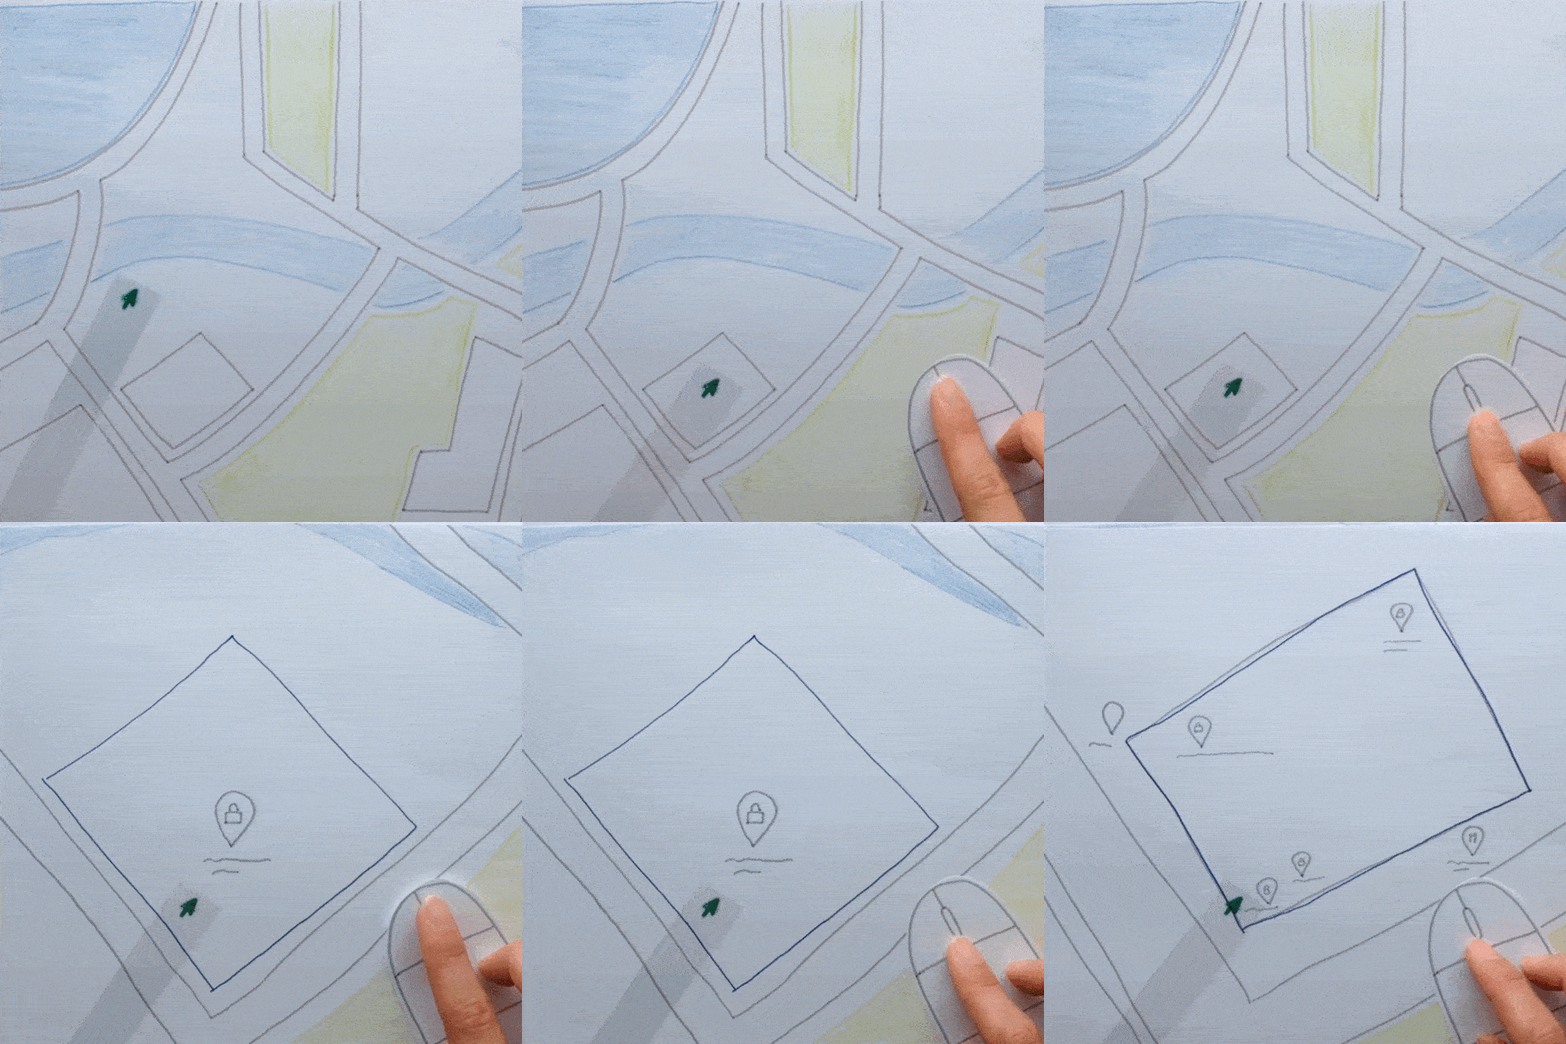
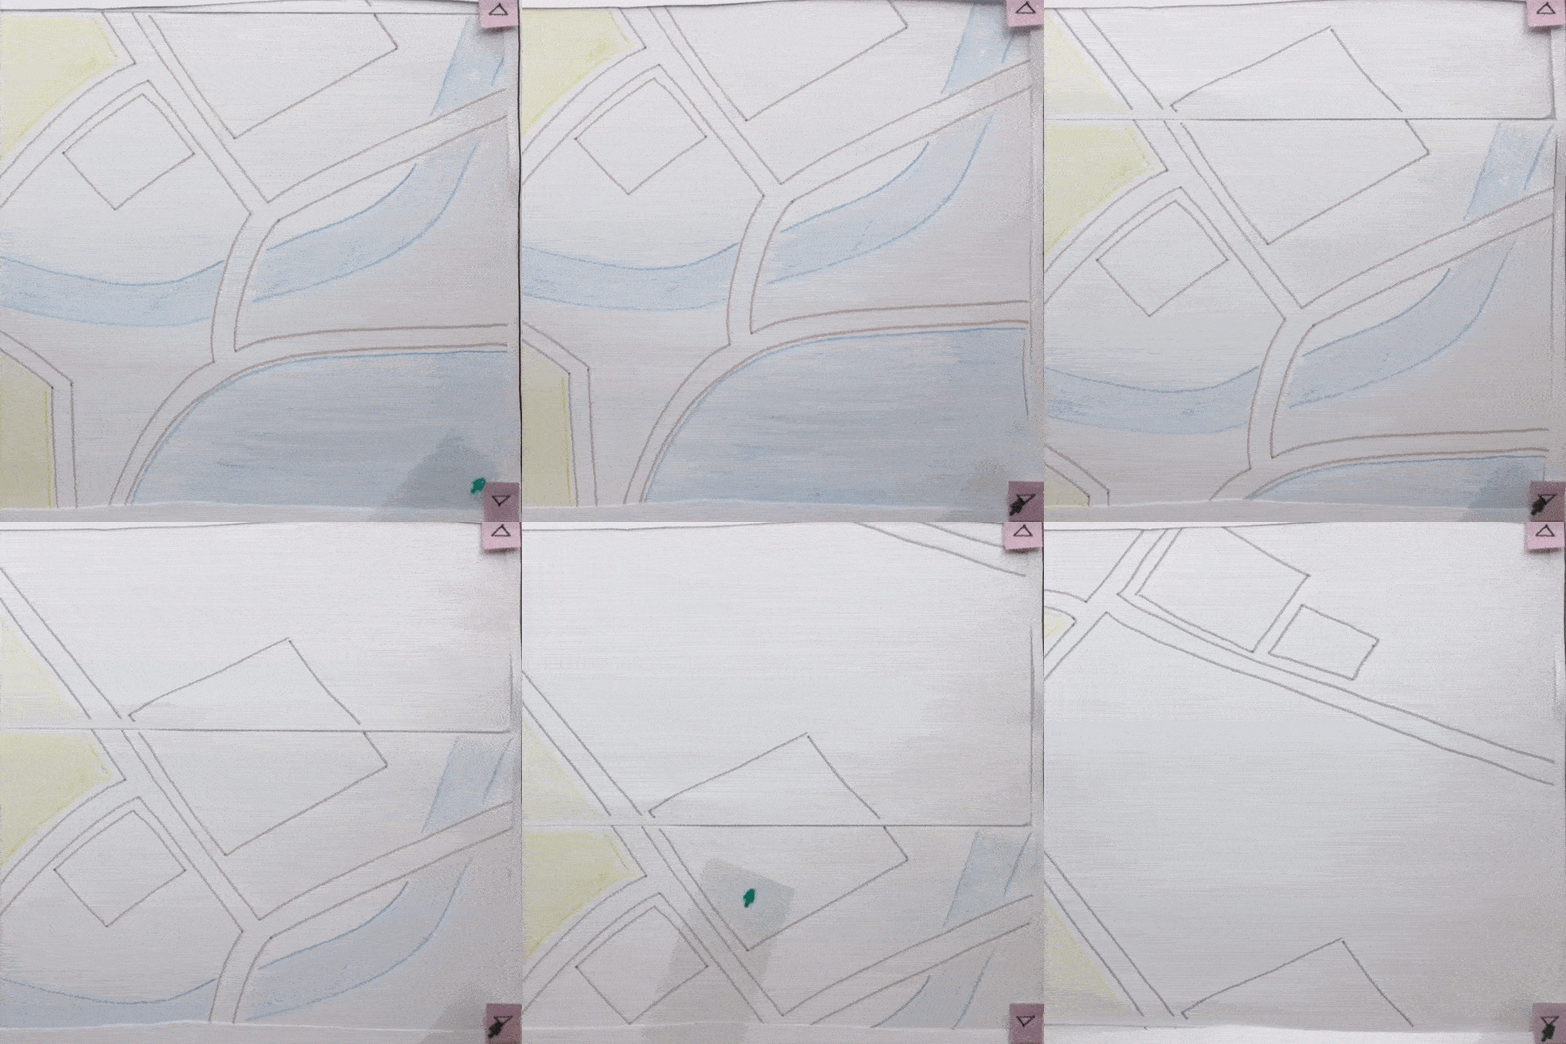
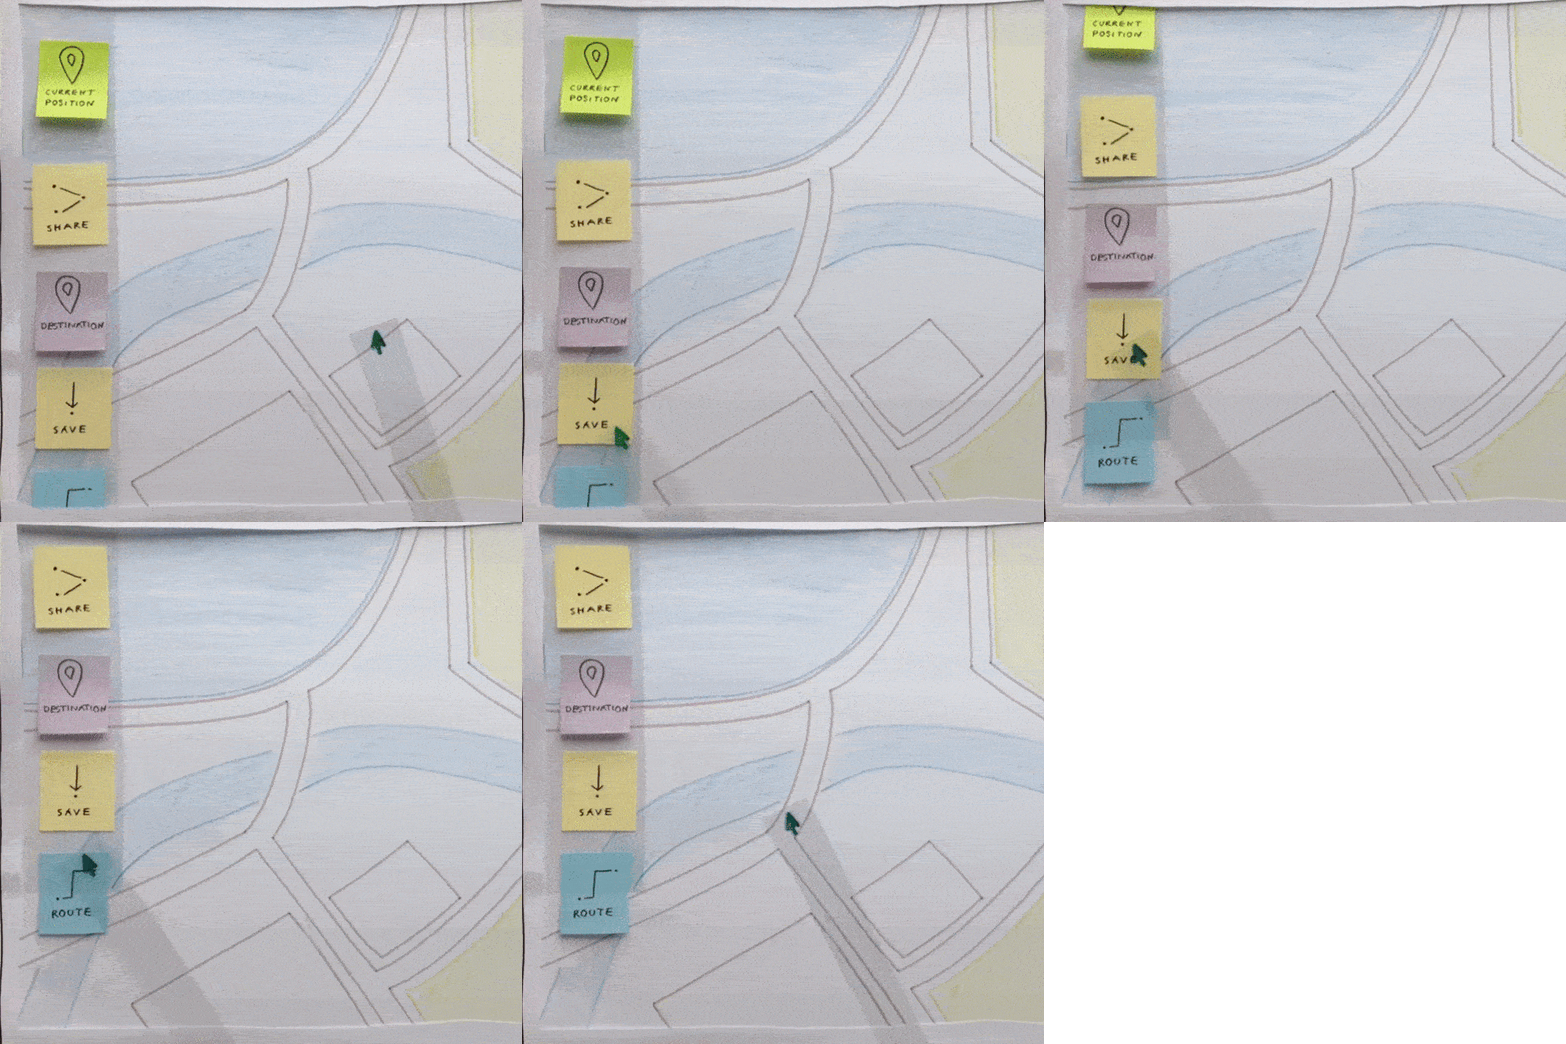
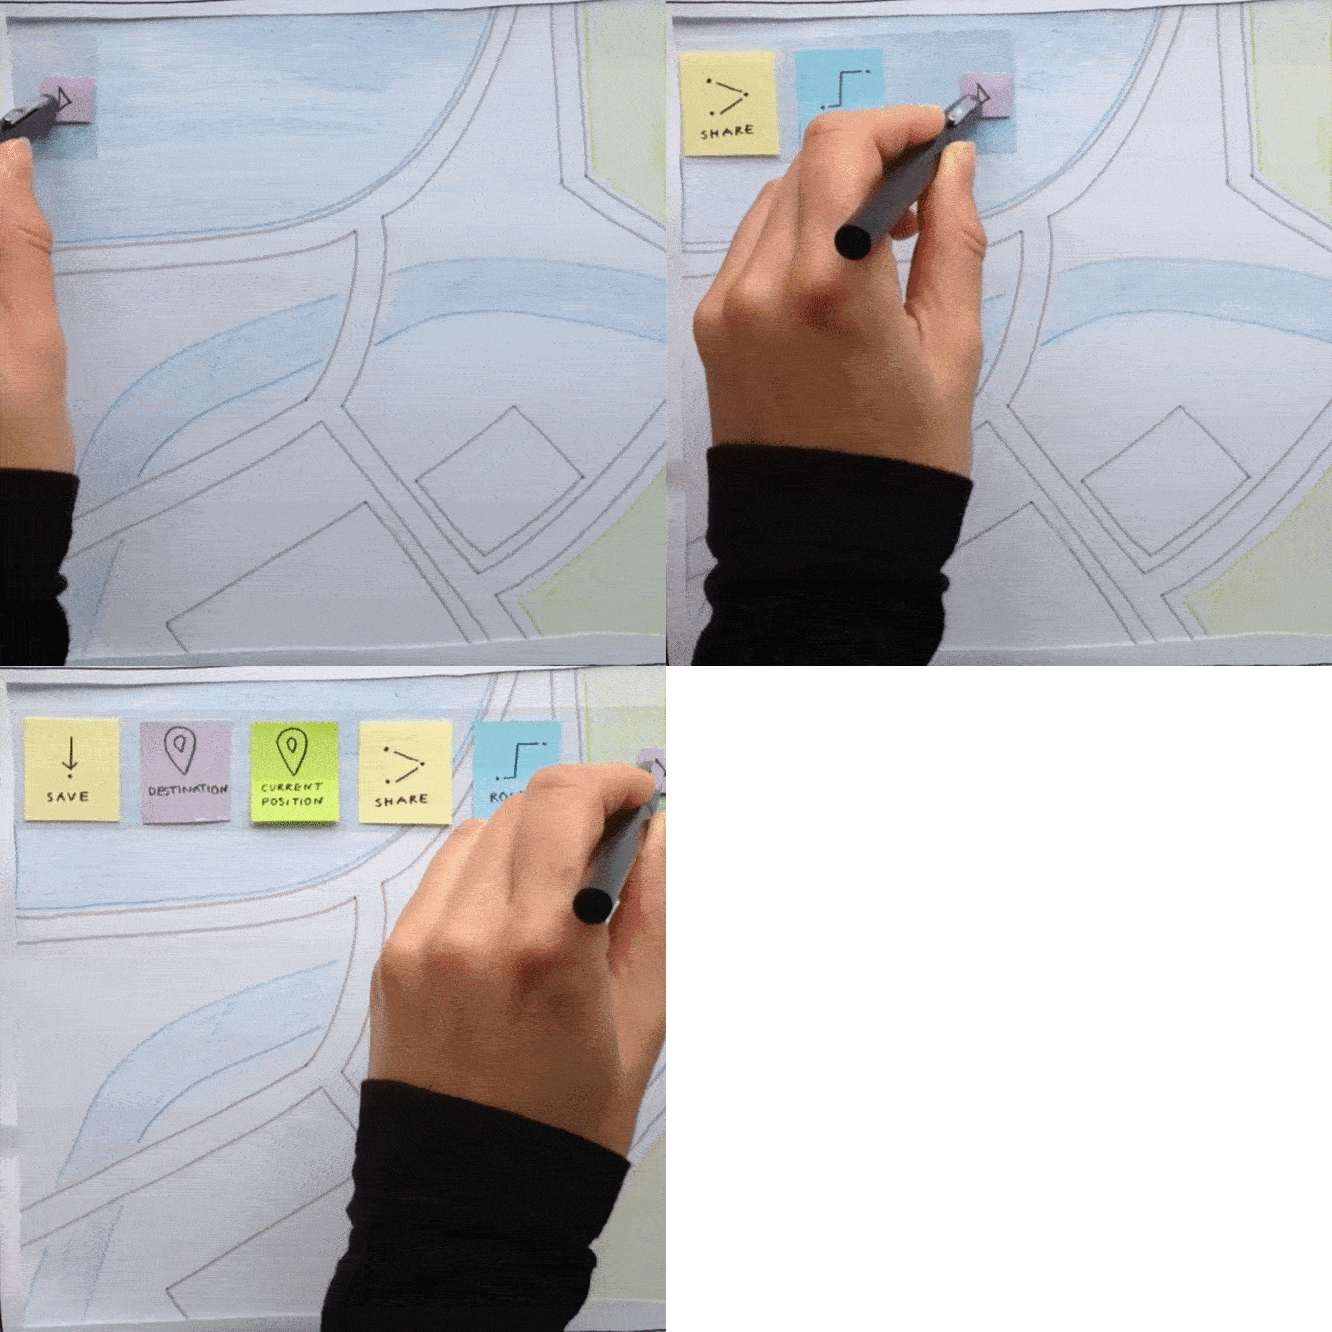
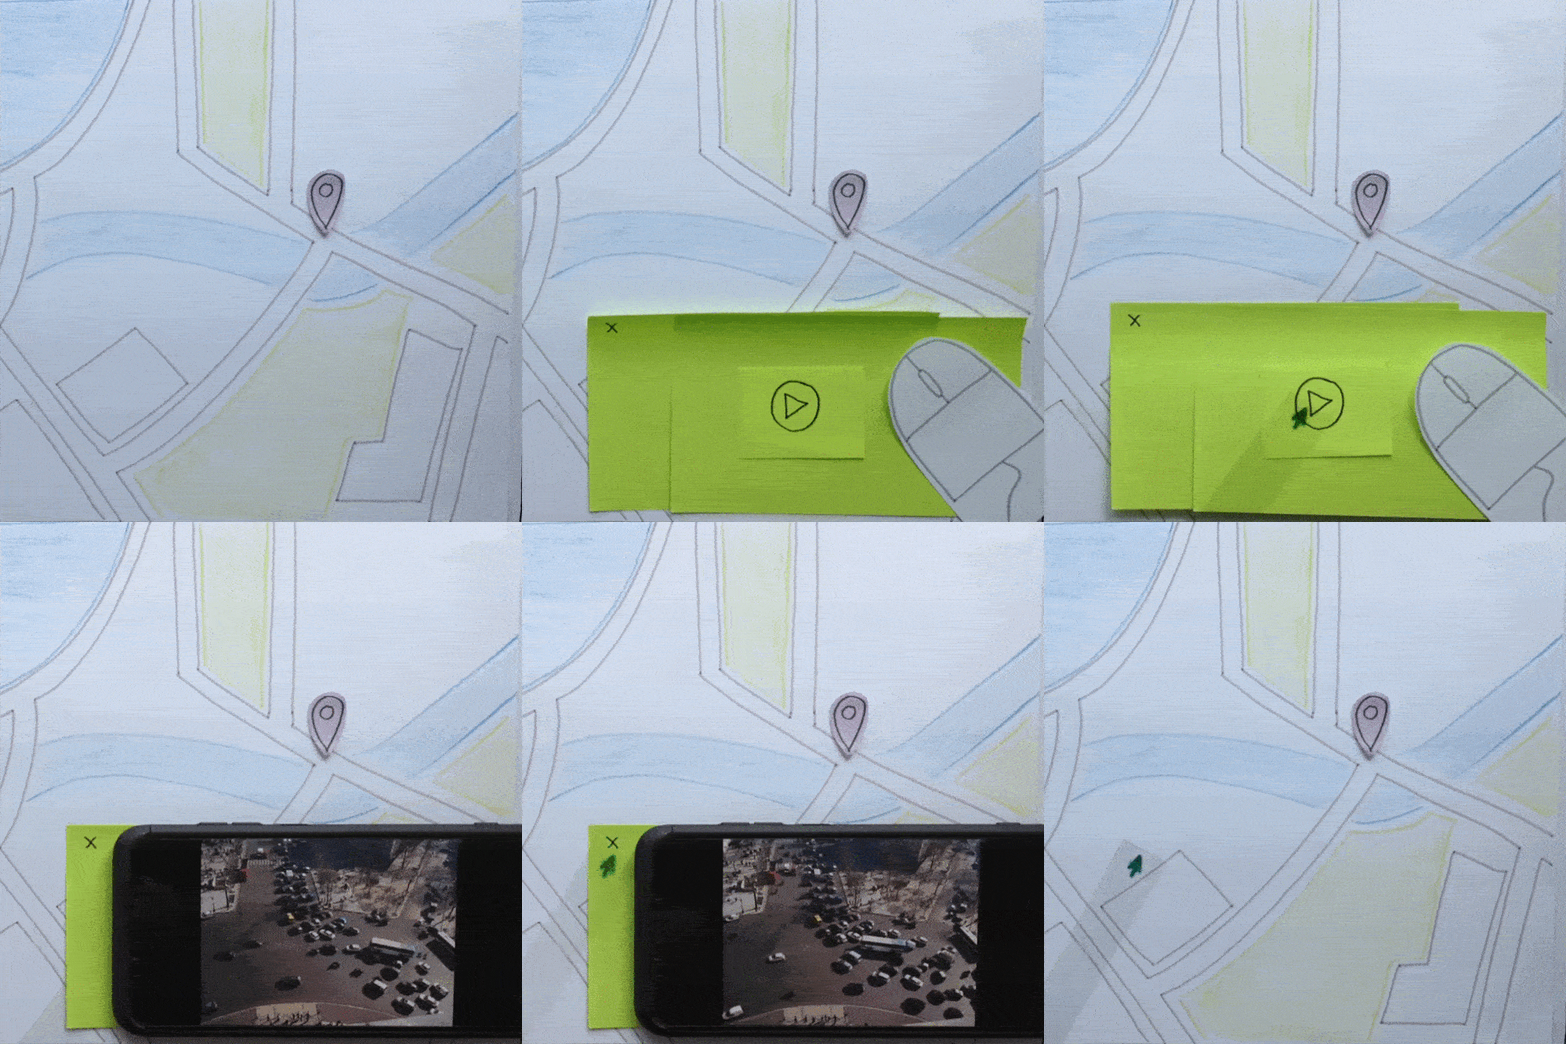
Draw a cursor shape in permanent ink onto a long, thin strip of a transparency (or attach a paper arrow to the transparency). Hold the end of the transparency from outside the shot to move the cursor within the frame.
Material
Transparency strip, paper, pen, scissors, tape
One more tip
Use a transparency that is ideally long enough to place your hand outside of the screen. If you want to select an element, check out the selecting tricks.

Push It
When using a cursor for your prototype, try to push your interactions further and avoid button-clicking interactions. Have you yet thought of the principles of polymorphism, reuse and reification? Try to put them together with your mouse interaction.
Dragging Copy
Dragging Copy
dragDescription
Redraw the movable unit. Place the copy above the fixed unit and pick it up with one of the moving tricks. As soon as you drop the movable unit, be sure to remove the fixed one from its previous position.
Material
Paper, pen
One more tip
As soon as you drop the movable unit, be sure to remove the fixed one from its previous position. To drag and drop units, you do not necessarily need to copy them - this is just a suggestion to make it more clear. You can also just move the unit itself.
Dragging Finger
Dragging Finger
dragDescription
Move the unit around with one of the movingtricks and be sure your intended interaction gets obvious. Use e.g. the title cards to illustrate what you are doing.
One more tip
To drag and drop the unit you do not necessarily need to copy it - this is just a suggestion to make it more clear.
Dragging Trace
Dragging Trace
dragDescription
Trace the movable unit on a transparency and move it around with the magicmove trick.
Material
Transparency, transparency pen
One more tip
As soon as you drop the movable unit, be sure to remove the fixed one from its previous position. Be careful with the lightning when using transparencies.
Dragging Pen
Dragging Pen
dragDescription
Redraw the movable unit. Place the copy above the fixed unit and pick it up with the movingpen trick.
One more tip
As soon as you drop the unit, be sure to remove the fixed one from its previous position. To drag and drop the unit, you do not necessarily need to copy it - this is just a suggestion to make it more clear.
Dragging Object
Dragging Object
dragDescription
Redraw the movable unit. Place the copy above the fixed unit and pick it up with the physical object. As soon as you drop the movable unit, be sure to remove the fixed one from its previous position.
One more tip
To drag and drop a unit, you do not necessarily need to copy it - this is just a suggestion to make it more clear.
Dragging Mouse
Dragging Mouse
dragDescription
Redraw the movable unit. Place the copy above the fixed unit and pick it up with the magiccursor trick. As soon as you drop the unit, be sure to remove the fixed one from its previous position.
Material
Transparency, tape
One more tip
Think of the added weight when taping the unit to the transparency.
Dragging Wall
Simple Select
Simple Select
selectDescription
Tap with your finger on the unit you wish to select. Choose the action that comes next.
One more tip
Think of the feedback the user will get when selecting a unit. Check out the notify-tips to learn more about that!

Push It
Redraw the movable unit on a sticky-note or a piece of paper. Use your hand as a pointer and shoot small sequences each with a different position of the walking sticky.
Simple Select
Simple Select
selectDescription
Tap with the pen on the unit you wish to select. Choose the action that comes next.
Material
Pen
One more tip
Think of the feedback the user will get when selecting a unit. Check out the notify-tips to learn more about that!

Push It
What will happen next after selecting? Have you thought of other ways to select units when using touch? Think of gestural selection. How can you involve your pen even more into the design?
Gesture Select
Gesture Select
selectDescription
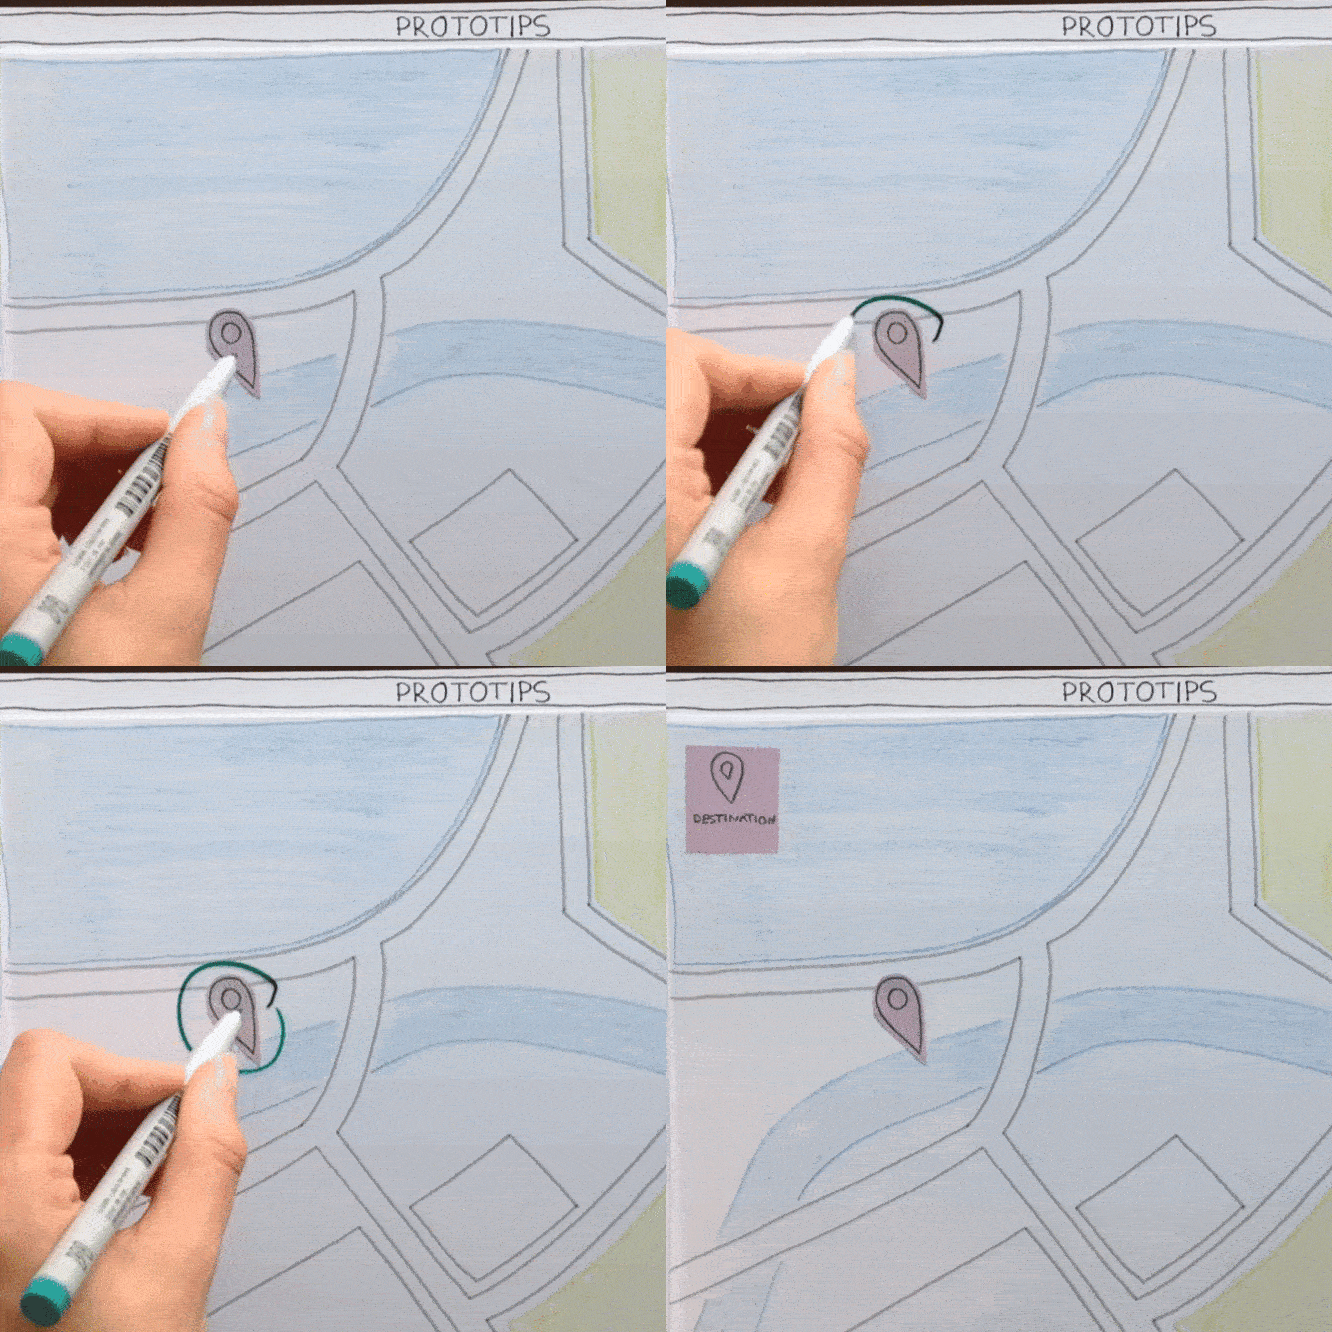
Define a gesture to select a unit. Place a transparency on top of your background and trace the gesture on it after completing the hand-gesture.
Material
Pen, transparency
One more tip
Think of the feedback the user will get when selecting a unit. Check out the notify-tips to learn more about that!
Gesture Select
Simple Select
Simple Select
selectDescription
Tap with the object on the unit you wish to select. Choose the action that comes next.
Material
Physical object
One more tip
Think of the feedback the user will get when selecting a unit. Check out thenotify-tips to learn more about that!

Push It
What will happen next? Have you thought of using contextual or pie menus for your physical object? This way, you might be able to get rid of some boring buttons.
Mouse Click
Mouse Click
selectDescription
Use your magiccursor to select a unit. Include your sketched or physical mouse into the shooting angle and do a clear clicking-gesture on the mouse.
Material
Mouse
One more tip
Think of the feedback the user will get when selecting a unit. Check out thenotify-tips to learn more about that!
Finger Click
Finger Click
selectDescription
Use your Magic Cursor to select a unit. Tap with the finger on the cursor to illustrate the click.
One more tip
When using your finger in your prototype, make sure that the role is clear - here, you should only use it to indicate clicking actions. If your prototype involves touch, be aware that your finger will be your pointing device - do not use it for anything else!
Simple Select
Simple Select
selectDescription
Tap with your finger on the unit you wish to select. Choose the action that comes next.
One more tip
You will need jump-cuts for this one. Think of the feedback the user will get when selecting a unit. Check out the notify-tips to learn more about that!

Push It
What will happen next after selecting? Have you thought of other ways to select units when using touch? Think of any kind of gestural input, or maybe use some physical objects?
Simple Select
Simple Select
selectDescription
Tap with the pen on the unit you wish to select. Choose the action that comes next.
Material
Pen
One more tip
Think of the feedback the user will get when selecting a unit. Check out the notify-tips to learn more about that!

Push It
What will happen next after selecting? Have you thought of other ways to select units when using touch? Think of gestural selection. How can you involve your pen even more into the design?
Magic Hand
Magic Hand
writeDescription
Place a transparency or an empty sheet on your layer or background. Hide a pencil under your hand and draw or write on the background or layer.
Material
Pen, transparency
One more tip
Do not write or draw on your backgrounds and layers but put an empty sheet or a transparency on top so that you can reshoot without redoing your whole prototype. If you have a lot of text input, write out only the content that is of importance - for the rest sluggy lines will do it.
Magic Keyboard
Magic Keyboard
typeDescription
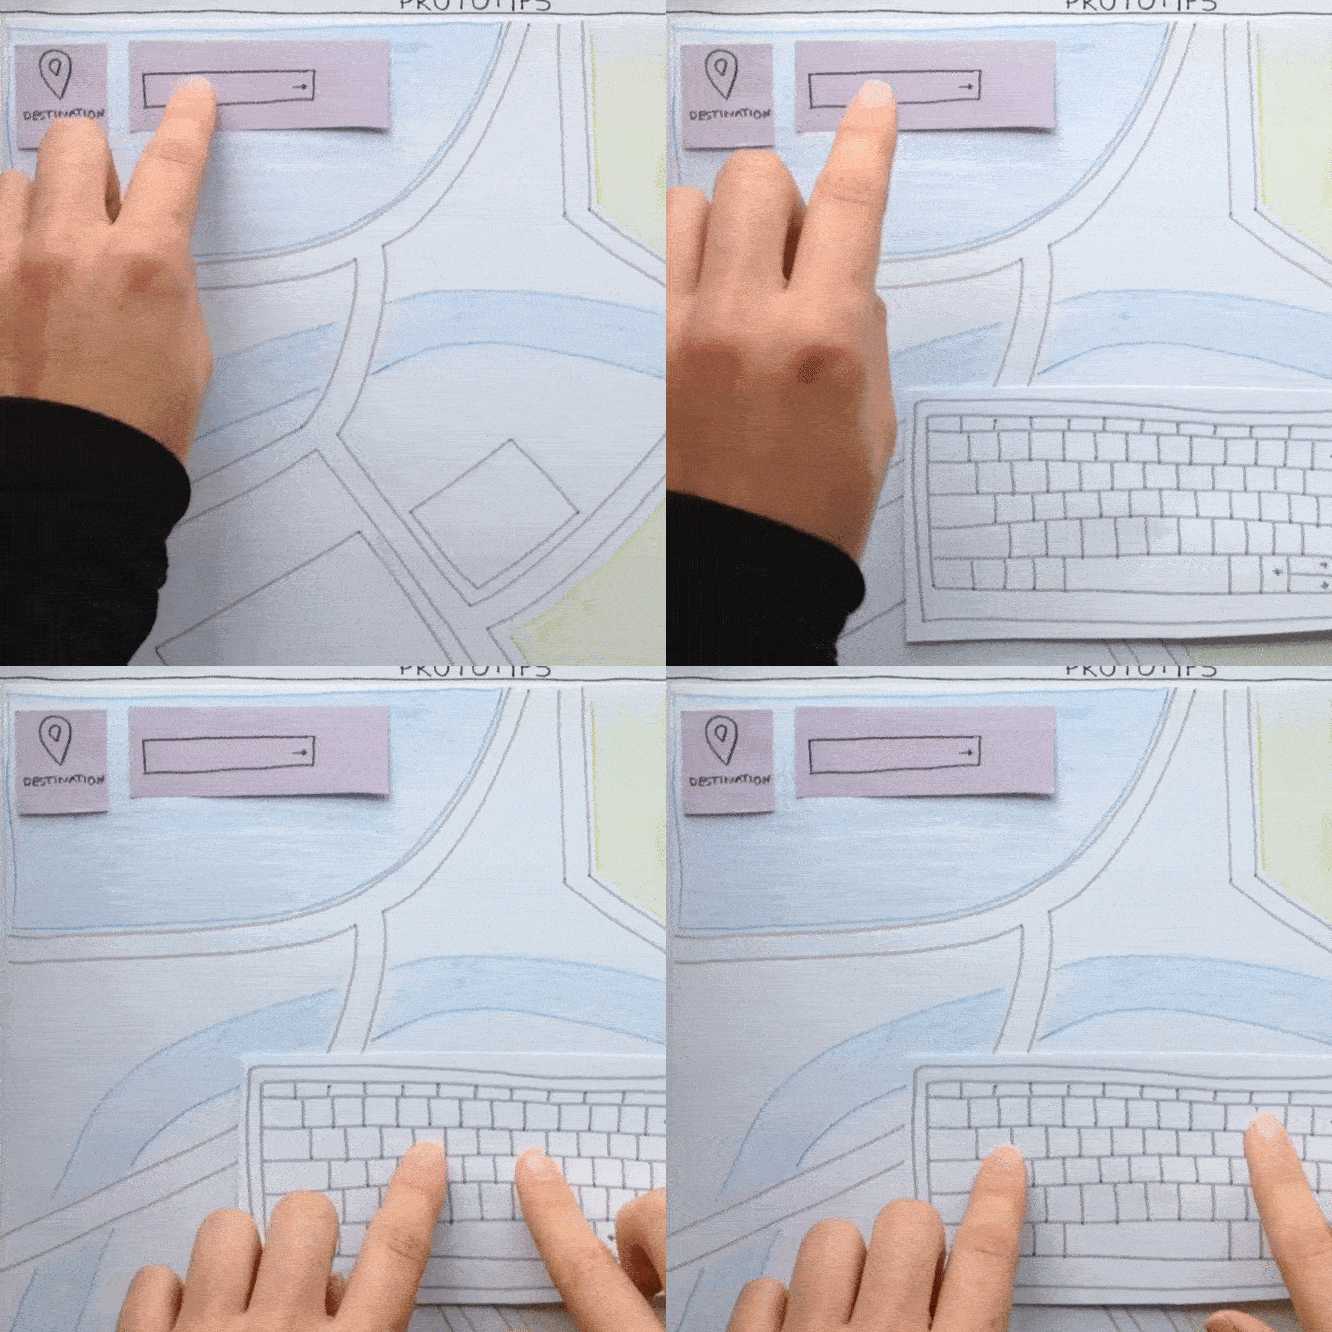
Use your sketched or physical keyboard. Attach it onto a transparency and let the keyboard magically appear through sliding it in from the outside of your shot.
Material
Transparency, pen, paper, scissors, pencils
One more tip
This is a reusable unit. In case you are doing prototypes quite frequently, do not through all your artifacts but store them somewhere for your next idea. If you have a bigger background, you can also use a real keyboard and cover it with a paper-window so that only the keyboard is shown.
Magic Pen
Magic Pen
writeDescription
Place a transparency or an empty sheet on your layer or background. Use your physical pen to input text or draw on your layer or background.
Material
Transparency, paper, pen
One more tip
If you have a lot of text input, write out only the content that is of importance - for the rest sluggy lines will do it.
Magic Keyboard
Magic Keyboard
typeDescription
Write the text input on a seperate piece of paper. Click on the unit with your Magic Cursor. Let the keyboard magically appear with the Come And Go-trick or use a wider filming angle to include your keyboard. Let the prepared text input magically appear by using jump-cuts.
Material
Keyboard, text snippet
Magic Hand
Magic Pen
Tiny Copy
Tiny Copy
zoomDescription
Redraw the unit you want to zoom at in the size you wish. Do a zooming gesture on the fixed unit and place the zoomed copy above it. To illustrate the zooming gesture better and if you have enough time, you can create copies in two different sizes and take 3 filming sequences. To zoom out, just film it the other way around.
Material
Paper, pencils, scissors
One more tip
This trick can be used whenever you want to make an object become bigger or smaller.
TIny Copy
TIny Copy
zoomDescription
Redraw the unit you want to zoom at in the size you wish. With your pen do a zooming gesture on the fixed unit and place the zoomed copy above it. To illustrate the zooming gesture better and if you have enough time, you can create copies in two different sizes and take 3 filming sequences. To zoom out, just film it the other way around.
Material
Paper, pencils, scissors, pen
One more tip
This trick can be used whenever you want to make an object become bigger or smaller.
TIny Copy
TIny Copy
zoomDescription
Redraw the unit you want to zoom at in the size you wish. Involve a unit to the shot which causes the zooming (e.g. scroll bar, mouse wheel). Then place the zoomed copy you prepared above the fixed unit. To illustrate the zooming gesture better and if you have enough time, you can create copies in two different sizes and take 3 filming sequences. To zoom out, just film it the other way around.
Material
Paper, pencils, scissors, mouse
One more tip
This trick can be used whenever you want to make an object become bigger or smaller.
Tiny Copy
Tiny Copy
zoomDescription
Redraw the unit you want to zoom at in the size you wish. Do a zooming gesture on the fixed unit and place the zoomed copy you prepared above it. To illustrate the zooming gesture better and if you have enough time, you can create copies in two different sizes and take 3 filming sequences. To zoom out, just film it the other way around.
Material
Paper, pencils, scissors
One more tip
This trick can be used whenever you want to make an object become bigger or smaller. When doing gestures on a wall-sized display, be sure to make the gestures big enough.
TIny Copy
TIny Copy
zoomDescription
Redraw the unit you want to zoom at in the size you wish. With your pen do a zooming gesture on the fixed unit and place the zoomed copy above it. To illustrate the zooming gesture better and if you have enough time, you can create copies in two different sizes and take 3 filming sequences. To zoom out, just film it the other way around.
Material
Paper, pencils, scissors, pen, physical object
One more tip
When doing gestures on a wall-sized display, be sure to make the gestures big enough.
TIny Copy
TIny Copy
zoomDescription
Redraw the unit you want to zoom at in the size you wish. Place your physical object on the fixed unit and place the zoomed copy below the physical object using jump-cuts. To illustrate the zooming gesture better and if you have enough time, you can create copies in two different sizes and take 3 filming sequences. To zoom out, just film it the other way around.
Material
Paper, pencils, scissors, pen
Tiny Drag
Tiny Drag
dragDescription
Redraw the unit of your background or layer you wish to drag in a smaller size on a seperate paper. With your finger select the unit on your background. Using the Tape Finger, attach the redrawed unit to your finger and remove the original from the background or layer. Now move your finger together with the tiny copy to where you want to drop it.
Material
Paper, pencils, scissors, transparencies, transparency pen, tape
Tiny Drag
Tiny Drag
dragDescription
Redraw the unit of your background or layer you wish to drag in a smaller size on a seperate paper. With your pen select the unit on your background. Using the Magic Pen, attach the redrawed unit to your pen and remove the original from the background or layer. Now move your pen together with the tiny copy to where you want to drop it.
Material
Paper, pencils, scissors, transparencies, transparency pen, tape
Tiny Drag
Tiny Drag
dragDescription
Redraw the unit of your background or layer you wish to drag in a smaller size on a seperate paper. With your physical object select the unit on your background. Using the Magic Object, attach the redrawed unit to your object and remove the original from the background or layer. Now move your object together with the tiny copy to where you want to drop it.
Material
Paper, pencils, scissors, transparencies, transparency pen, tape
Tiny Drag
Tiny Drag
dragDescription
Redraw the unit of your background or layer you wish to drag in a smaller size on a seperate paper. With your finger select the unit on your background. Using the Tape Finger, attach the redrawed unit to your finger and remove the original from the background or layer. Now move your finger together with the tiny copy to where you want to drop it.
Material
Paper, pencils, scissors, transparencies, transparency pen, tape
Paper Scroll
Paper Scroll
scrollDescription
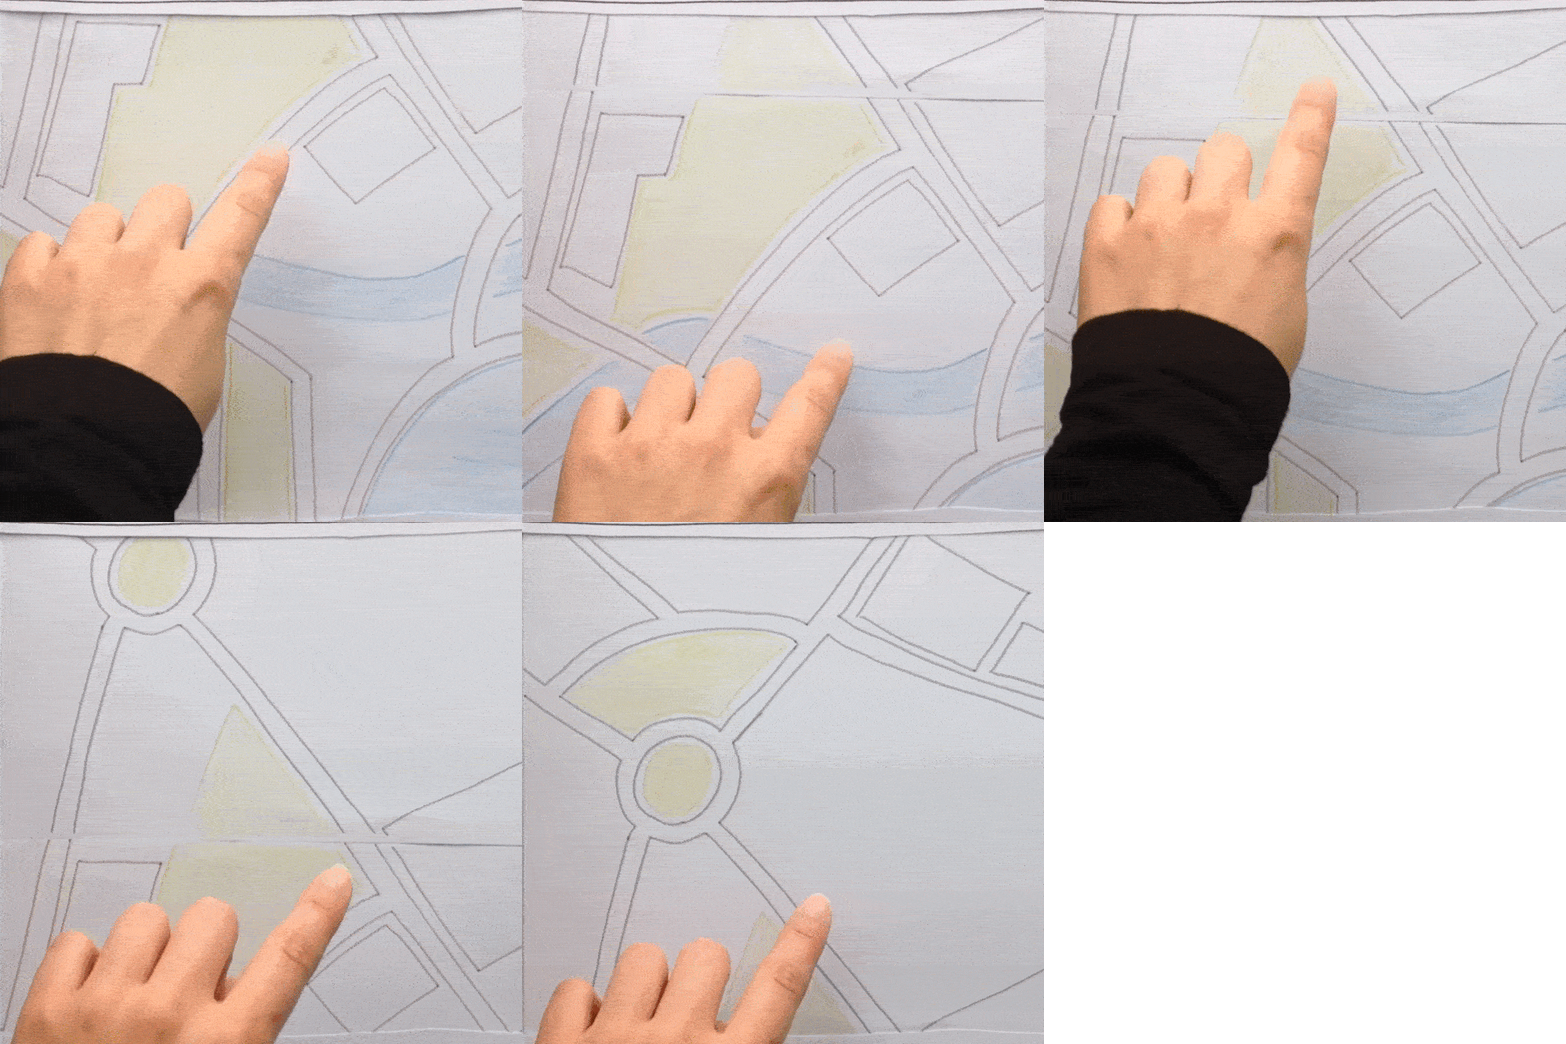
Prepare a layer that is bigger than your background. Tape as many papers together as you need to scroll through your content and attach all needed units to that layer. Use your finger to scroll by sliding the paper up and down from the outside of the shot.
Material
Paper, tape, pencils
One more tip
To make it look nicer, place a stencil above your background. Think of the interaction - which pen-gesture triggers the scrolling?
Magic Scroll
Magic Scroll
scrollDescription
Place a transparency above your background and attach all needed units to it. Tape as many transperencies together as you need to scroll through your content. Use your finger to scroll by sliding the paper up and down from the outside of the shot.
Material
Transparencies, tape
One more tip
To make it look nicer, place a stencil above your background. Think of the interaction - which gesture triggers the scrolling? This trick can be also used for sliding.
Magic Scroll
Magic Scroll
scrollDescription
Place a transparency above your background and attach all needed units to it. Tape as many transperencies together as you need to scroll through your content. Use your pen to scroll by sliding the transparency up and down from the outside of the shot.
Material
Transparencies, tape, pen
One more tip
To make it look nicer, place a stencil above your background. Think of the interaction - which pen-gesture triggers the scrolling? This trick can be also used for sliding.
Paper Scroll
Paper Scroll
scrollDescription
Prepare a layer that is bigger than your background. Tape as many papers together as you need to scroll through your content and attach all needed units to that layer. Use your pen to scroll by moving the layer up and down from the outside of the shot.
Material
Paper, tape, pencils, pen
One more tip
To make it look nicer, place a stencil above your background. Think of the interaction - which pen-gesture triggers the scrolling? This trick can be also used for sliding.
Paper Scroll
Paper Scroll
scrollDescription
Prepare a layer that is bigger than your background. Tape as many papers together as you need to scroll through your content and attach all needed units to that layer. Use your magiccursor to scroll by sliding the paper up and down from the outside of the shot.
Material
Paper, tape, pencils, mouse
One more tip
To make it look nicer, place a stencil above your background. Think of the interaction - which mouse-gesture triggers the scrolling? This trick can be also used for sliding.
Magic Scroll
Magic Scroll
scrollDescription
Place a transparency above your background and attach all needed units to it. Tape as many transperencies together as you need to scroll through your content. Use your magiccursor to scroll by sliding the transperency up and down from the outside of the shot.
Material
Transparencies, tape, cursor
One more tip
To make it look nicer, place a stencil above your background. Think of the interaction - which mouse-gesture triggers the scrolling? This trick can be also used for sliding.
Sound Note
Sound Note
listenDescription
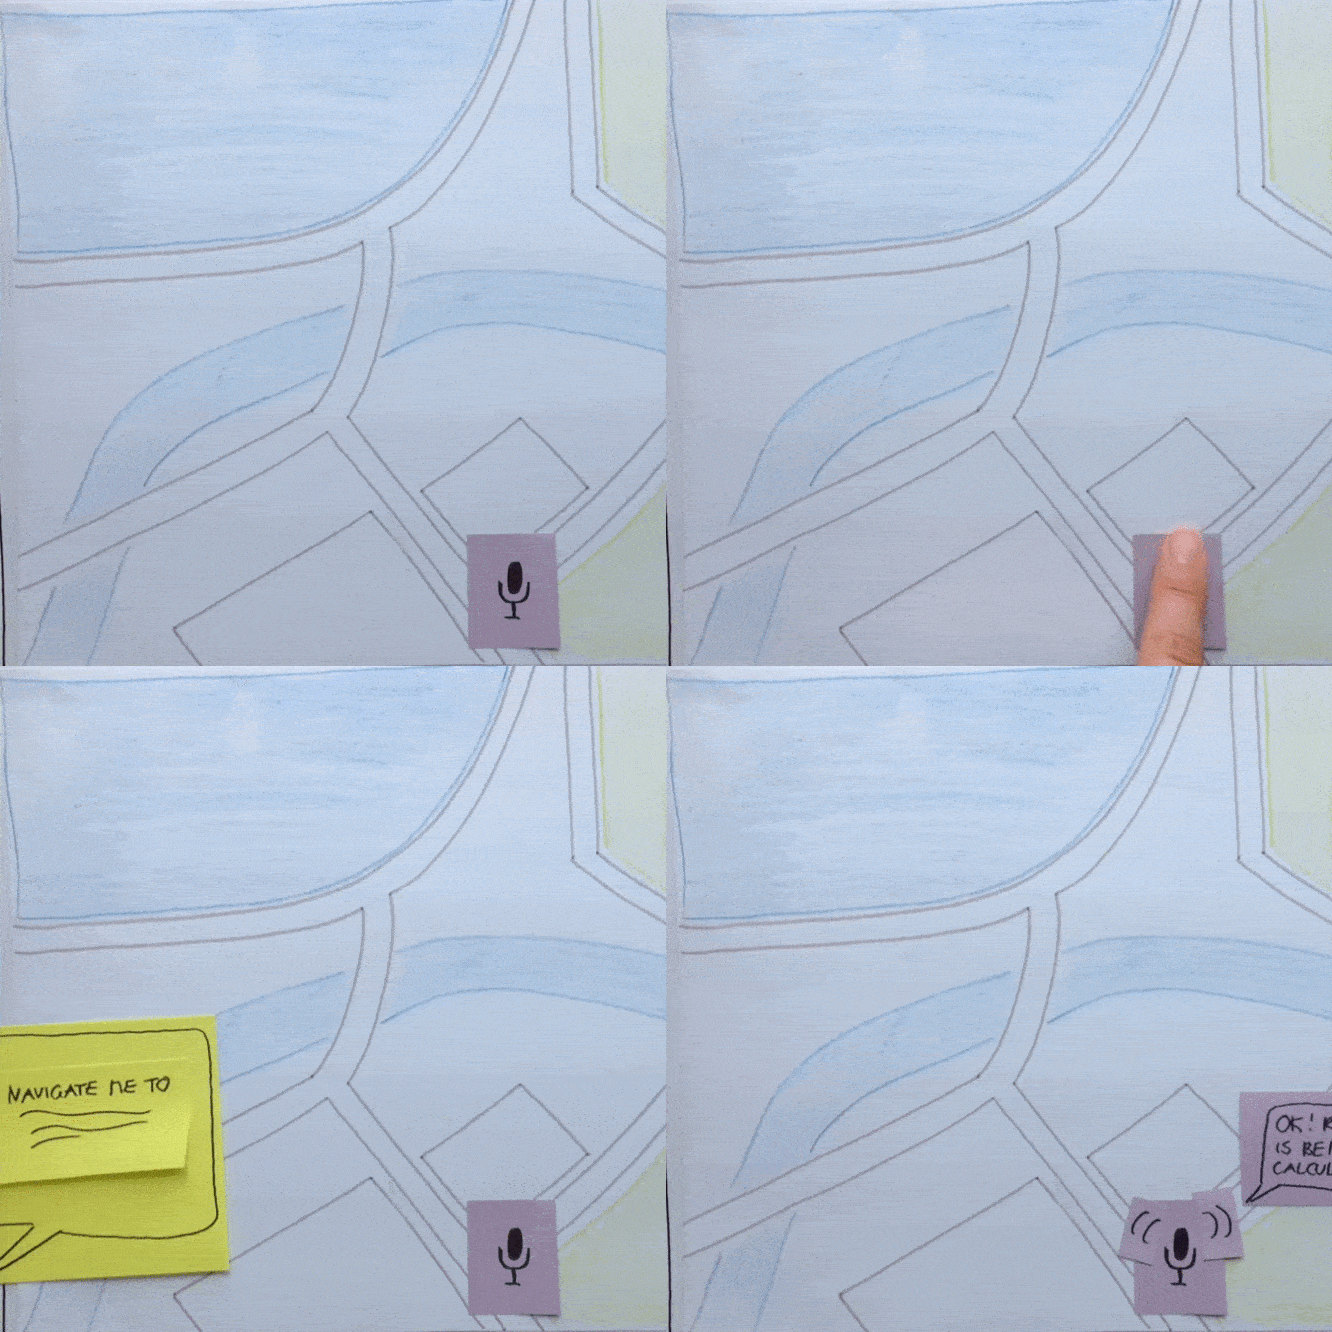
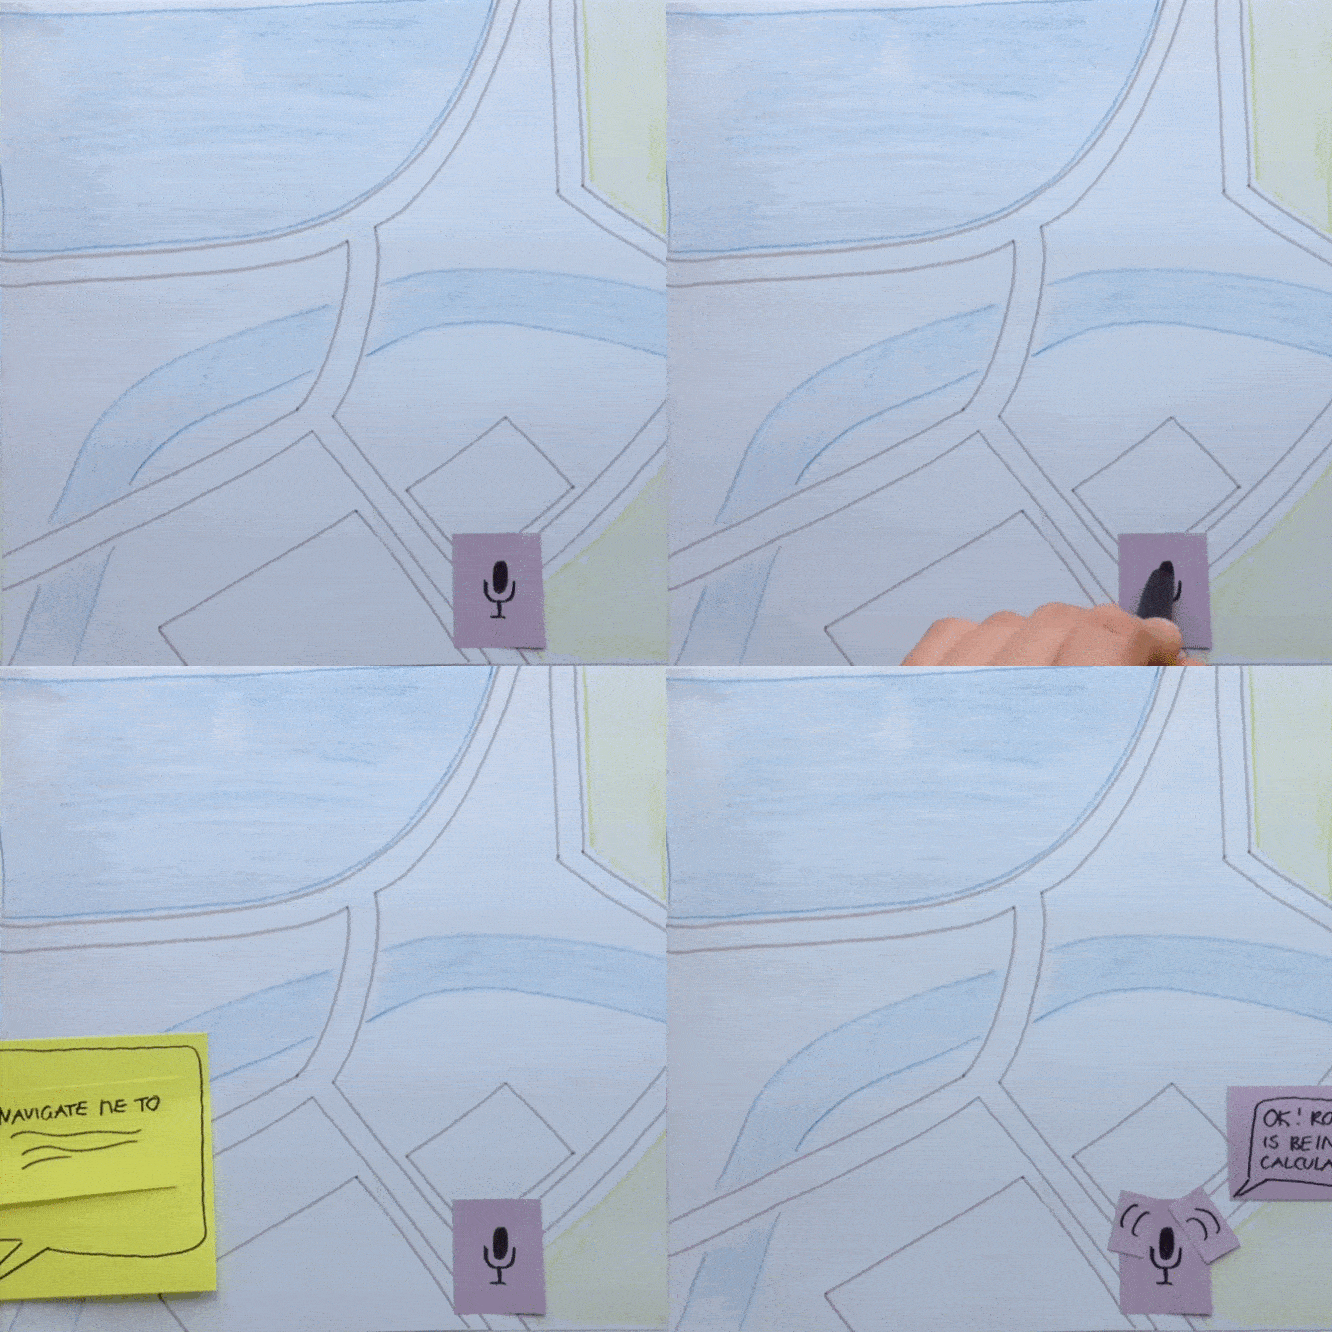
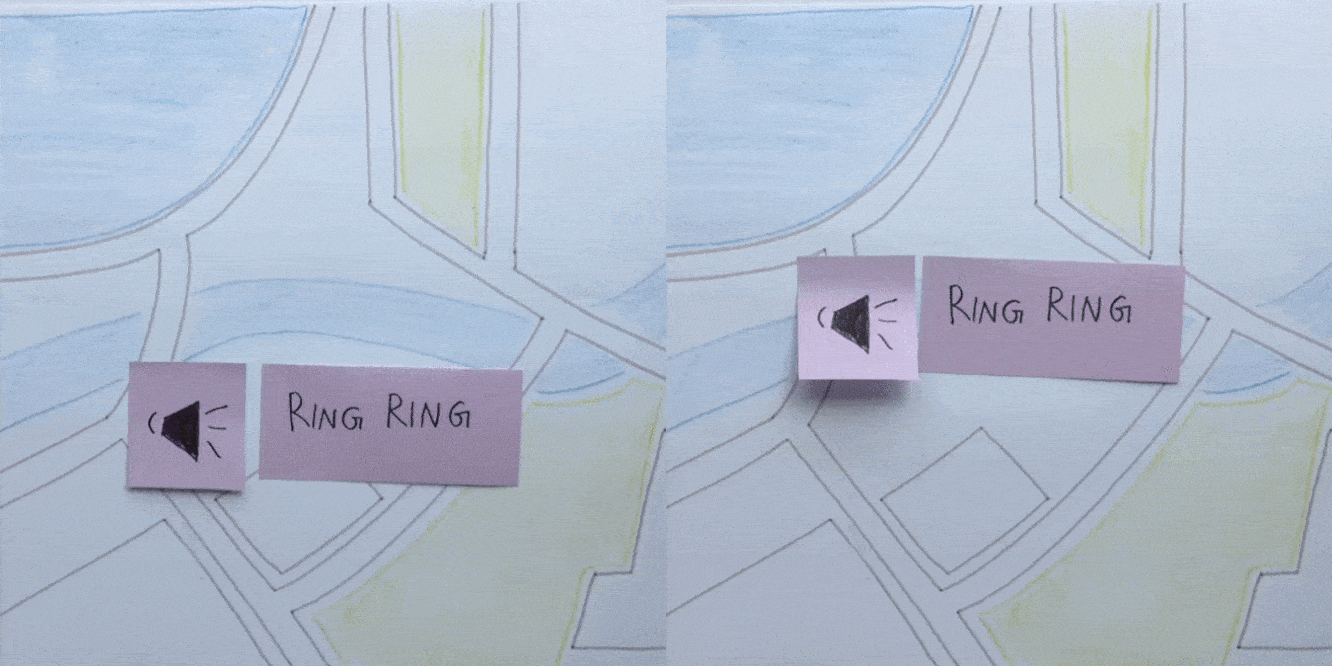
Write down the sound or speech on a sticky-note and place it next to your background. To make it more obvious what is happening, include a microphon-unit, use a speech bubble, or write down input or any similar keywords.
Material
Paper or sticky-note, pen
One more tip
You can also shoot from a wider angle including your user and hold a speech bubble in front of the camera and make use of the tricked perspective. This way the content of the speech bubble will be associated with the user.
Sound Note
Sound Note
listenDescription
Write down the sound or speech on a sticky-note and place it next to your background. To make it more obvious what is happening, include a microphon-unit, use a speech bubble, or write down input or any similar keywords.
Material
Paper or sticky-note, pen
One more tip
You can also shoot from a wider angle including your user and hold a speech bubble in front of the camera and make use of the tricked perspective . This way the content of the speech bubble will be associated with the user.
Sound Note
Sound Note
listenDescription
Write down the sound or speech on a sticky-note and place it next to your background. To make it more obvious what is happening, include a microphon-unit, use a speech bubble, or write down input or any similar keywords.
Material
Paper or sticky-note, pen
One more tip
You can also shoot from a wider angle including your user and hold a speech bubble in front of the camera and make use of the tricked perspective . This way the content of the speech bubble will be associated with the user.
Pop Up
Pop Up
notifyDescription
Prepare a pop-up window on a piece of paper or a sticky-note. Use jump_cuts to let it magically appear.
Material
Paper, scissors, pen
One more tip
When using pop-up windows, make sure you keep them consistend and make a distinction with the color. Is it an error, is it information? What happens after?
Pop Up
Pop Up
notifyDescription
Prepare a pop-up window on a piece of paper or a sticky-note. Use jump_cuts to let it magically appear.
Material
Paper, scissors, pen
One more tip
When using pop-up windows, make sure you keep them consistend and make a distinction with the color. Is it an error, is it information? What happens after?
Vibration
DancingUnit
DancingUnit
notifyDescription
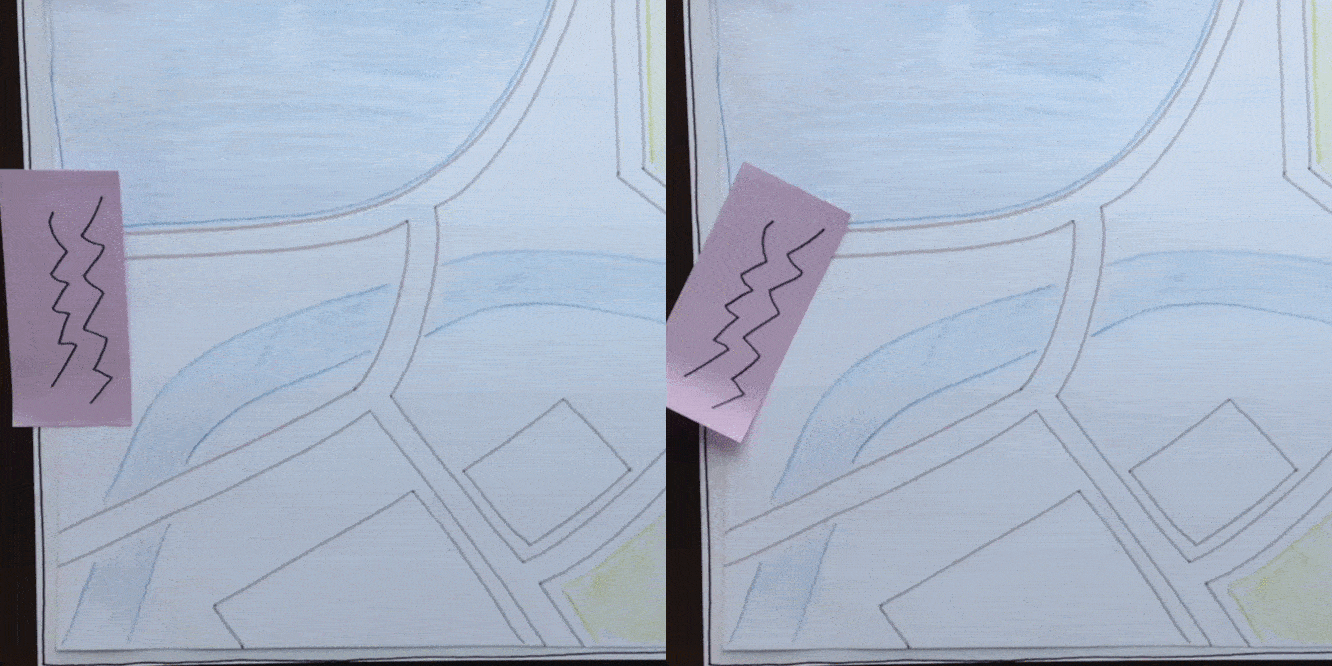
Attach the movable unit onto a transparency. Move the transparency from the outside of your shot in order to move the unit attached to it.
Material
Transparency strip, tape
One more tip
Cut the transparency long enough, so that the wizard's hand is not visible in the shot.
Tracing Error
Tracing Error
notifyDescription
Use a tracing paper and draw an error message on it. Place it above your background.
Material
Tracing paper, pencils
One more tip
This is a nice trick if you are actually planning to use your prototype later on for usability tests. Doing so the background is covered but still visible to the user. (https://www.youtube.com/watch?v=fs00uio12xk)
Magic Progress
Magic Progress
notifyDescription
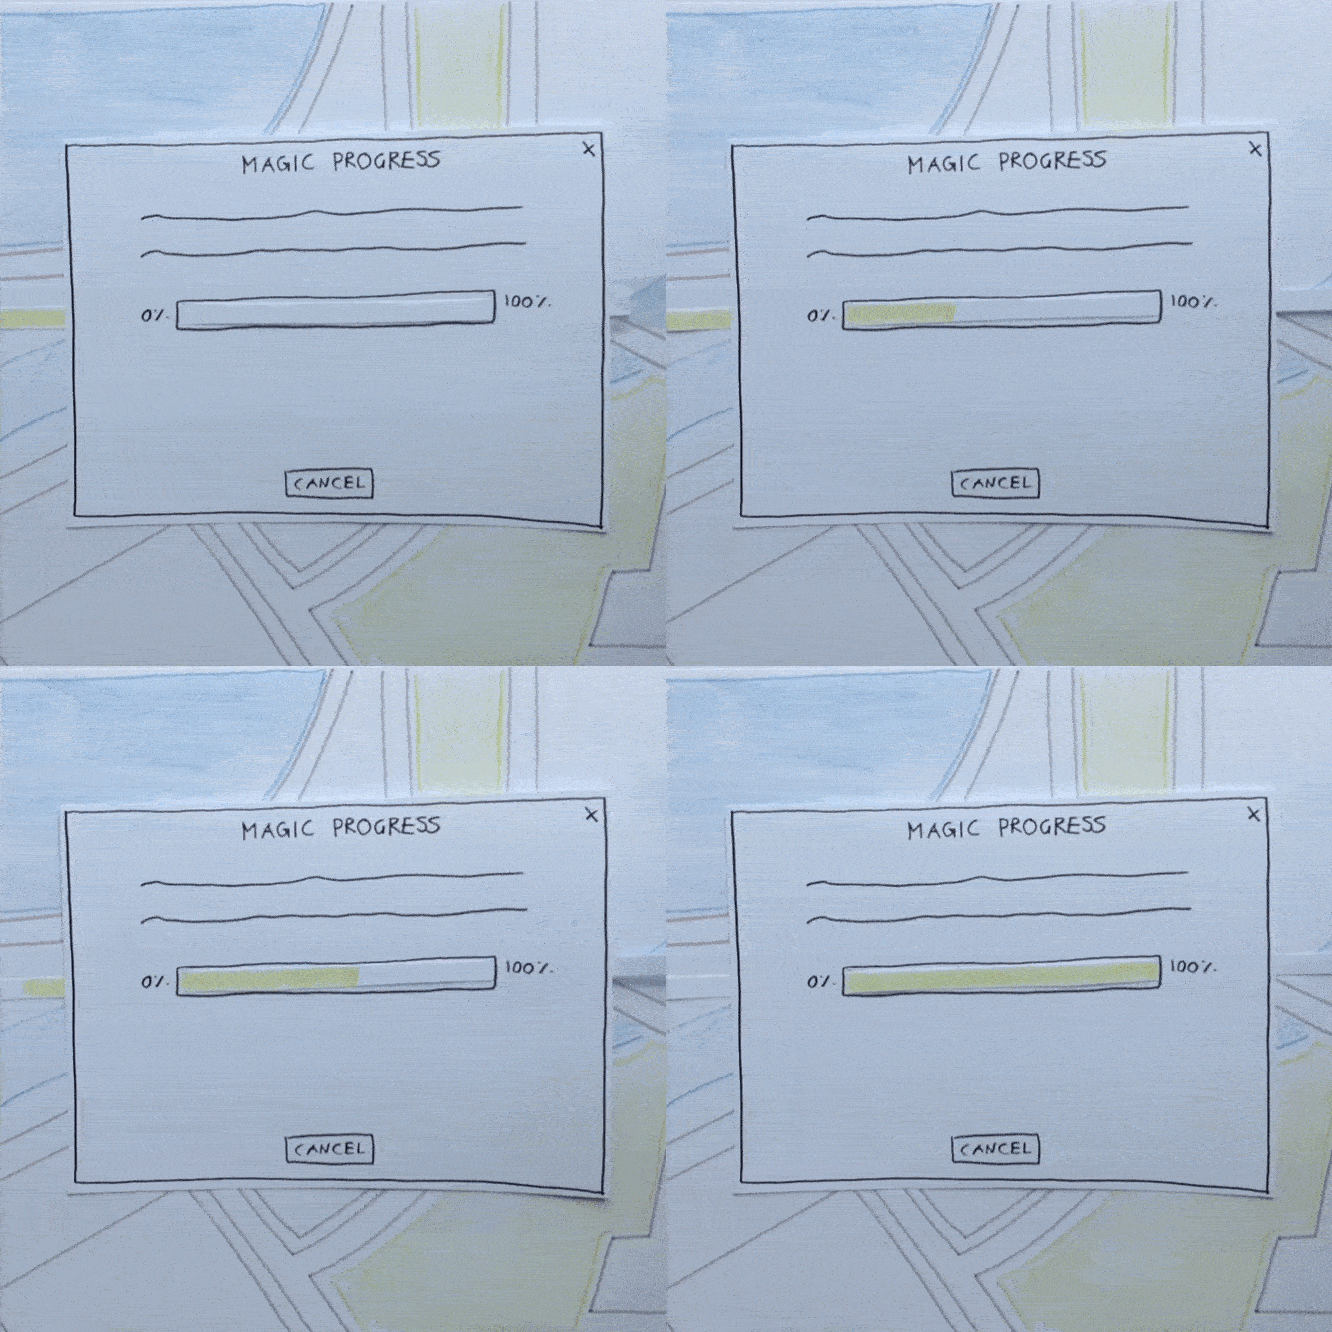
Cut a slot in your background or layer as wide, high and long as the progress bar should be. On a strip of paper, leave one half blank and paint the other part e.g. in red or green (be aware of the color coding!). To indicate the progress, slip the strip through the slot in the paper and magically slide it in and out (https://www.youtube.com/watch?v=yafagnfu8eg).
Material
Paper, scissors, pen, pencils
One more tip
Cut the strip long enough for the wizard's hands not being in the shot. Progress bars aren't really necessary for most of the prototypes. If you want to do some testing with your prototype, it can be useful.
Paper Window
Paper Window
highlightDescription
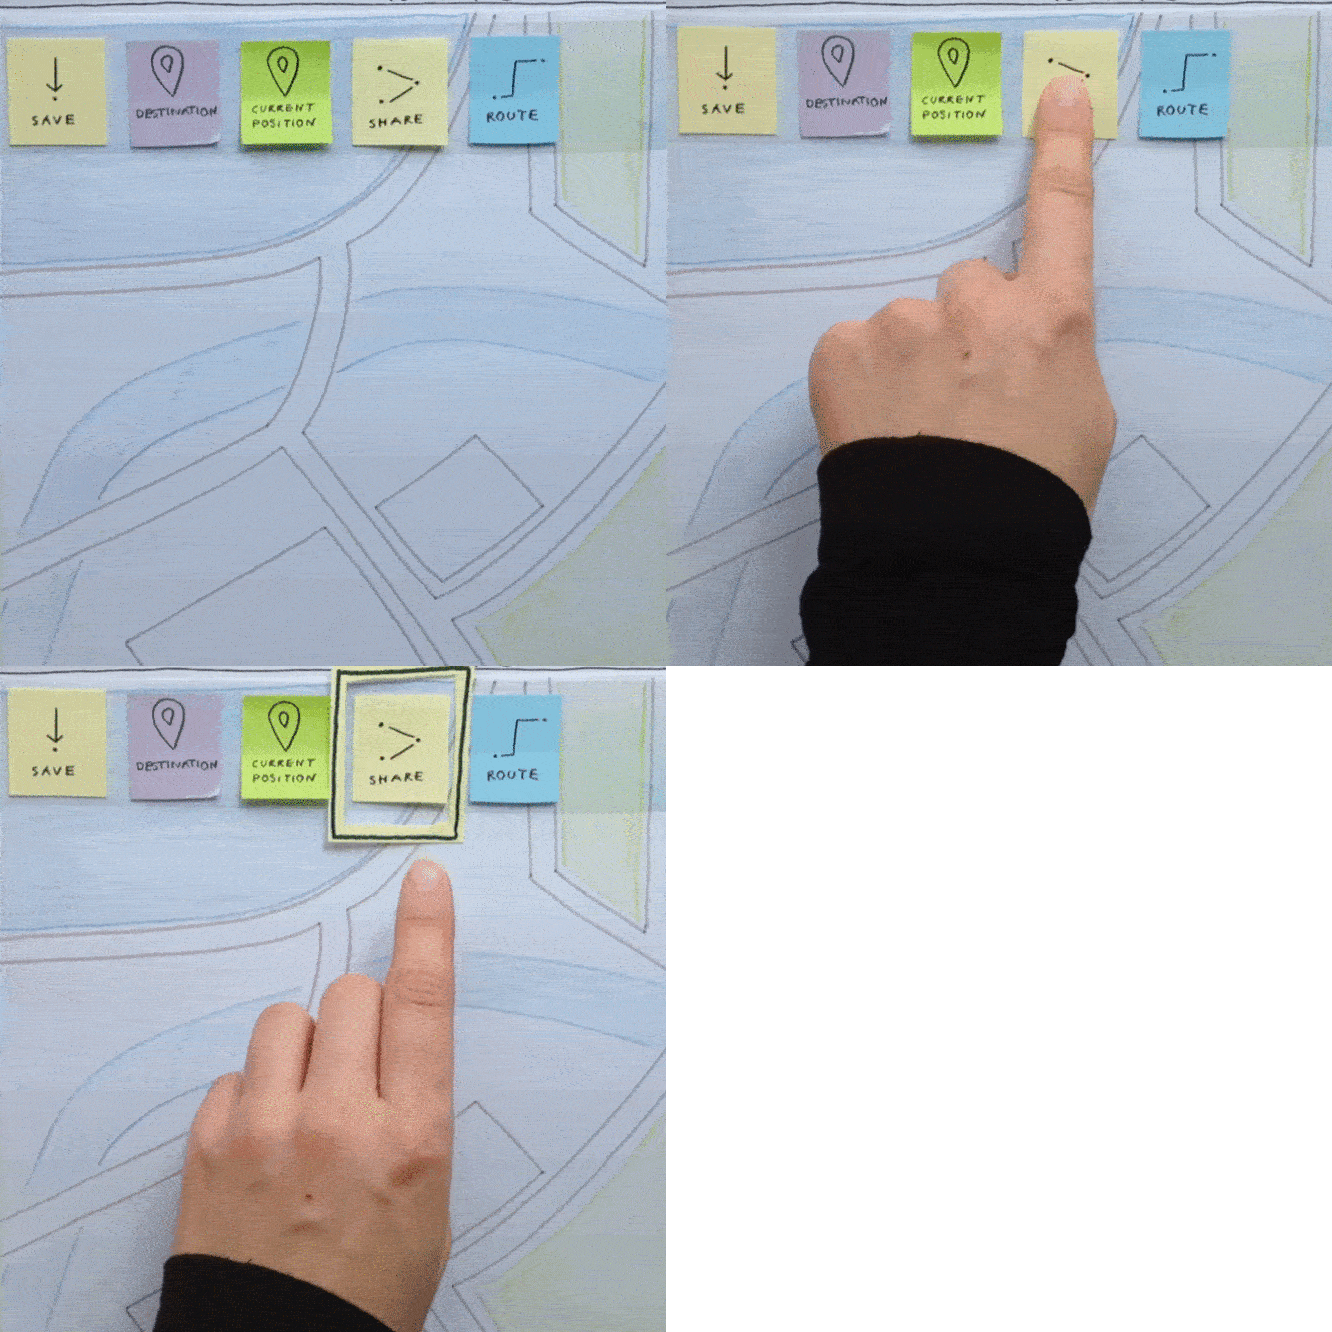
Cut out a tiny paper window in a well-visibly color (e.g. green). The window shall be big enough to show the unit that is to be highlighted. Place it on top of a unit when it is to be highlighted.
Material
Paper, scissors, pencils
One more tip
Watch the color coding!
Wall Window
Wall Window
highlightDescription
Cut out a tiny paper window in a well-visibly color (e.g. green). The window shall be big enough to show the unit that is to be highlighted. Tape it on top of a unit when it is to be highlighted.
Material
Paper, scissors, pencils, tape
One more tip
Watch the color coding!
Sticky Dot
Sticky Dot
highlightDescription
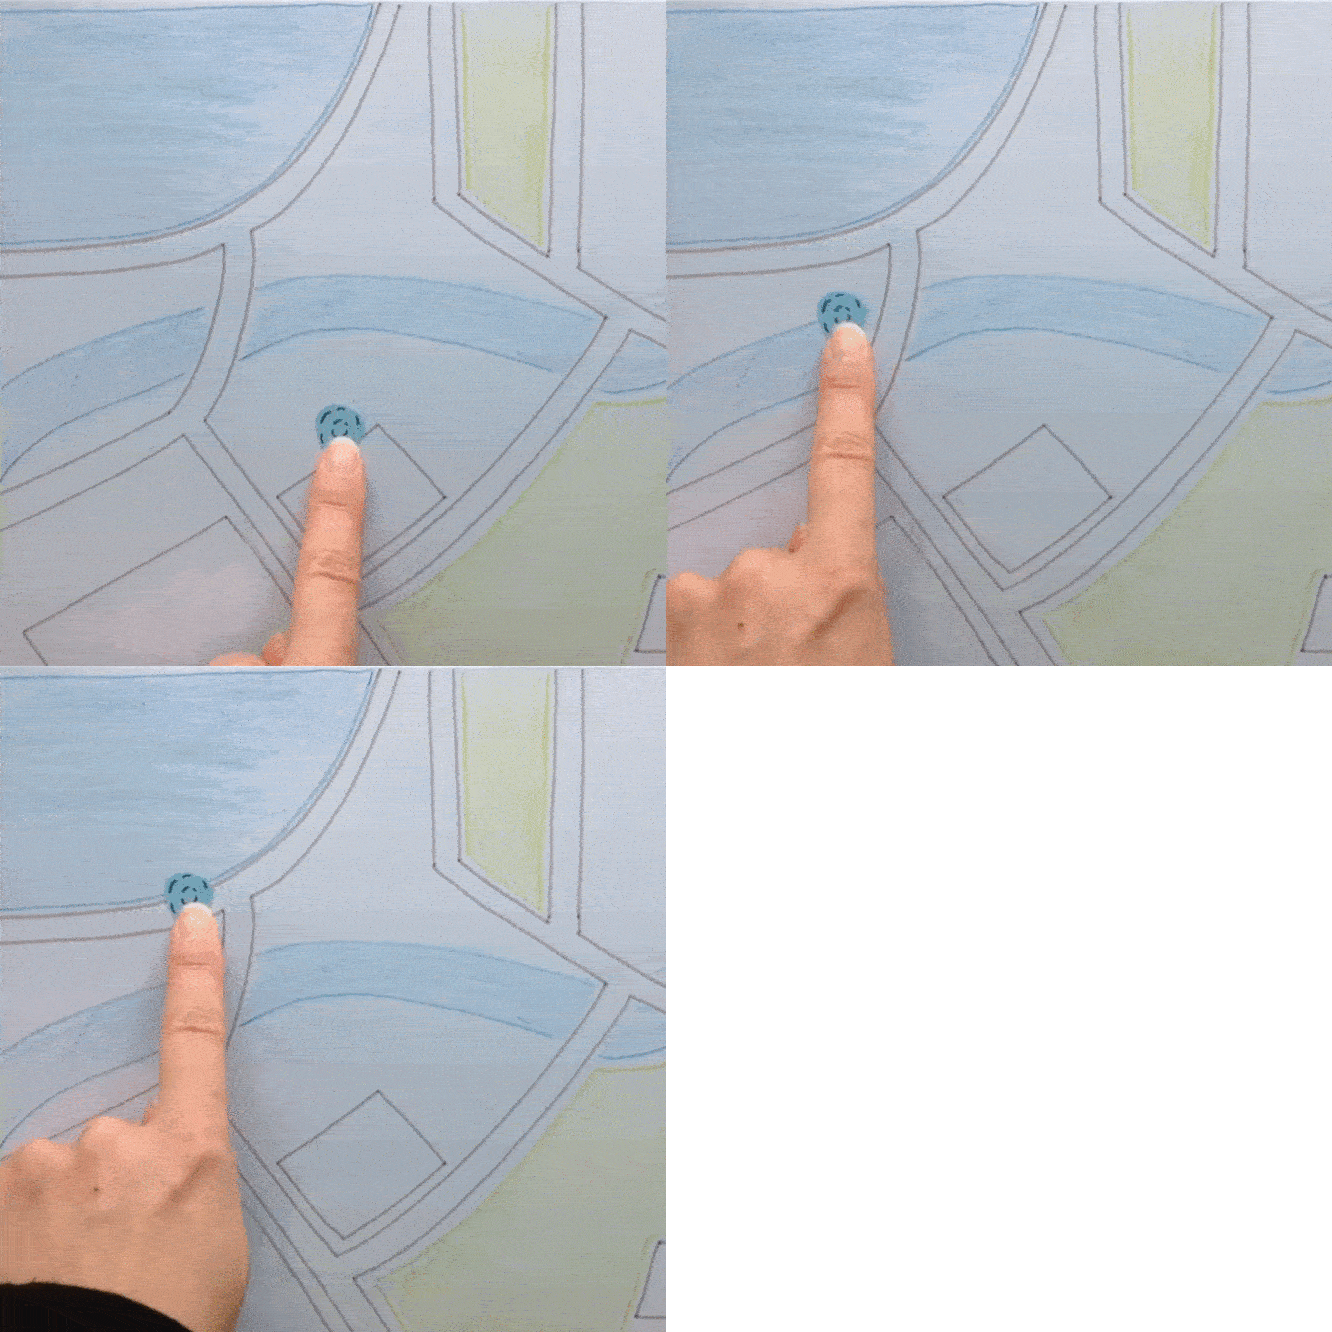
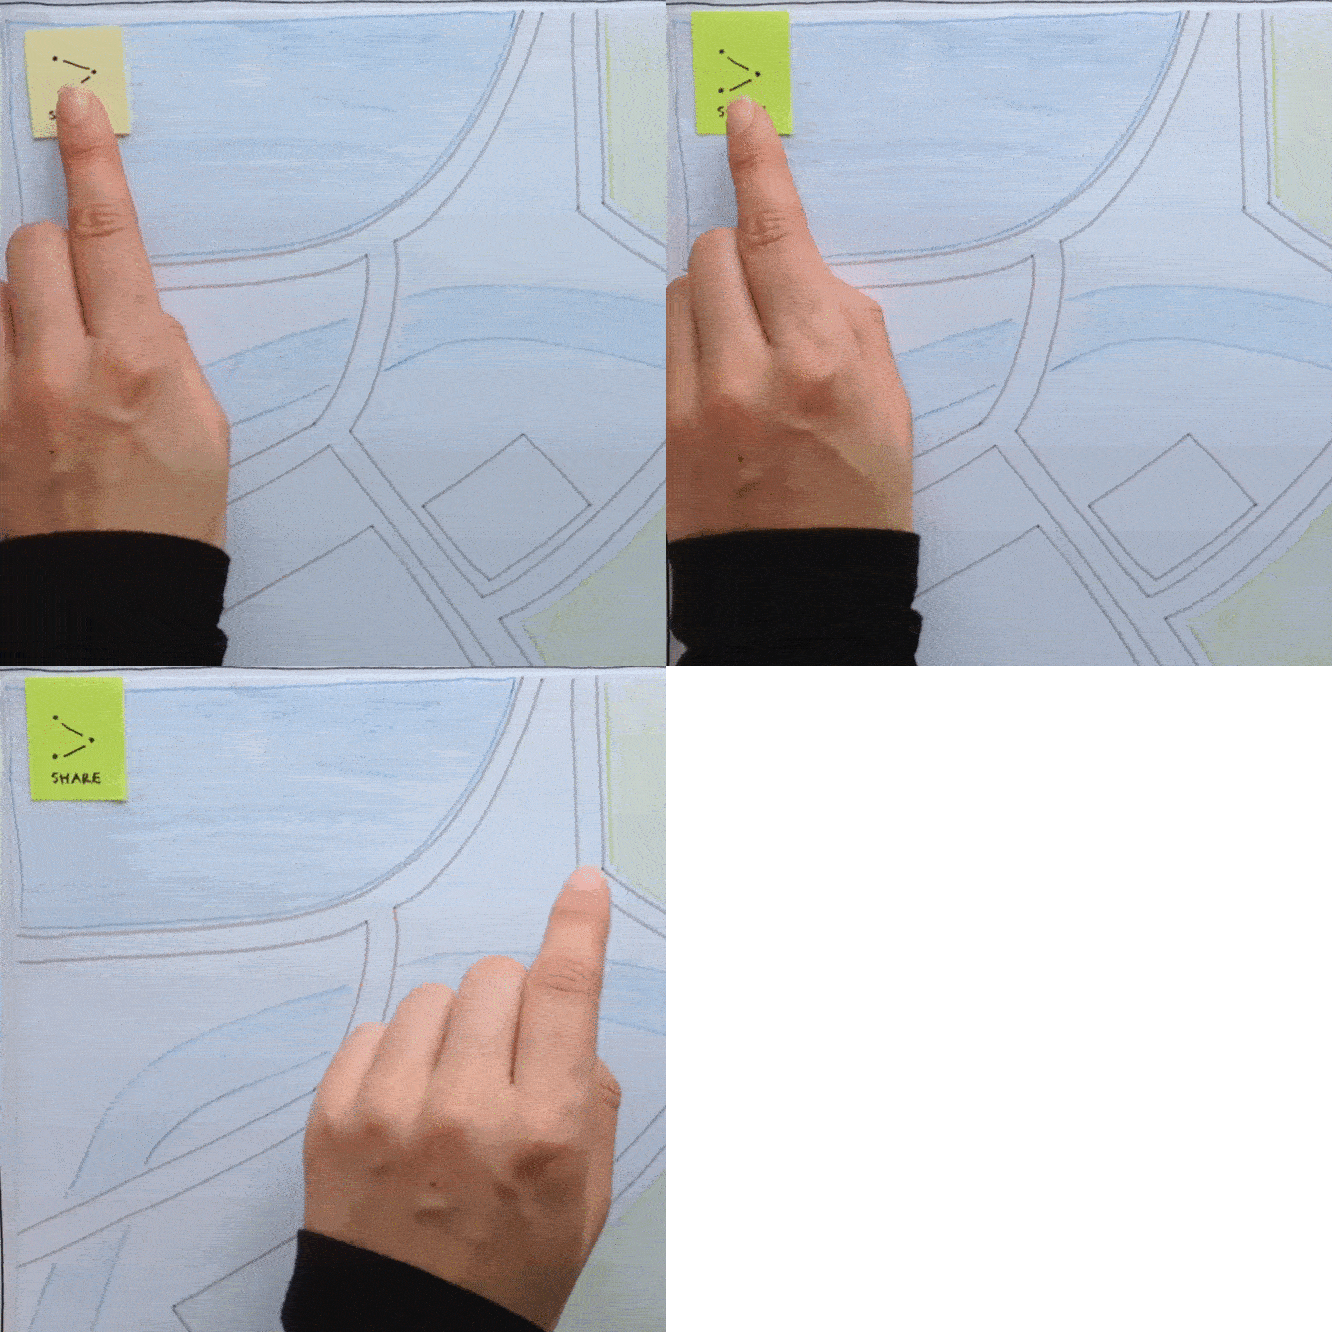
Use any kind of sticker, e.g. sticky color dots. To highlight a unit place the color dot right next to it.
Material
Stickers
One more tip
Careful to be consistent when it comes to the usage of the color dots to not confuse the user. To not let the dot be sticked to the paper, just put two on top of each other.
Color Unit
Color Unit
highlightDescription
Create two versions of the unit on different colored paper e.g. white and green. To highlight a unit, place the highlighting color on top.
Material
Paper, scissors, pencils
One more tip
If you have less time, go for one of the other options.
Color Unit
Color Unit
highlightDescription
Create two versions of the unit on different colored paper e.g. white and green. To highlight a unit, attach the highlighting color on top.
Material
Paper, scissors, pencils, tape
One more tip
If you have less time, go for one of the other options. When working on a wall, you can alsowork with different colored pens.
Magic Unit
Magic Unit
moveDescription
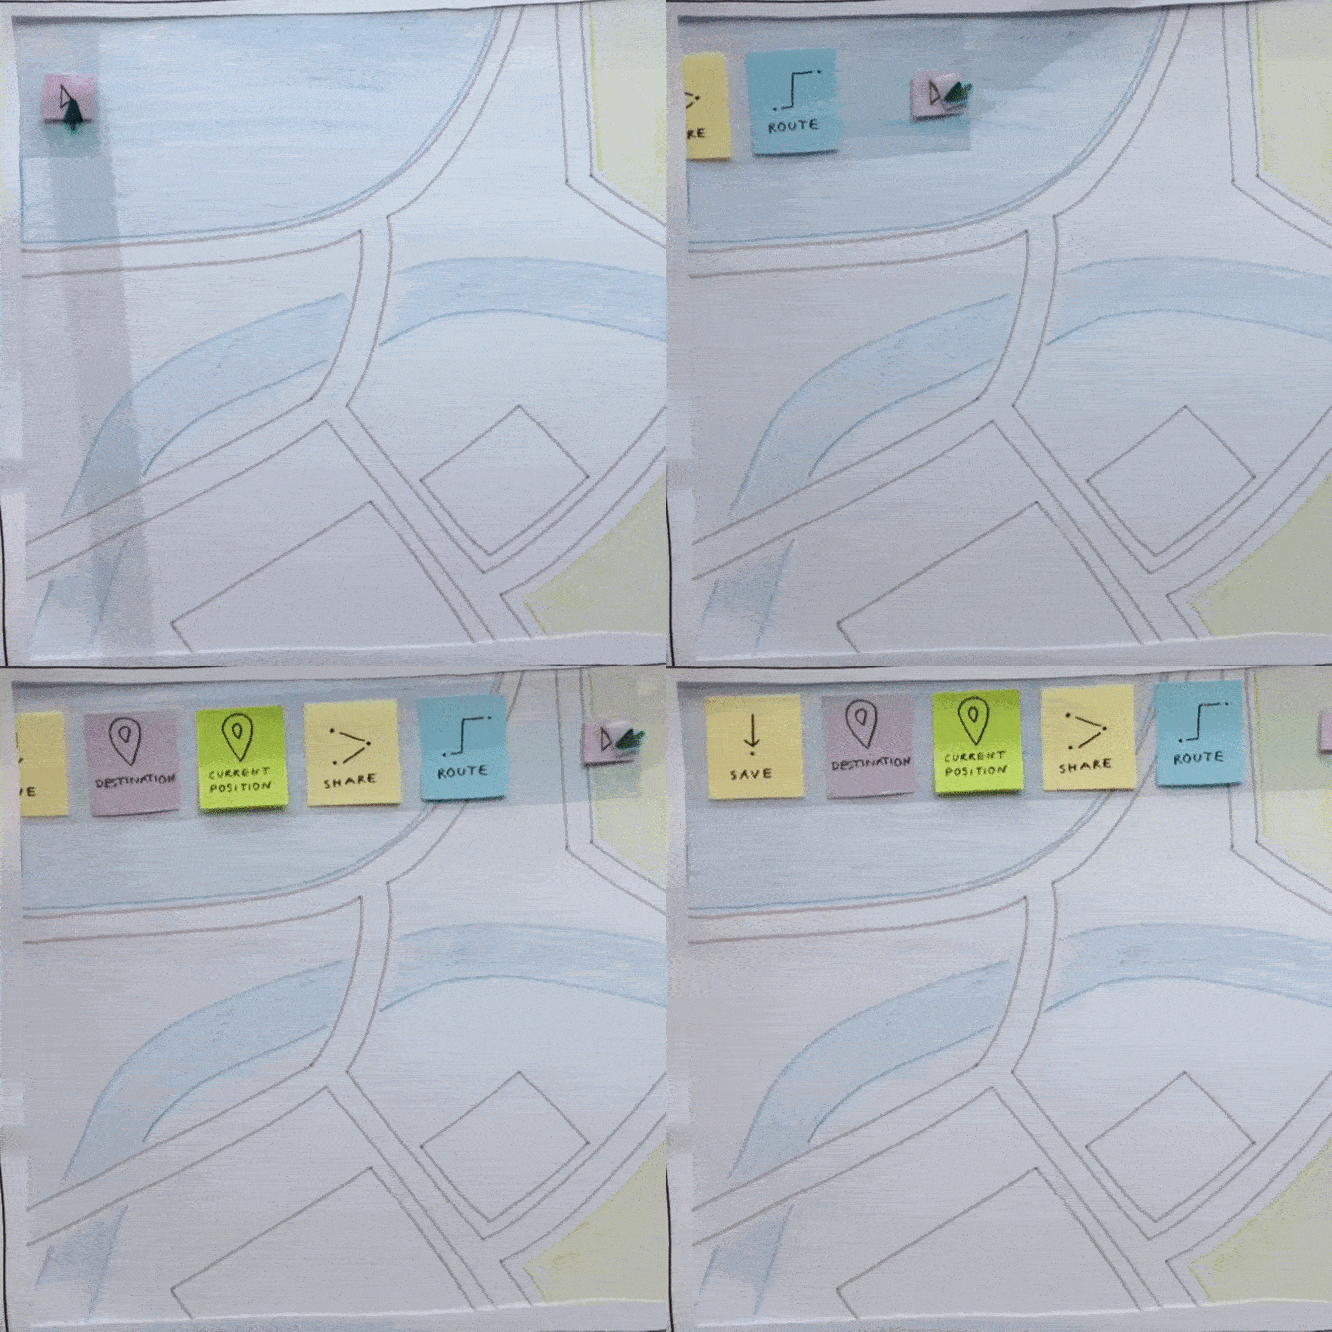
Move the unit to different positions on your background. Use jump_cuts and shoot each position for at least 1 second. Shooting 2-3 jump_cuts shall be enough to illustrate the idea of a moving unit.
One more tip
This trick is ideal if you do not have a wizard or if your background is too big to use a transparency.
Paper Holograph
Paper Holograph
Friendly Holograph
Magic Highlight
